YITH WooCommerce Advanced Reviews is the all-in-one plugin for getting positive product reviews, building your e-commerce reputation, and using social proof to drive sales.
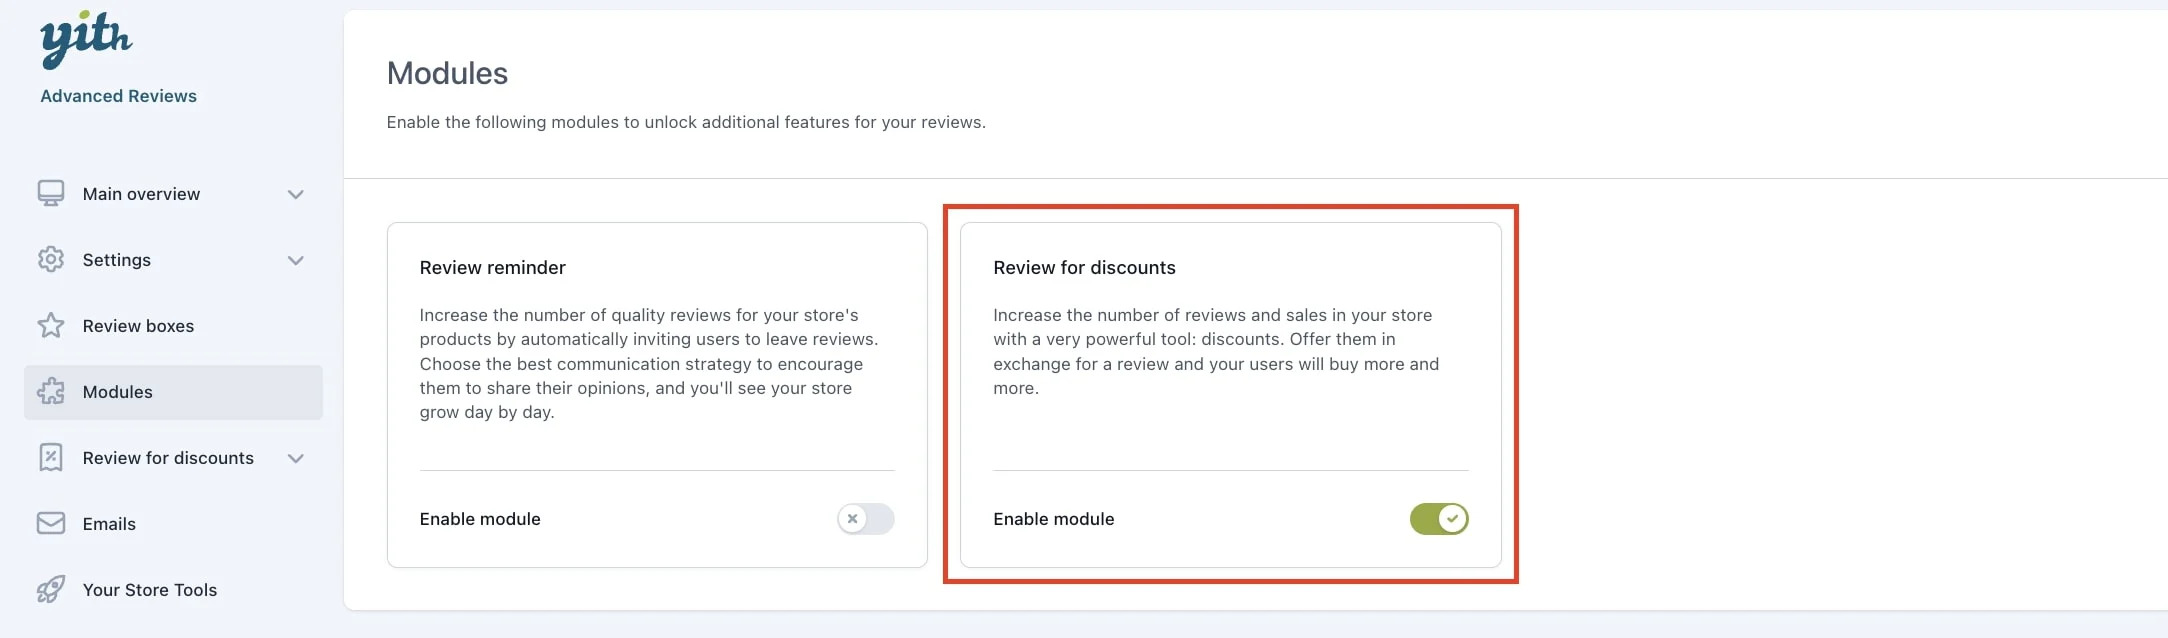
The integration of these two plugins allows adding credit to customers’ wallet automatically when reviewing a product. The option is available when using the Review for Discounts module.
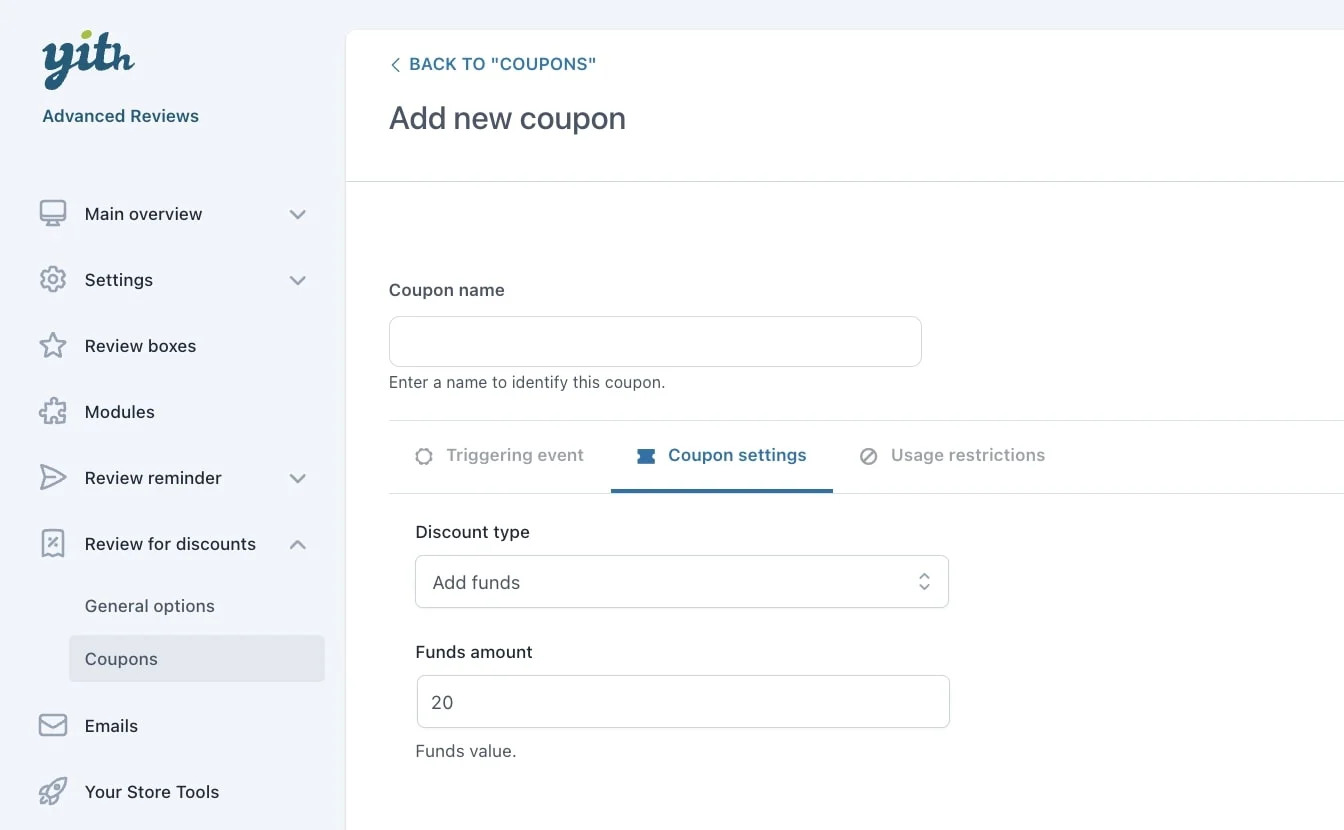
When creating the coupon in Review for discounts > Coupon, you can select Add funds in Coupon settings > Discount type and enter the amount in the related field.
For further details about YITH Advanced Reviews settings, please refer to the official documentation.
YITH WooCommerce Affiliates is the plugin thanks to which you will have an actual affiliation system on your shop in a few steps. You can set a commission rate, unique or different for each affiliate. The payment can be done manually or automatically with any of the automatic gateways.
By combining these two plugins, you will be able to credit the affiliate commissions as available funds in your users’ account.
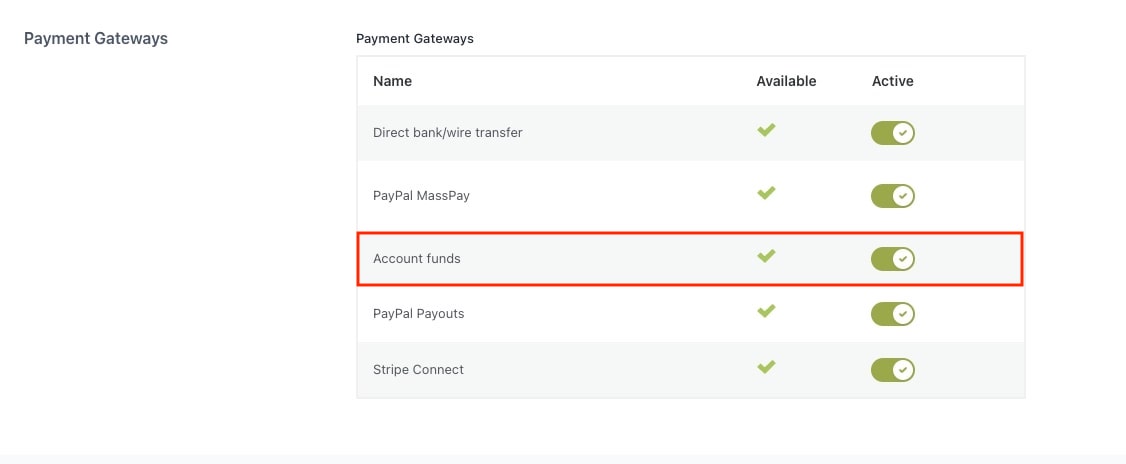
Make sure you enable this gateway from YITH > Affiliates > General options > Commissions & Payments > Payment gateways.
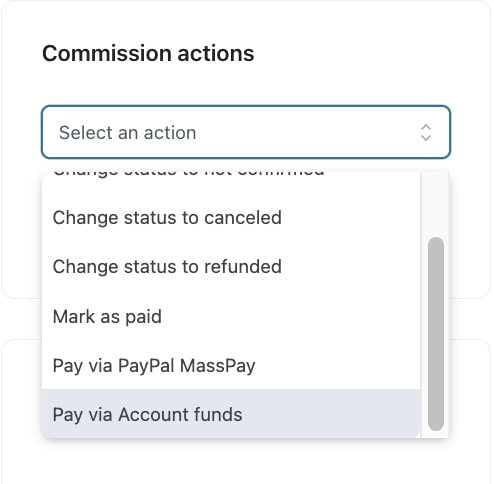
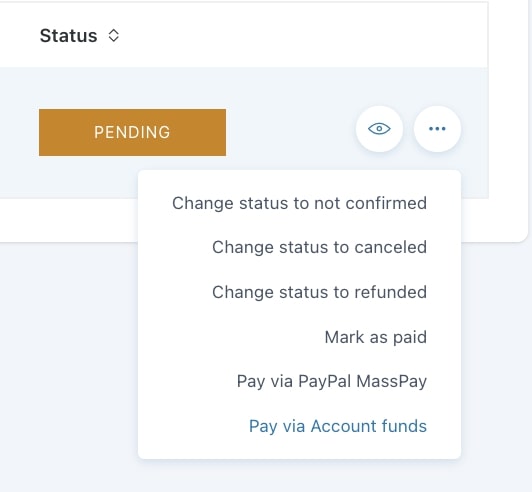
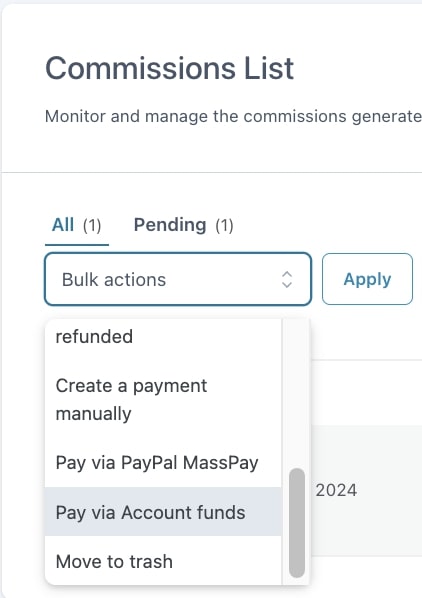
Now, you will be able to see this payment gateway as a payment option on the Commissions page, both in the bulk actions and in every single commission.
A payment record will be created in the Commissions Payments tab. As it is processed instantly, the payment will appear as Completed and the commissions as Paid.
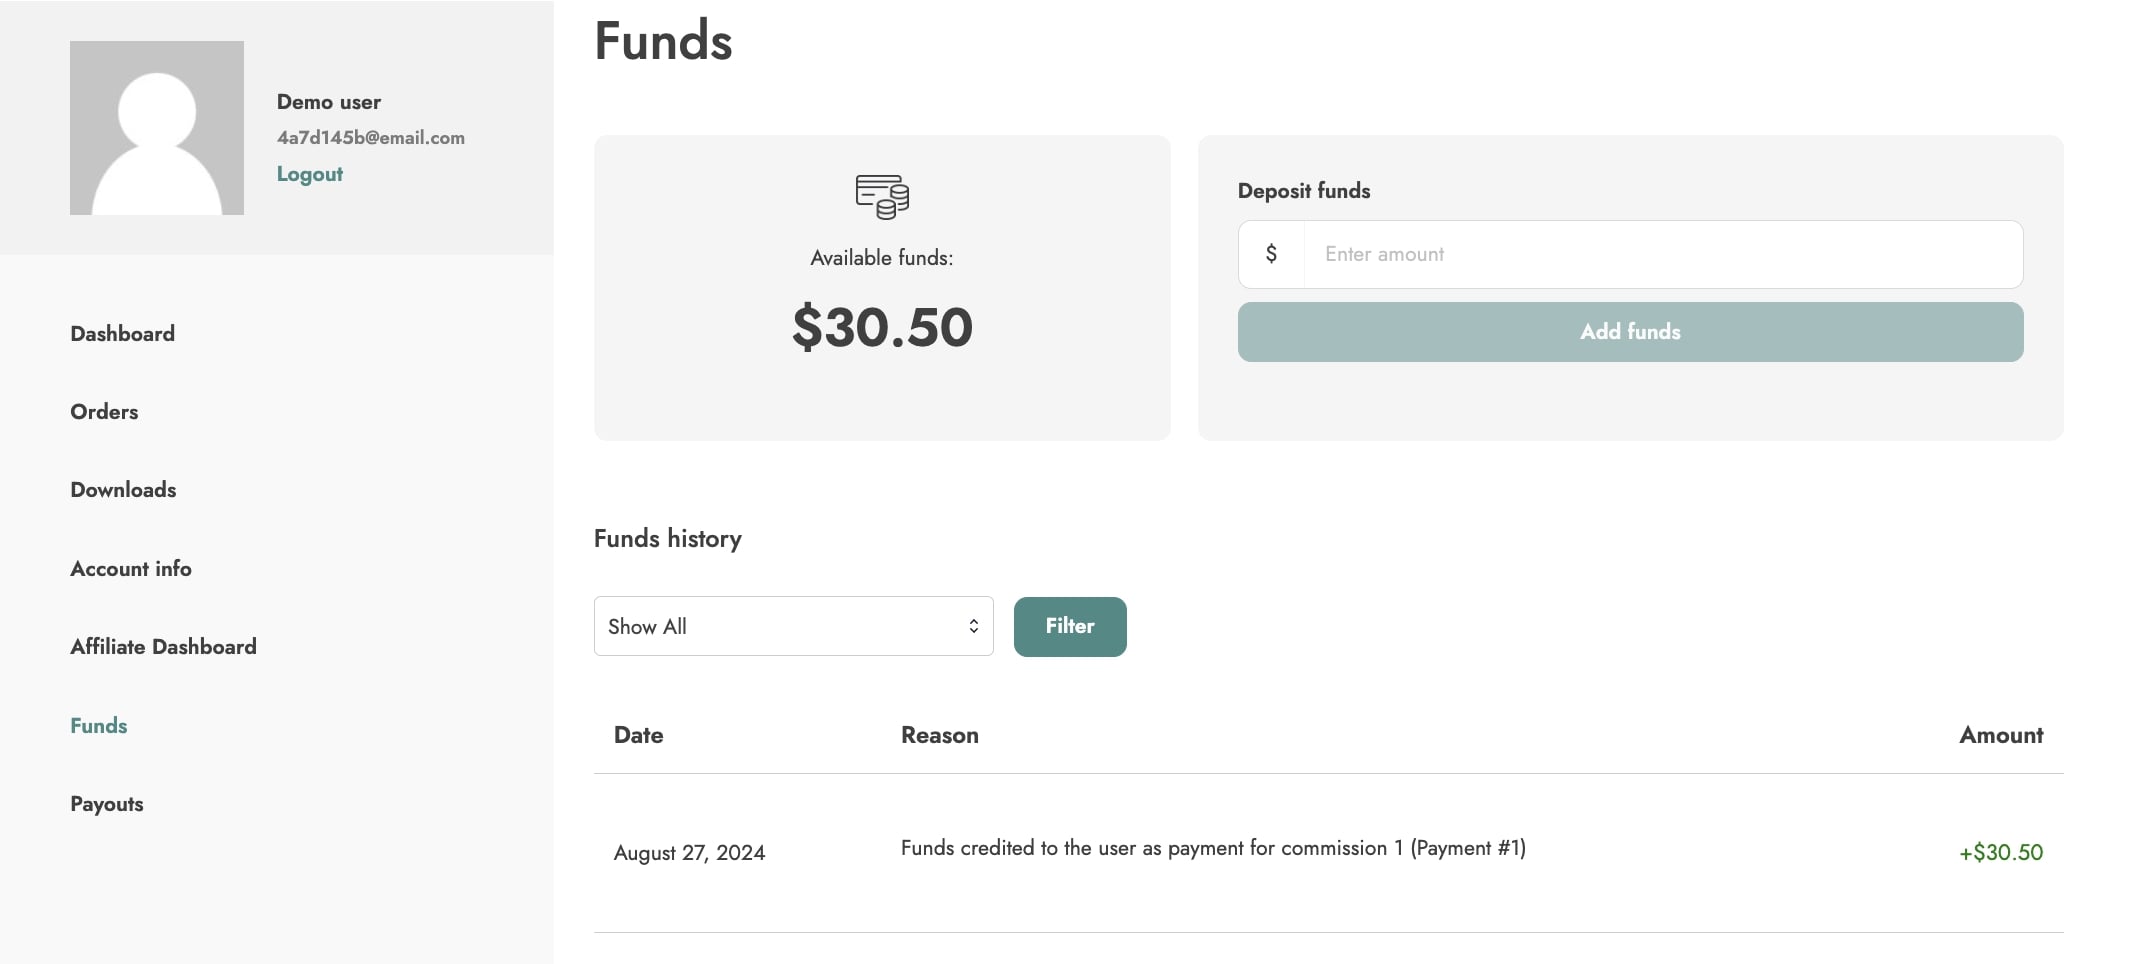
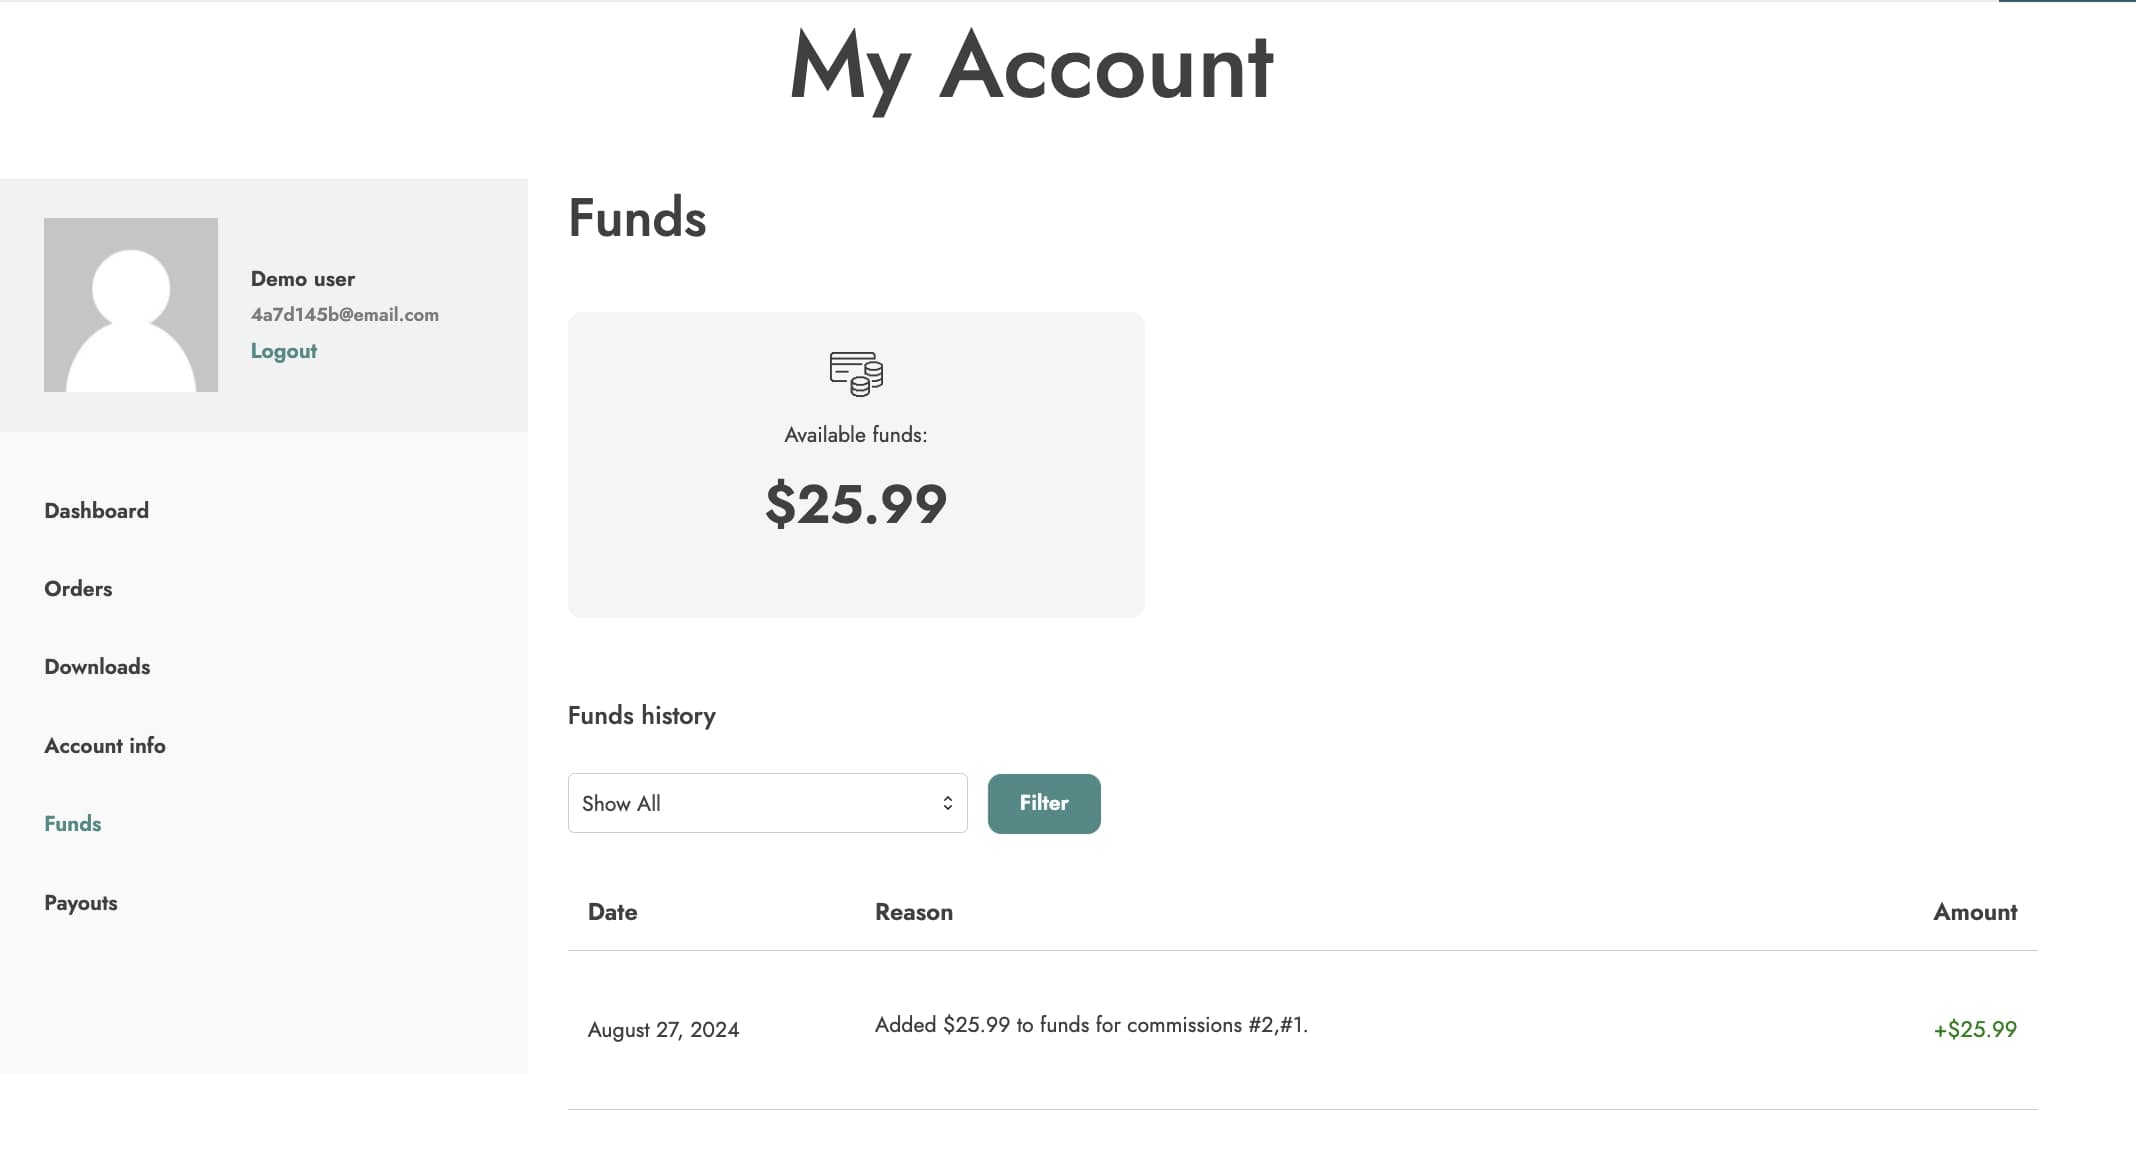
Also, you will see a record of the payment in the Funds history in My account, where all the funds’ movements are recorded.
For further details about YITH Affiliates settings, please refer to the official documentation.
Thanks to the integration with YITH WooCommerce Email Templates, you can customize the emails sent by the plugin. After installing and activating both plugins, you can stylize the following emails:
With YITH Multi Vendor you can turn your e-commerce store into a marketplace (a multi-vendor platform) like Amazon or Etsy. Turn your e-commerce store into a marketplace (a multi-vendor platform) and earn commissions on orders generated by your vendors.
The integration with YITH Account Funds allows you to issue vendors’ payouts into their digital wallet.
Additionally, if you also install YITH PayPal Payouts, your vendors can request a payment of their store credit into their PayPal account.
On this page, we’ll go through the following topics.
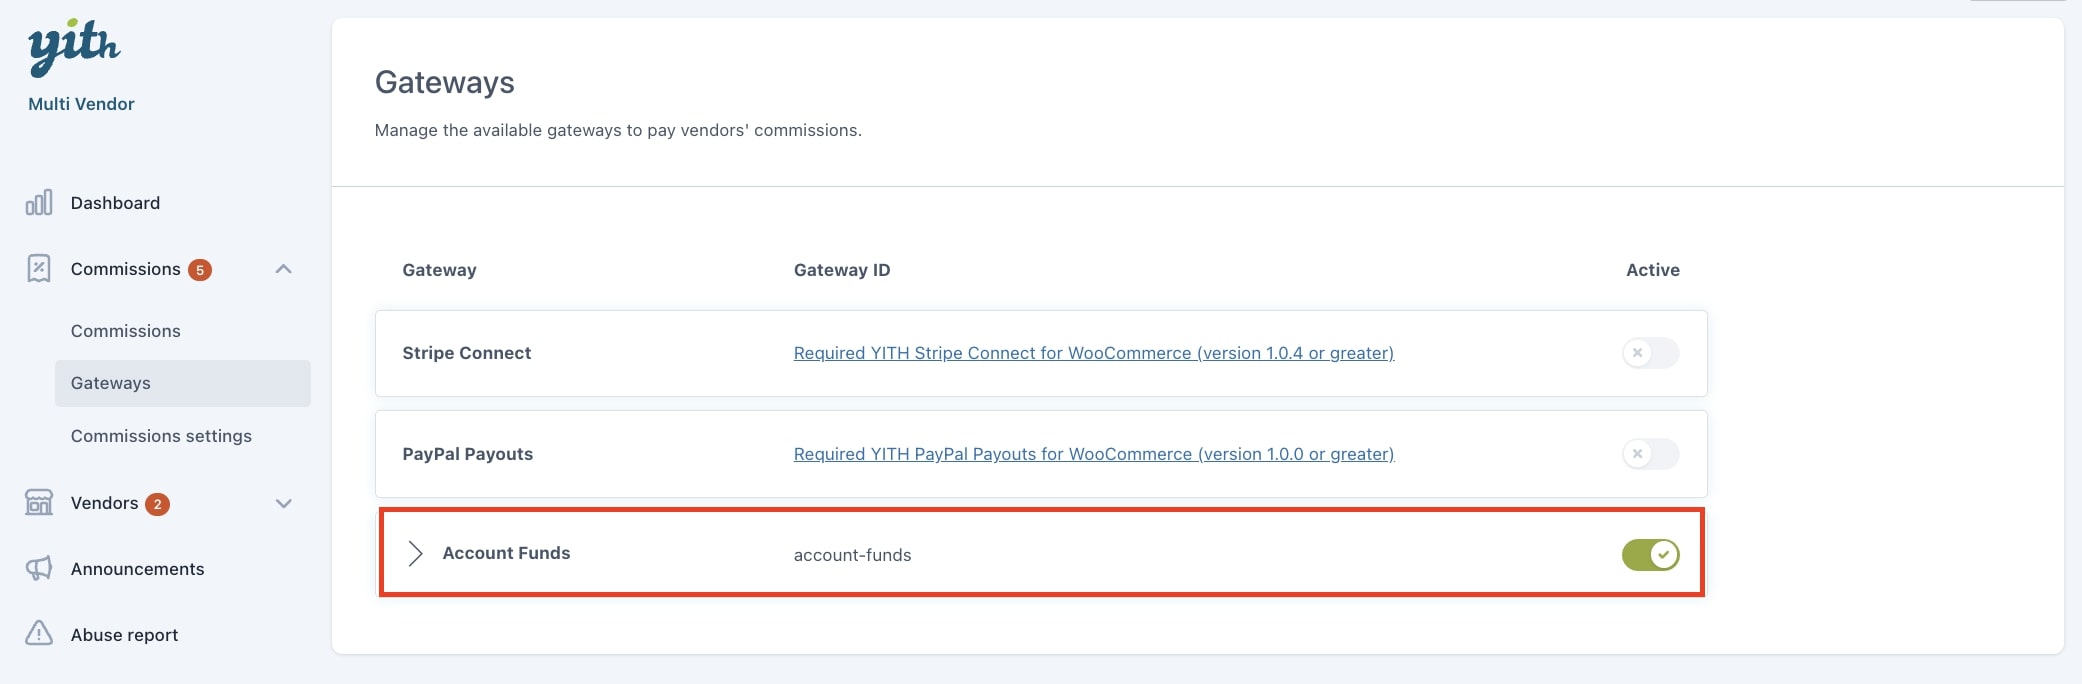
To enable YITH Account Funds as a gateway and credit vendors’ commissions to their virtual wallets on your site, you just have to make sure that both plugins are installed and enabled from the Plugins page.
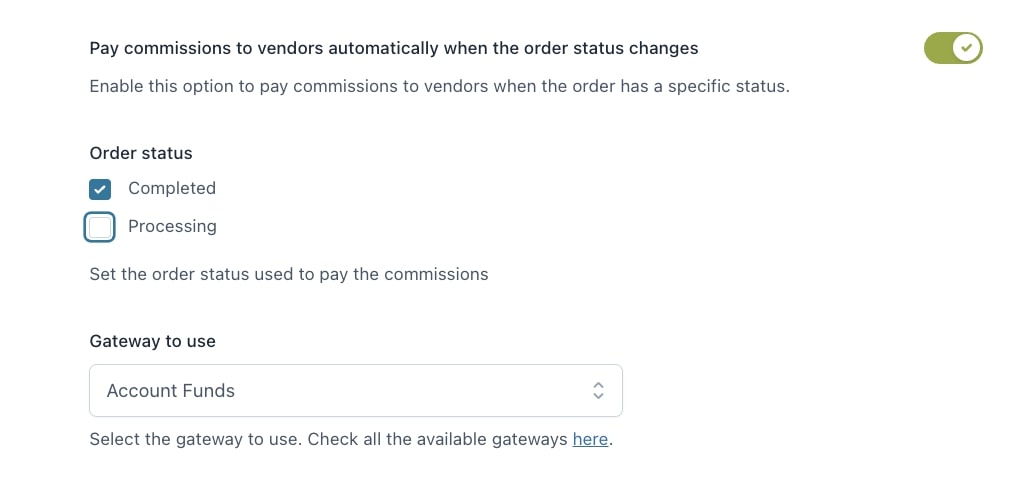
Now, if you want to pay commissions to vendors automatically during the checkout through YITH Account Funds, go back to the Commissions Settings section, and select it as the default payment.
This is the gateway that will be used by default for automatic payments of vendors’ commissions. Yet, you can also pay the commissions manually through Account Funds as explained here.
The vendor will be able to see a report of all payments in My Account > Funds history.
2. Extra options for vendors
When using Multi Vendor and Account funds, you will be able to enable the dedicated module available in YITH > Account Funds > Modules. This module has to be enabled if you want the vendors to manage and redeem their funds.
2.1 Vendors & funds settings
After enabling the module YITH Multi Vendor/Marketplace, a new section is added to the plugin panel. Here, you can find all the options related to vendor permission and redeem settings.
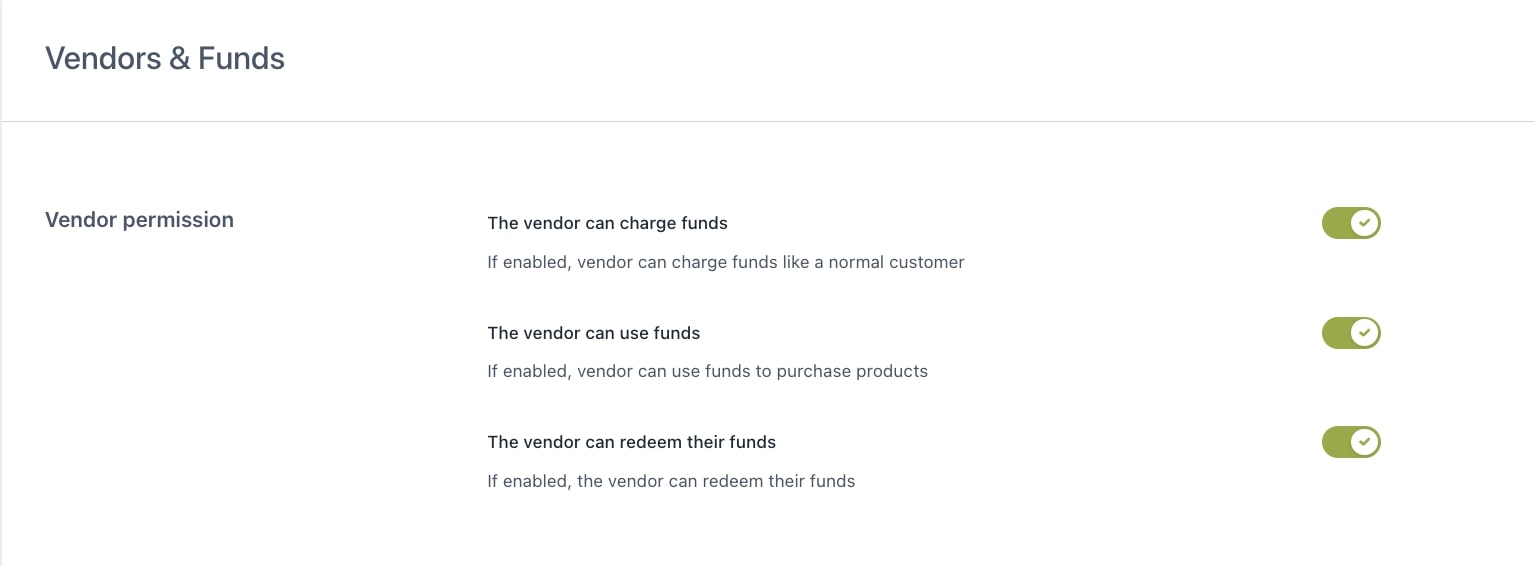
Vendor permission
The vendor can charge funds: this option allows your vendors to deposit funds in their online wallets like any other customer.
The vendor can use funds: this option allows your vendors to use their funds to purchase products from your shop.
The vendor can redeem their funds: (available ONLY if you are also using YITH PayPal Payouts for WooCommerce) this option allows your vendors to request the payment of their funds through a payout.
Redeem settings (YITH PayPal Payouts required)
The second set of options allows you to configure how vendors can Redeem their collected funds.
Please, note that this specific option requires an additional plugin to be installed, so you’ll need all three plugins below:
A fee has to be paid to transfer money from the site to PayPal.
Why should I use this combination of plugins instead of using only YITH PayPal Payouts?
If you want to reduce the number of transactions via PayPal and any possible issues with them or with expensive fees.
If you want to incentivize your vendors to purchase from your store using their credit, so you both can save on transaction fees.
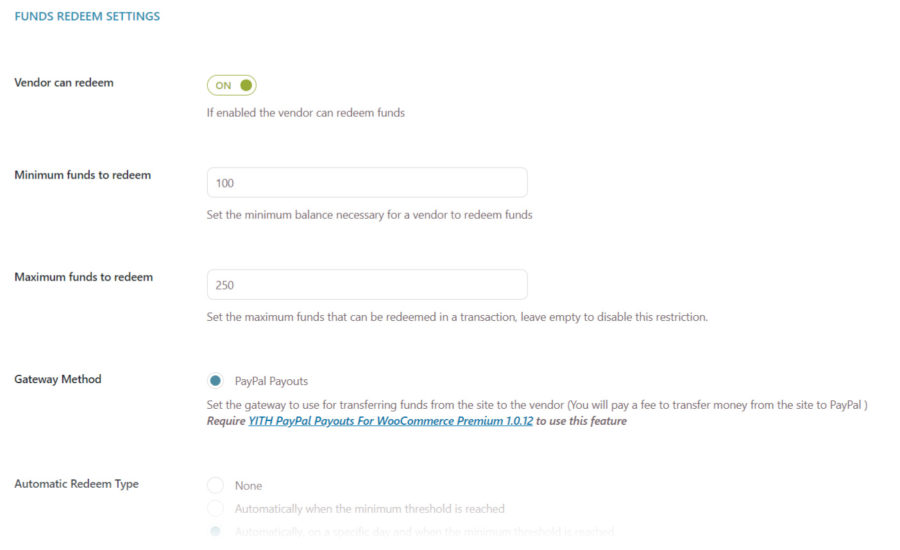
In this section, you can set up the redeeming option either as a manual or an automatic process.
Minimum funds to redeem: set the minimum balance necessary for a vendor to redeem funds.
Maximum funds to redeem: set the maximum amount of funds that can be redeemed in a transaction, or leave it empty to disable this restriction.
Now you can choose whether to redeem them automatically or manually.
Automatic payment
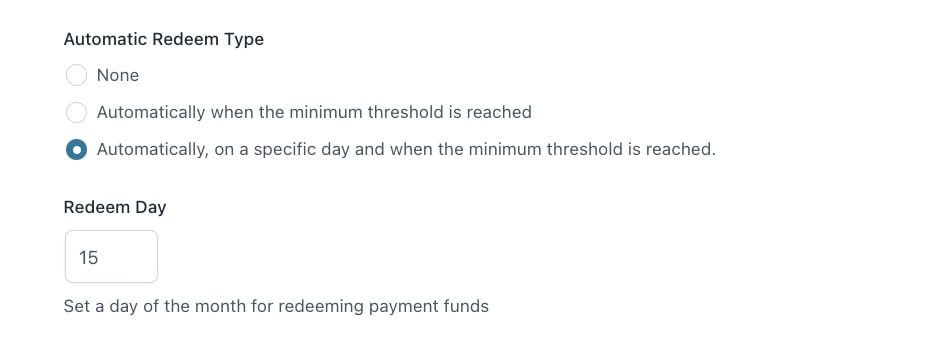
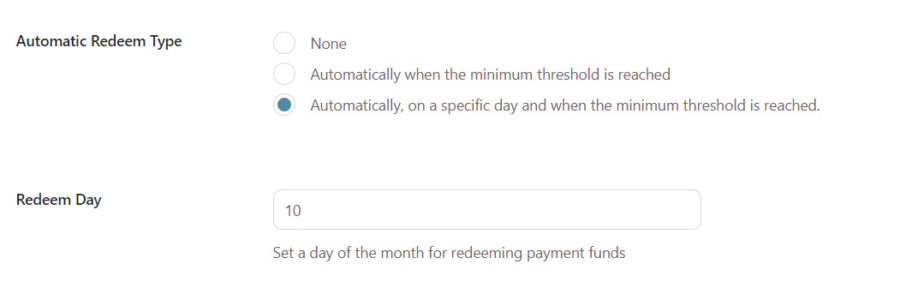
Automatic Redeem Type: this option allows you to let vendors be paid automatically instead of submitting a payment request every time.
None: select this if you want to keep the automatic feature disabled. Make sure you select the option Manual redeem below to let your vendors submit a request at any time from My Account page (see below).
Automatically when the minimum threshold is reached: this way you can issue automatic payments as soon as the minimum amount set above is reached.
Automatically, on a specific day and when the minimum threshold is reached: this way you can issue automatic payments on the 1st of the month (or any other day you set) but only for vendors’ accounts that have reached the minimum amount set above. Vendors can however submit a payment request manually if the ‘Manual redeem’ option below is enabled.
Redeem Day: choose the day on which issue the automatic payment, i.e. enter 1 to issue payments automatically on the first of every month.
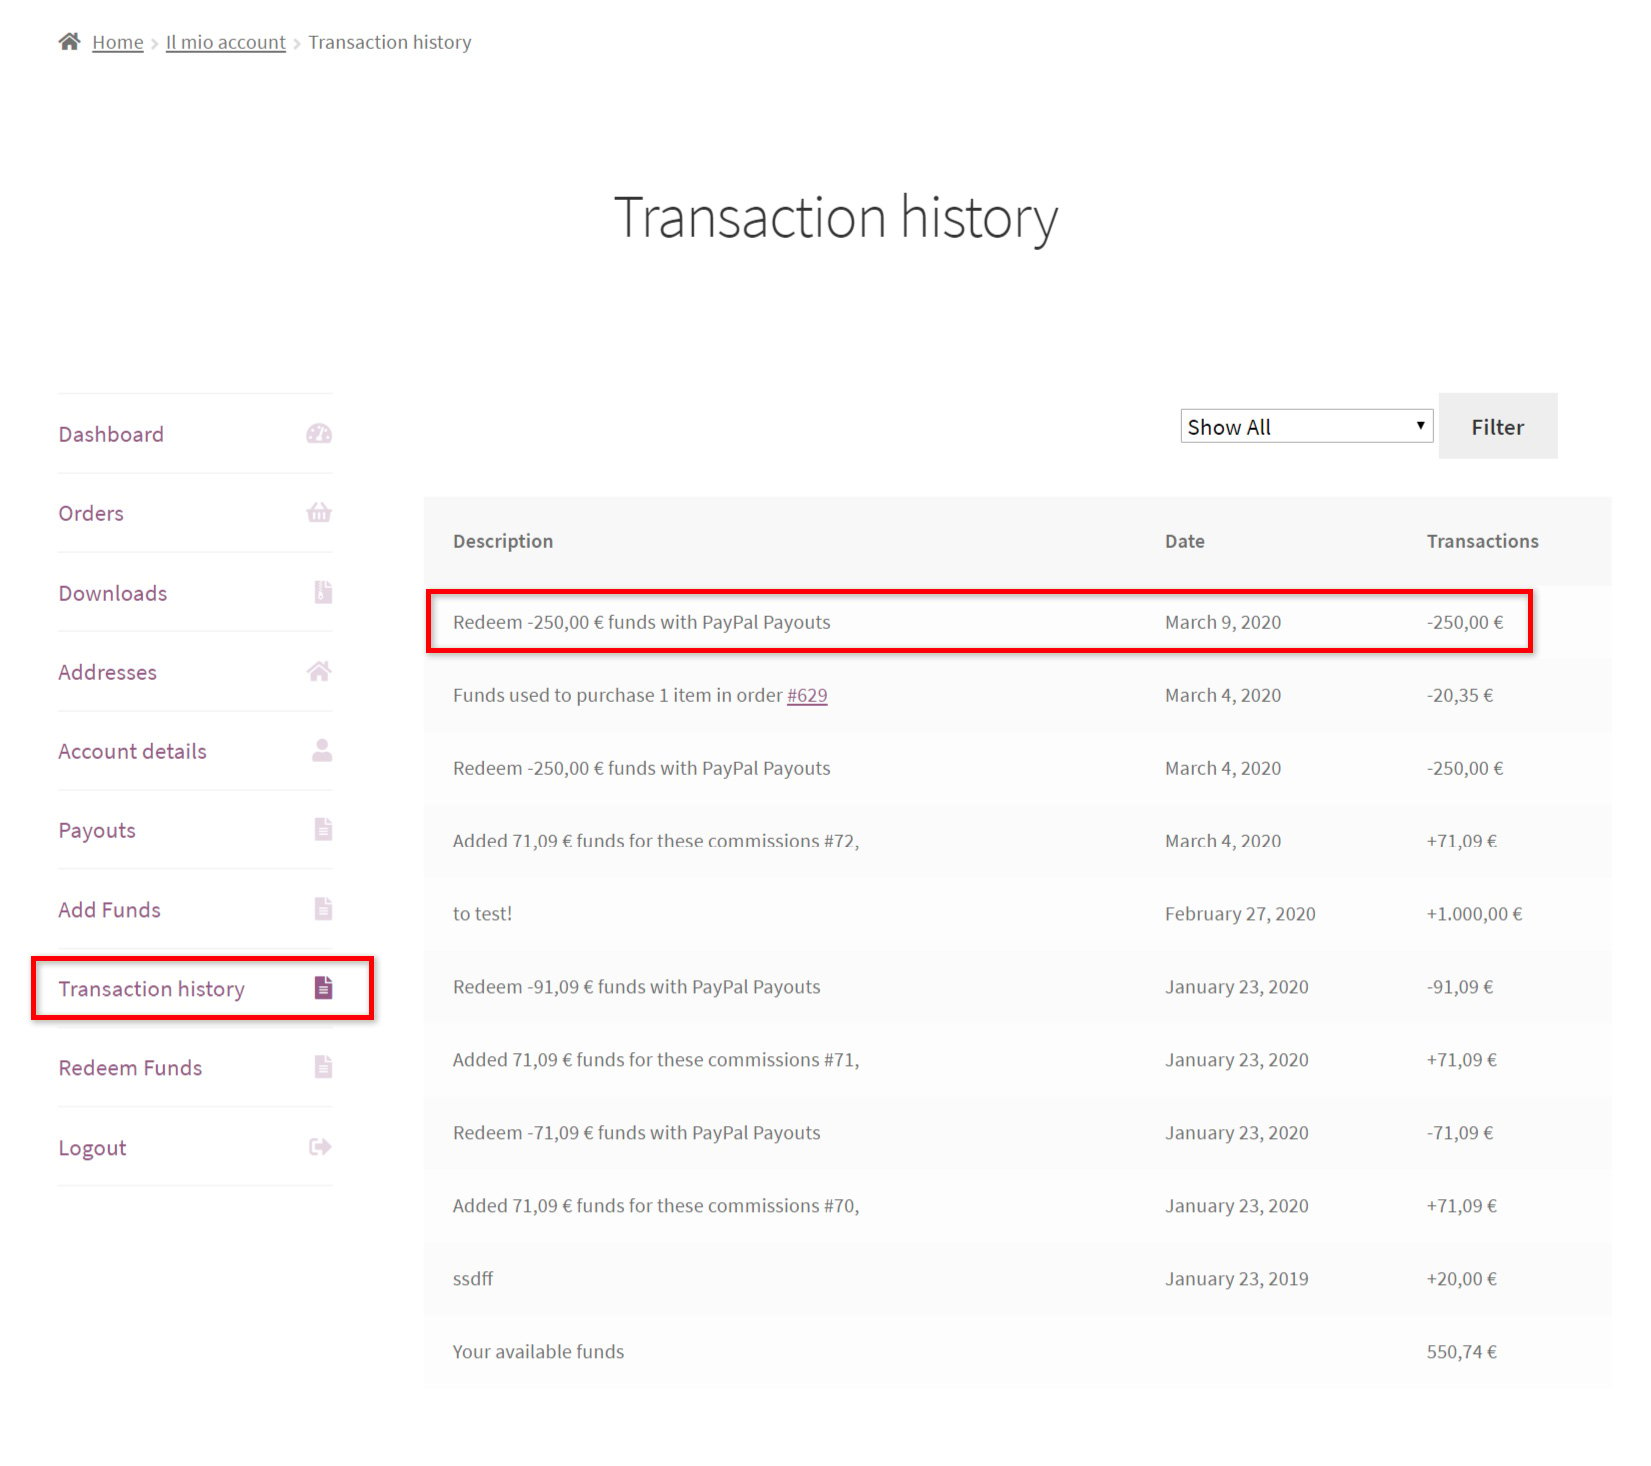
All transactions will be visible to the vendor in My Account > Transaction history.
Manual redemption
Alternatively or in addition to the automatic payment, you can also let vendors redeem their available funds manually on request. In YITH > Account Funds > Vendors & Funds, these are the options that you have to configure:
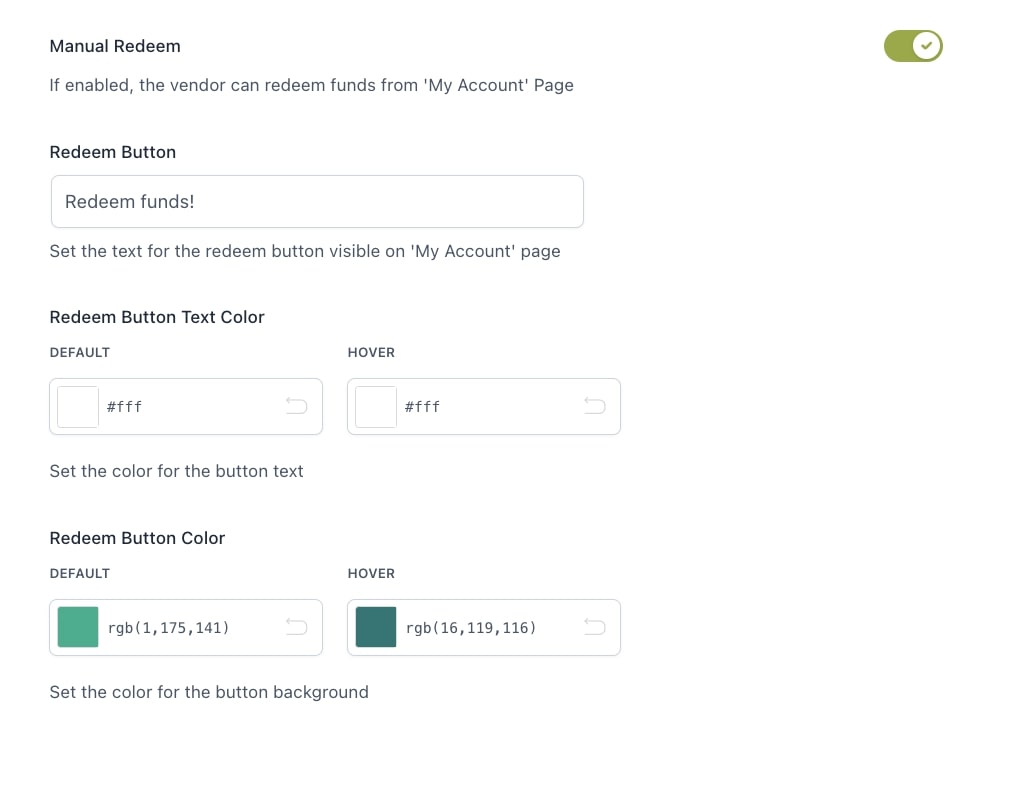
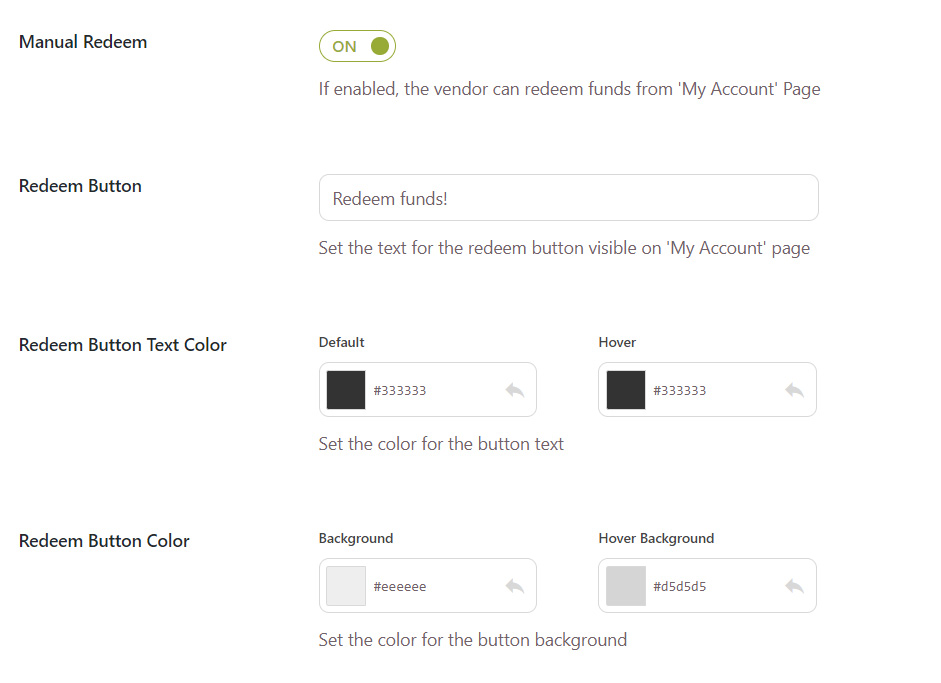
Manual Redeem: enable this option if you want to allow also manual redemption and submit a request from My Account. By enabling this option, you will also be able to customize the button text and color.
Redeem Button: customize the label of the button shown in My Account here.
Redeem Button Text Color
Redeem Button Color
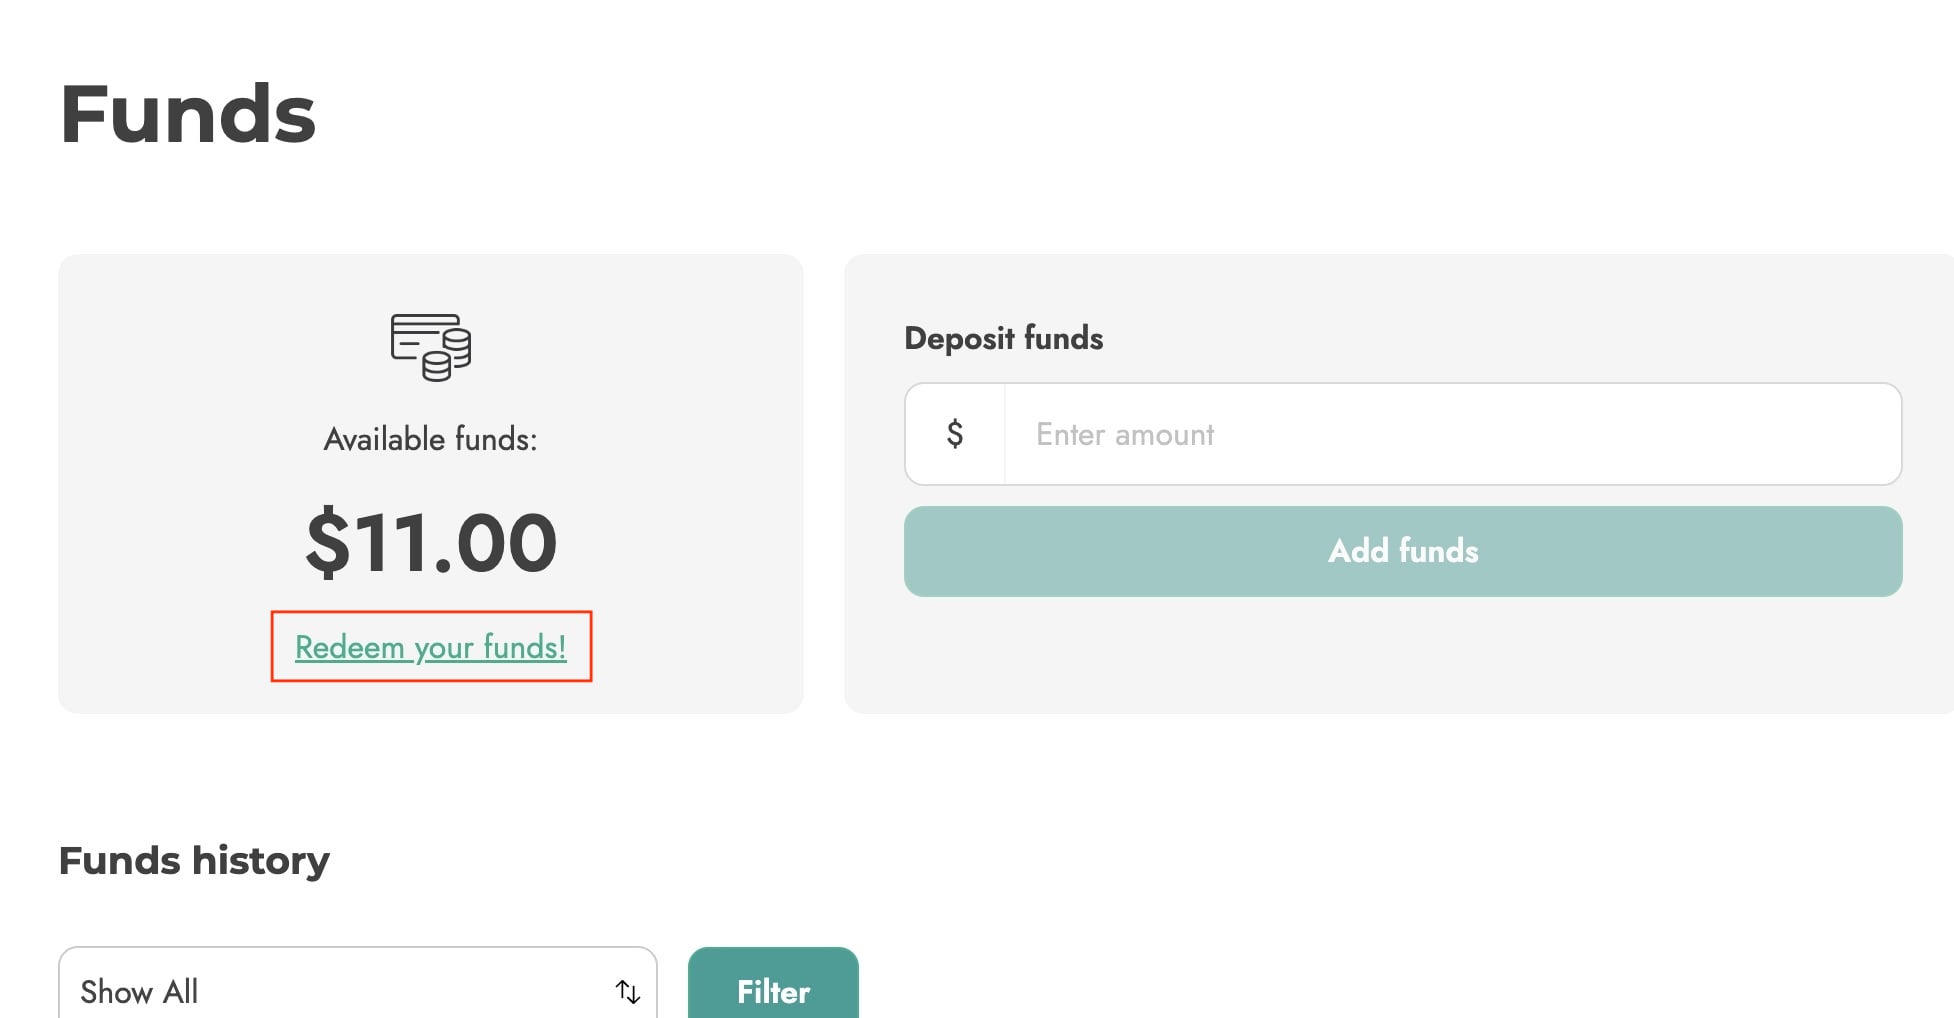
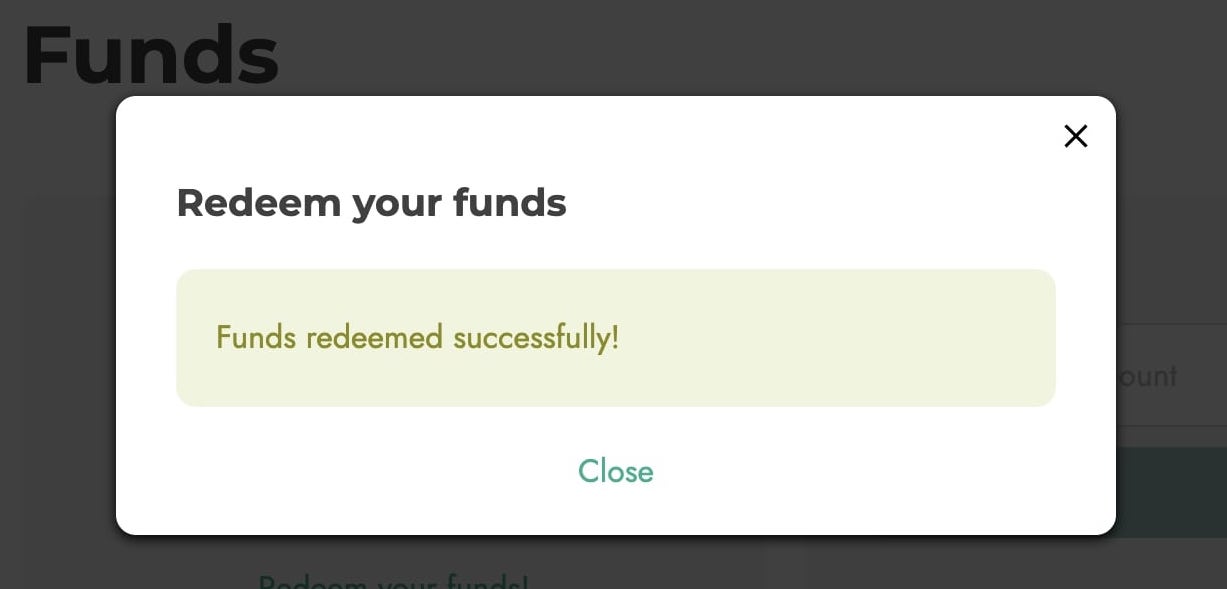
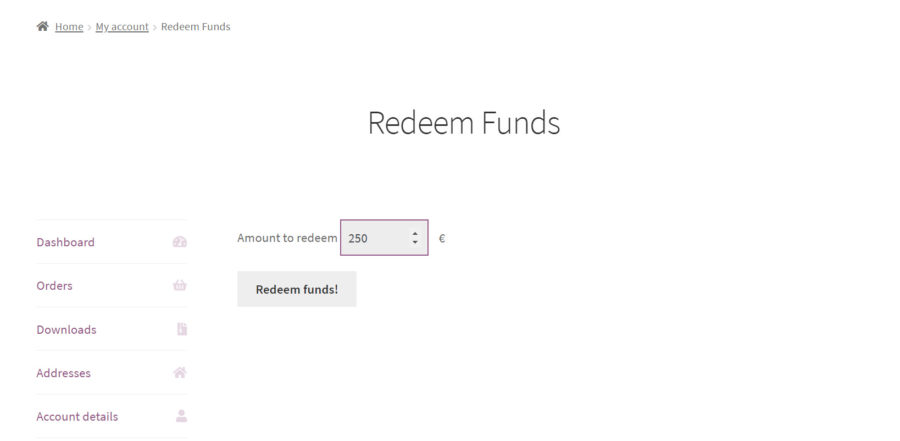
If you enable this option, your vendors will be able to see a dedicated section in My Account > Redeem funds, from where they can submit a request and be paid immediately.
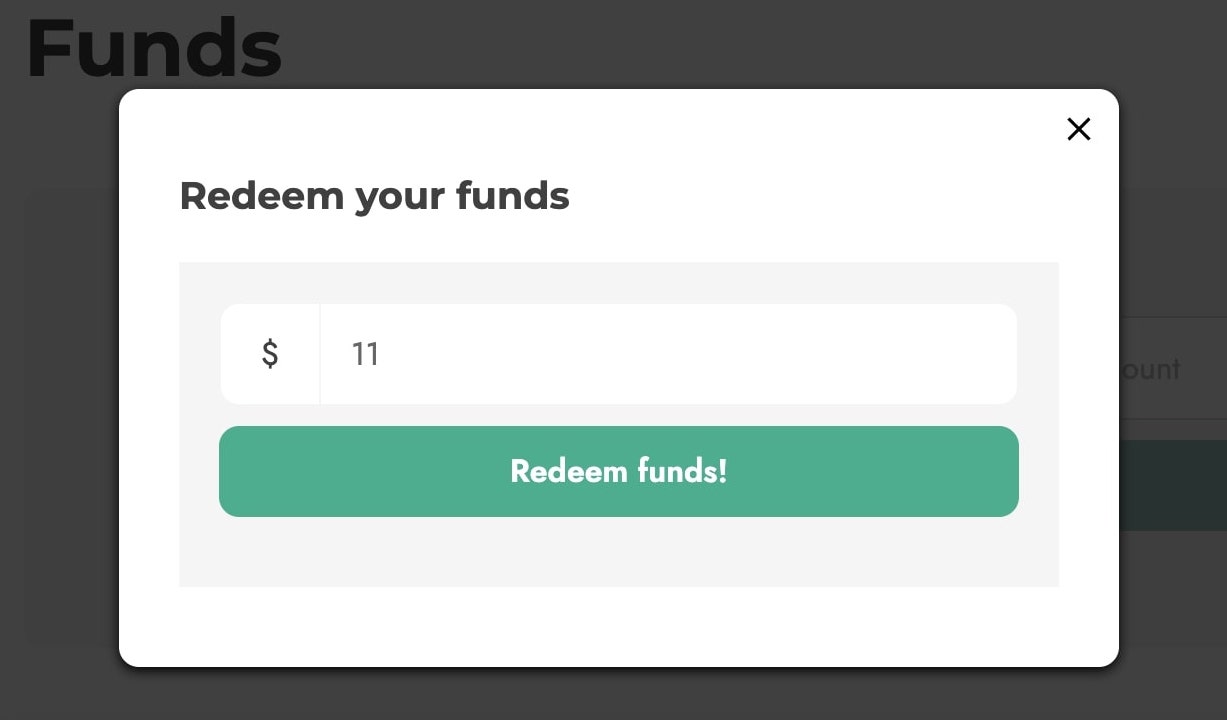
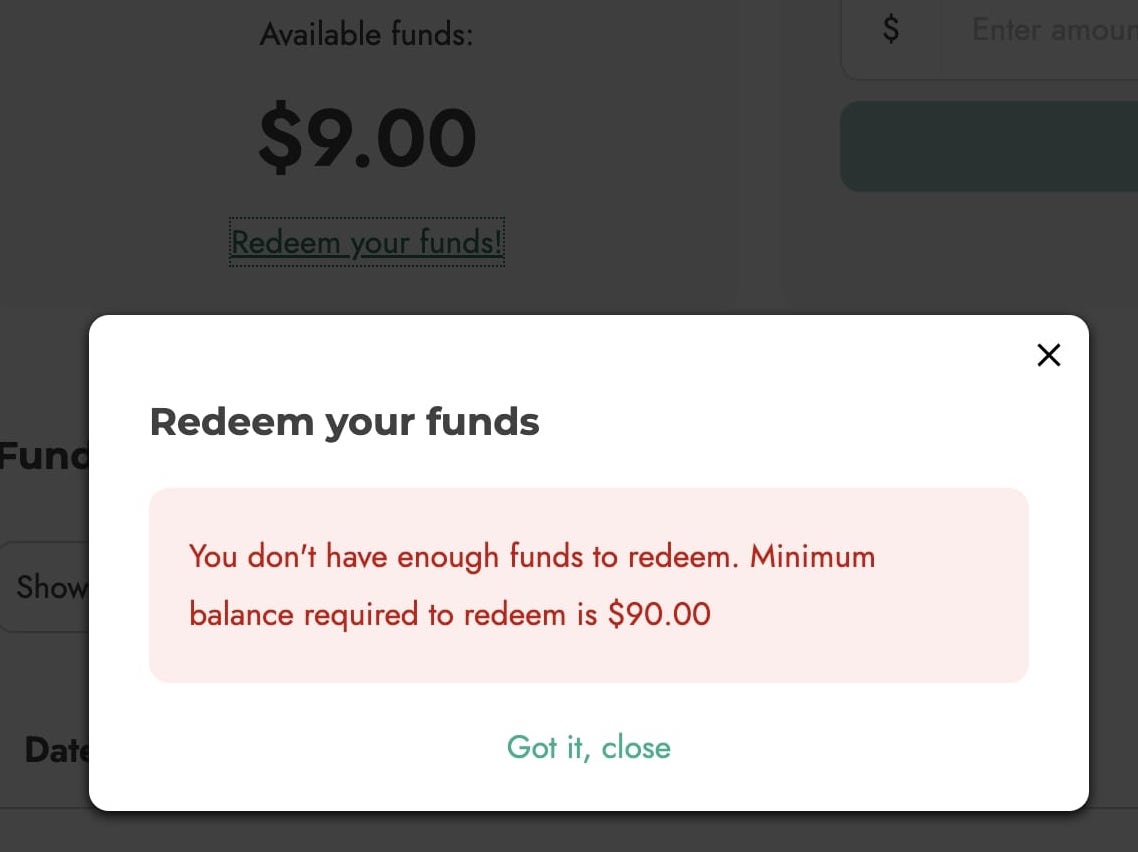
They can enter a custom amount (between the minimum and maximum allowed if you’ve set up these values in the settings) and as soon as they send the request the payment will be processed through the gateway that you’ve selected (only YITH PayPal Payouts available at the moment).
If the vendor enter a value not matching the ones configured, a notice will show
The payment will be recorded in the Transaction history.
The transaction status will be available in My Account > Payouts and the admin can check the transaction in PayPal Payouts > Payouts List > Details.
For more details about the configuration of YITH Multi Vendor, please, refer to the full documentation here.
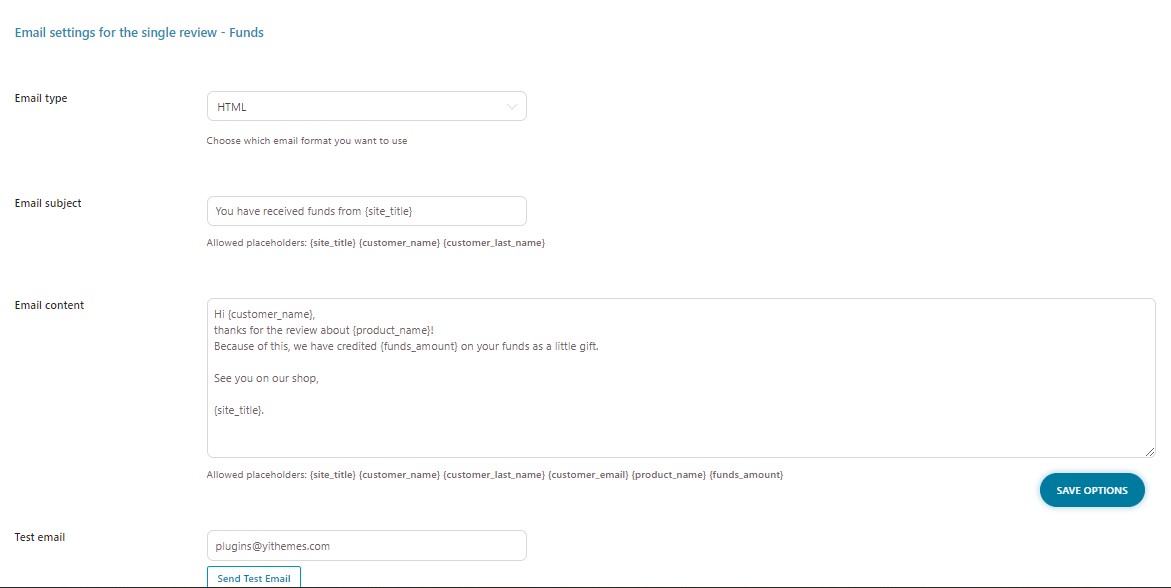
With YITH WooCommerce Review For Discounts, you will be free to offer a coupon to all users writing a review about the products they have purchased. Once they leave a review, the system will automatically send an email with a coupon code they can use on the next purchase.
In combination with YITH WooCommerce Account Funds, the admin can reward the registered customer that leaves a review also with funds.
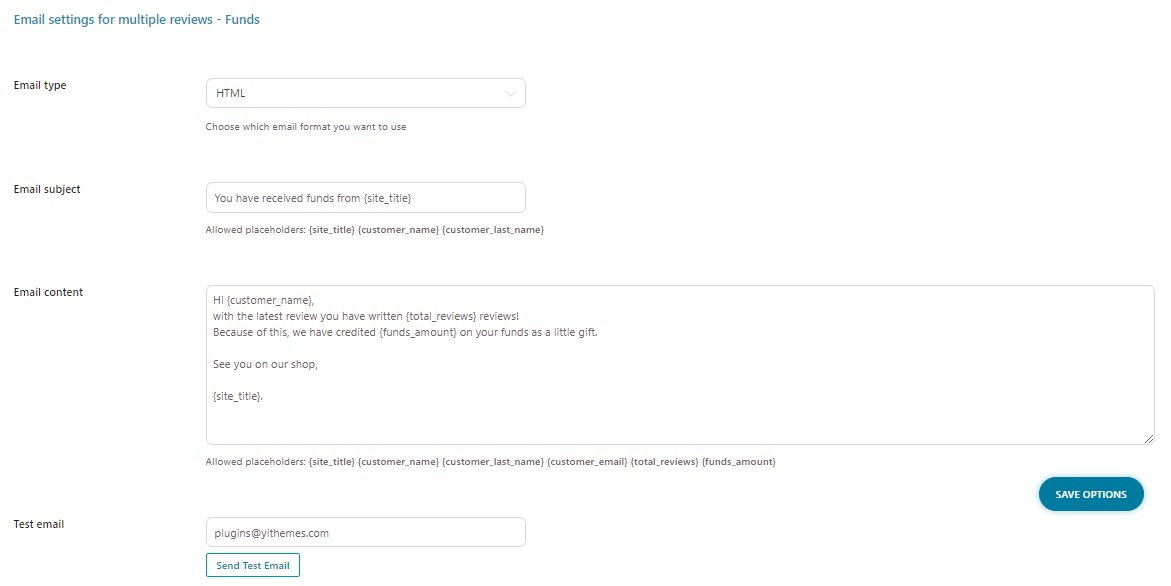
After installing and activating both plugins, you will be able to configure the email that will inform the customers about the new funds that have been credited thanks to their review.
For further details about YITH WooCommerce Review for Discounts, please refer to the official documentation.
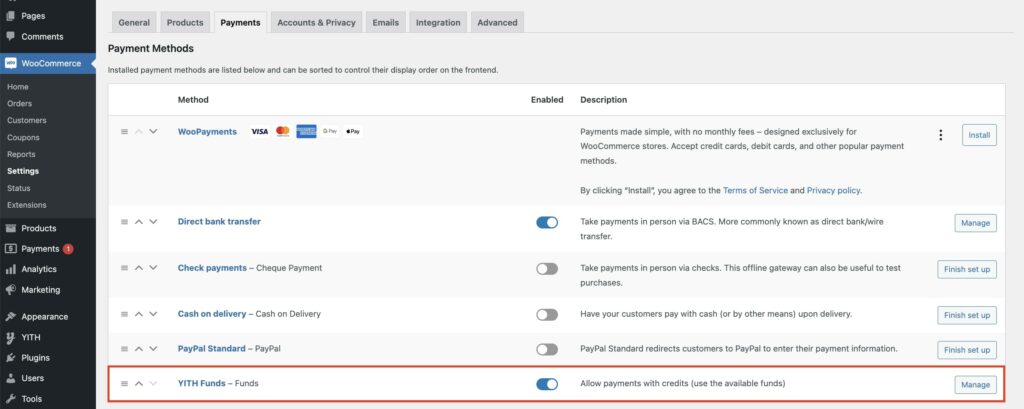
The integration with YITH WooCommerce Subscription lets the customers pay with their Funds, also renewal orders. After the installation, the payment method YITH Funds must be enabled from WooCommerce > Settings > Payments.
You will be able to perform the following actions on your subscriptions:
cancel: both the admin and the customers can cancel a subscription.
pause: both the admin and the customers can pause a subscription.
add multiple subscriptions to the same cart: any user will be able to add more than one subscription to the same cart and pay with a credit card.
edit details of ongoing subscriptions: billing cycle, price, billing date, expiry date, and subscription recurring amount.
You will be able to edit the following subscription information:
Recurring period: you can change the duration of the billing cycle and change it to a given number of days, weeks, months or years.
Start date: you can change the start date of the subscription. A note in the subscription details will keep track of this action. You will see a note with the following text: The start date has been changed from xx/xx/xxxx to xx/xx/xxxx.
Payment due date: change here the date of the next payment. The customer will automatically be charged on the new date you’ve set. A note in the subscription details will keep track of this action.
Expired date: you can change the subscription expiry date here. Remove the date if you want the subscription to NEVER expire. Please note that if the subscription is already expired, changing the expiry date here will not re-activate the subscription. You will need to change it from the subscription Actions box on the right. Read more about this here.
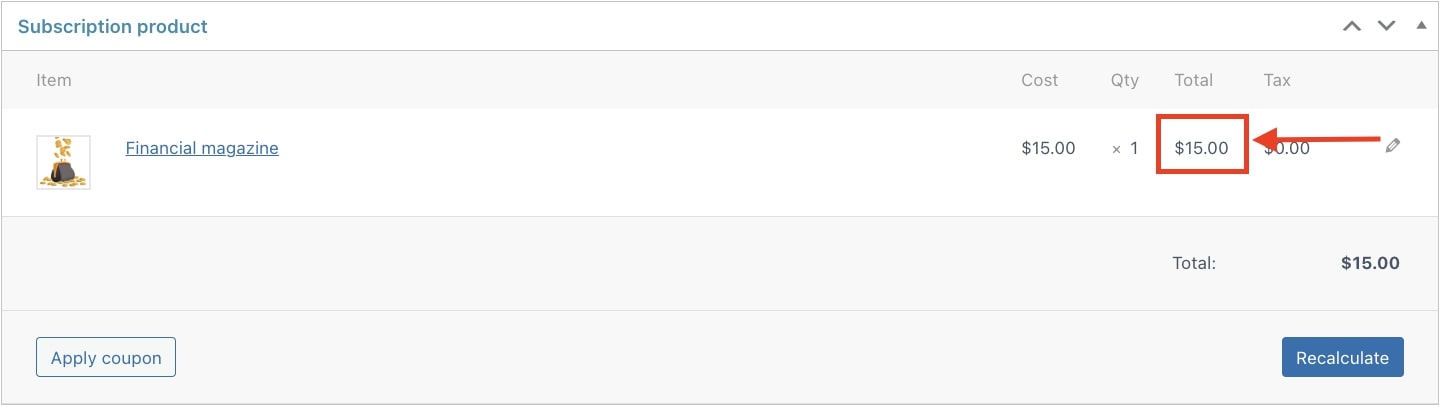
You will also be able to edit the price of the recurring fee:


