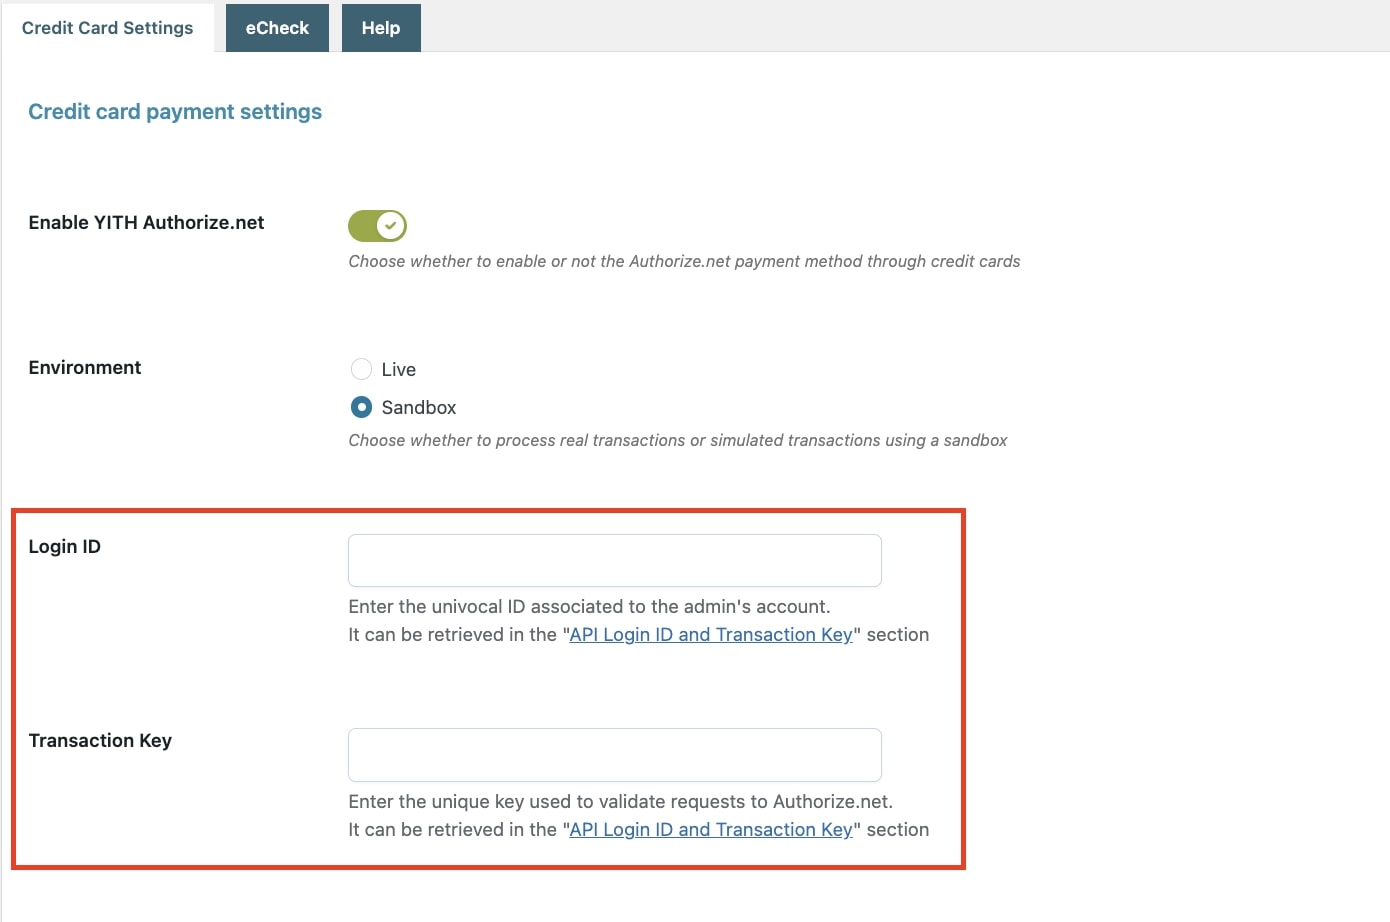
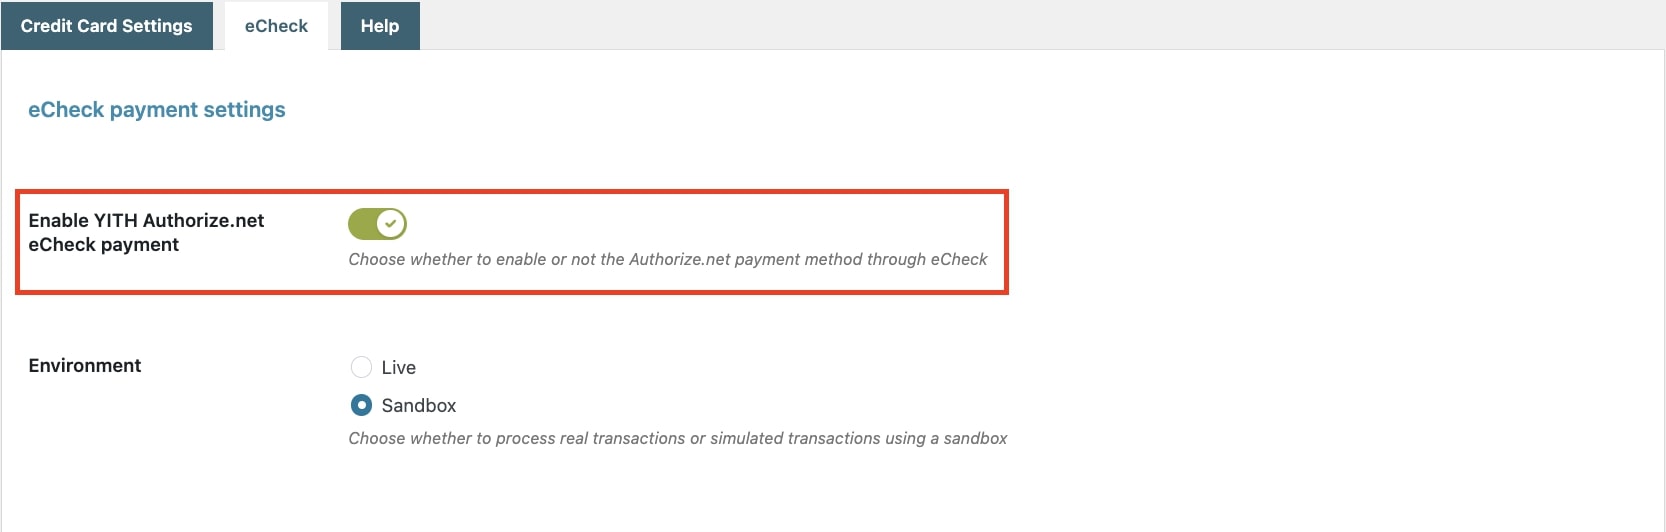
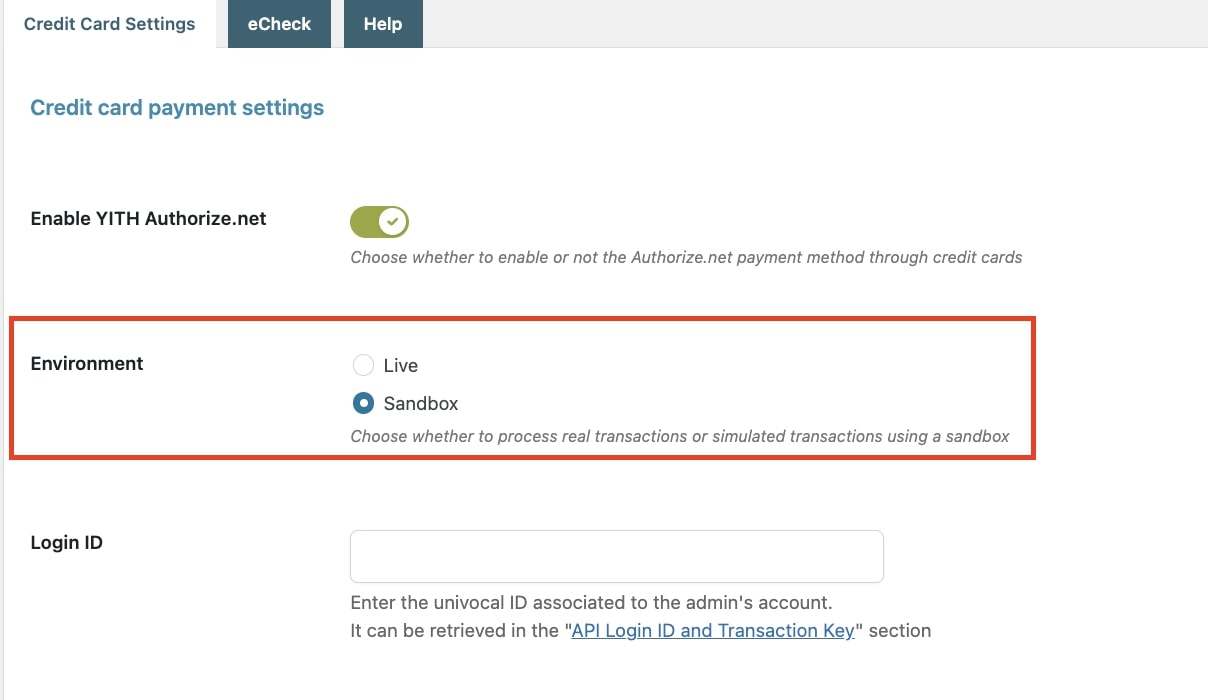
After installing and activating the plugin, go to YITH > Authorize.net > Credit card payment settings, enable this payment gateway on your site and choose between a live or test environment.
If you’re ready to start with the gateway live, select Live and refer to this page for the settings.
If, on the other hand, you prefer to test it first in a sandbox environment, select Sandbox so that you can try out the configuration and see if the plugin works correctly.
To work in Sandbox mode, you must create an account on developer.authorize.net. The production and sandbox accounts are two different accounts, and it won’t be enough to simply enable this option to switch to sandbox mode.
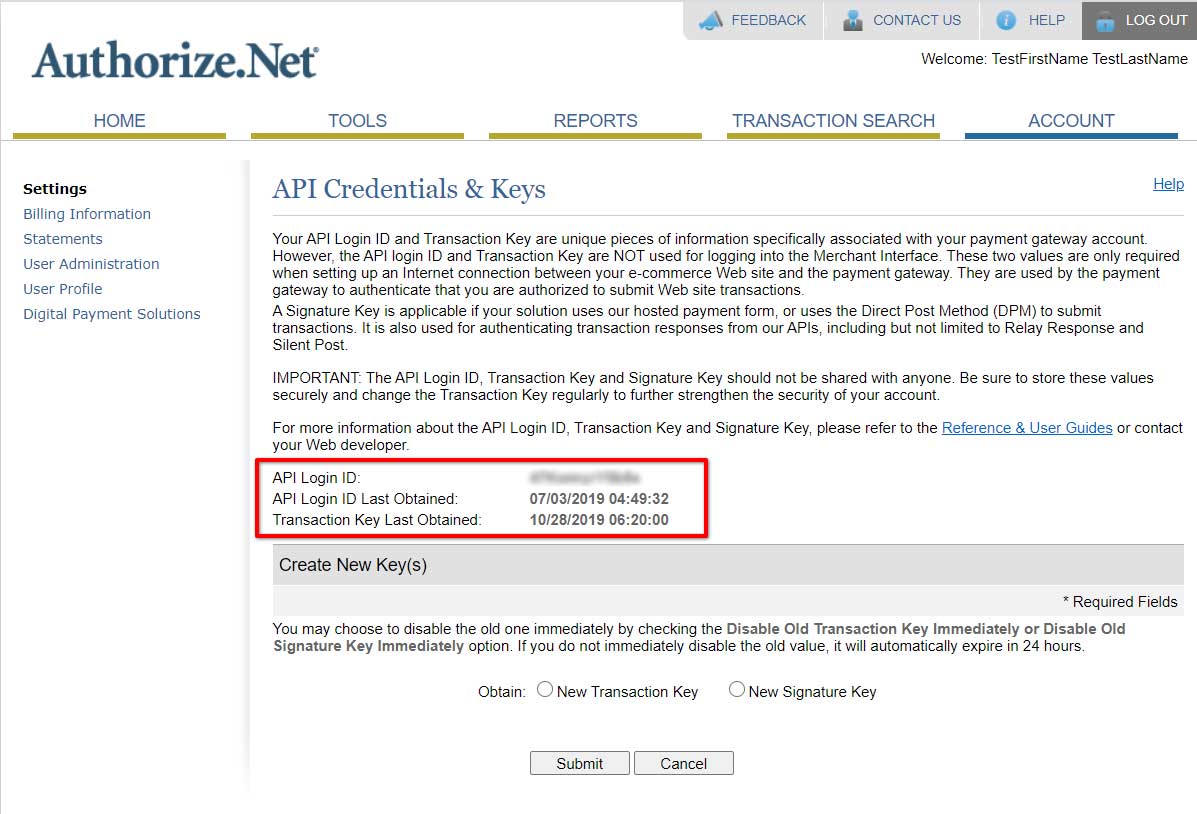
The admin will also need to create a sandbox account here: https://developer.authorize.net/hello_world/sandbox/ and set Login ID and Transaction key for this account in the plugin settings.
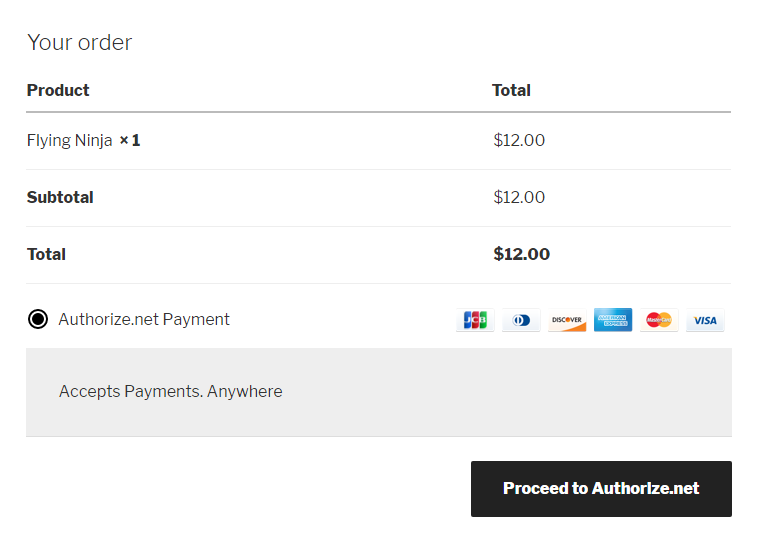
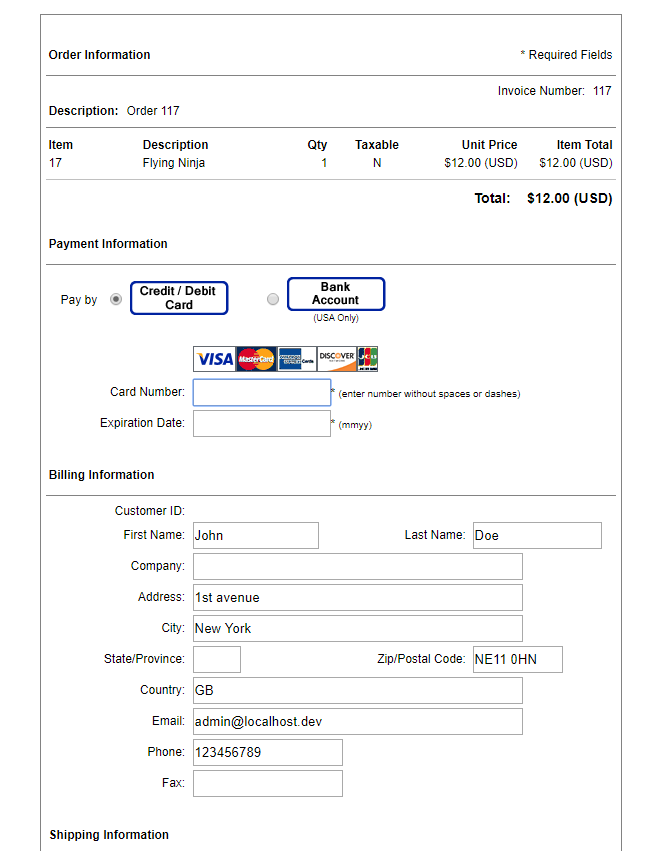
To test the plugin configuration, enable Sandbox mode as explained above, then proceed with your test purchase and select Authorize.net payment mode during checkout.
To test the credit card method, you can use some randomly generated card numbers available on this page.
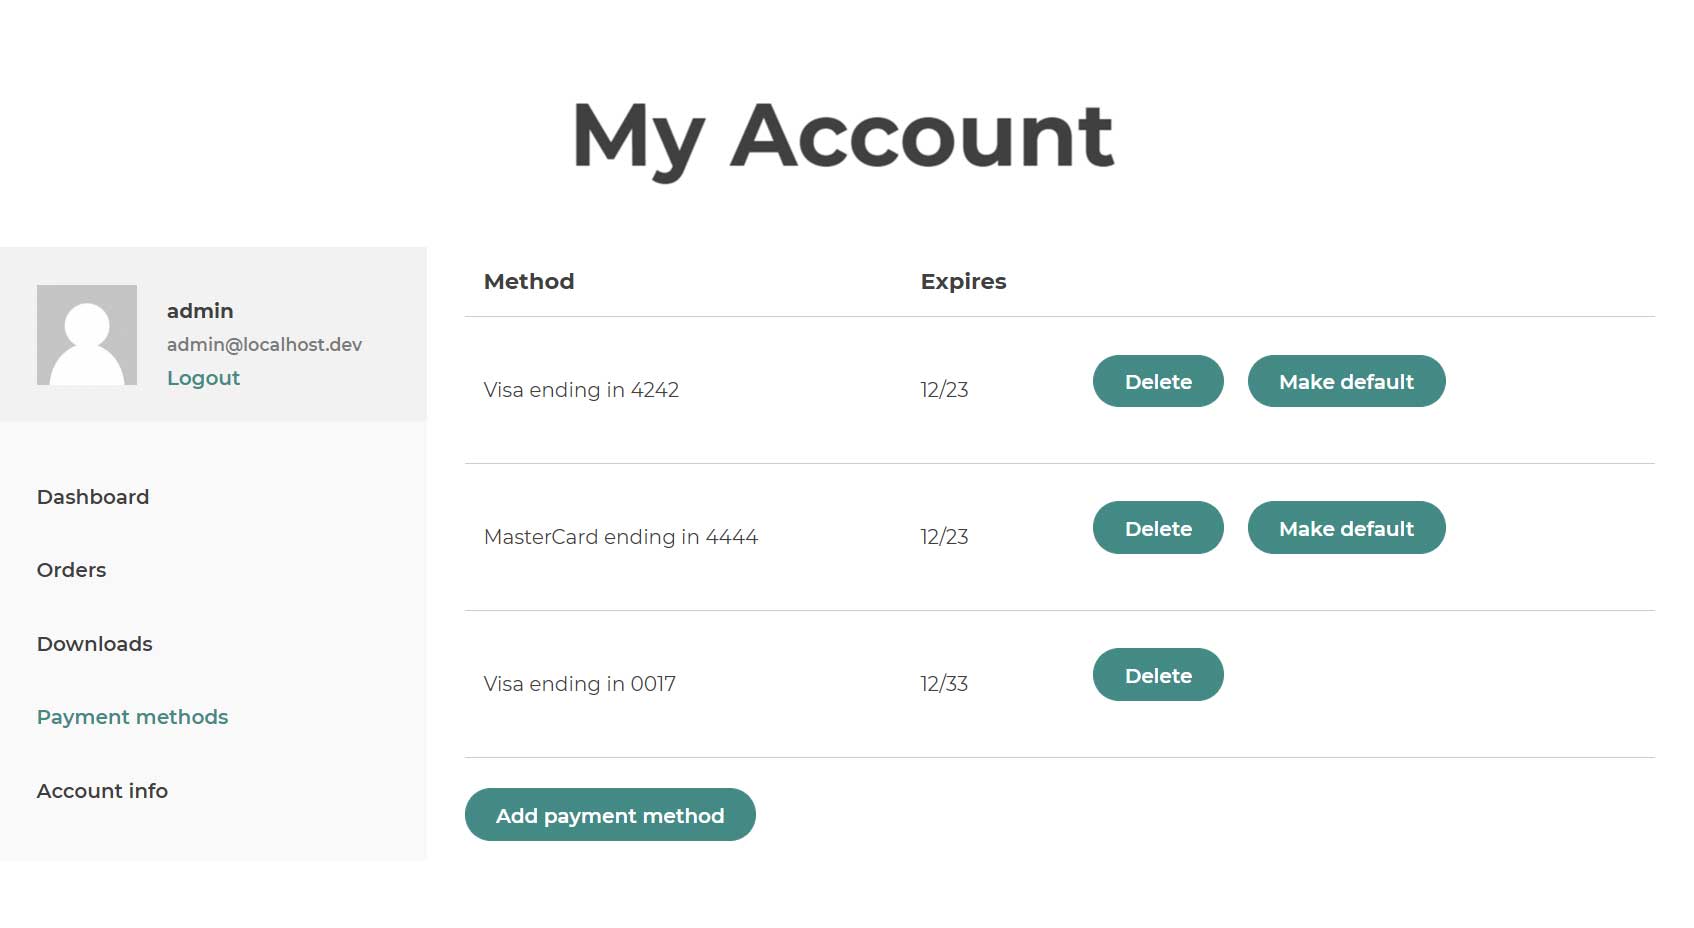
If the test was performed locally, the system will generate an error, otherwise, you will be redirected to the My Account page if it was successful or to the Checkout page if there was an error (incompatibilities between currency and payment method are common).
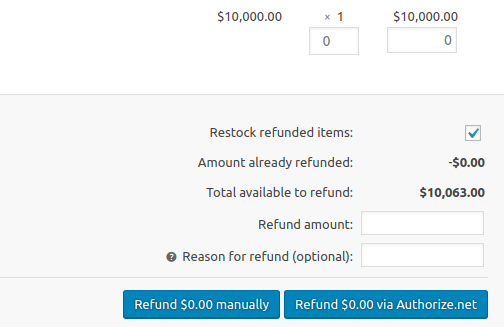
NB: Check the order status during and after payment in WooCommerce panel. During payment, the order status is labeled as pending payment; once the order has been completed, its status will change to processing or completed.