In the Add to wishlist tab, you can find the options to customize the wishlist functionality.
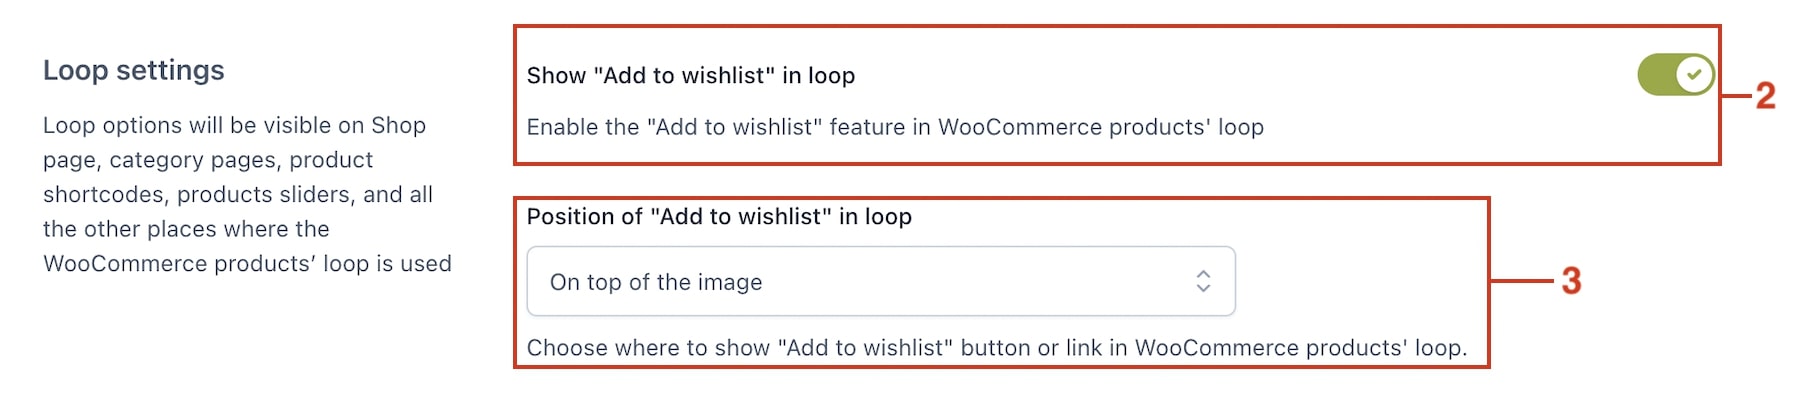
- You can choose to show or not the “Add to wishlist” button (2) in the loop (Shop page, category pages, etc.) and its position (3). If this option is disabled, the “Add to Wishlist” button will be shown ONLY on the product detail page.
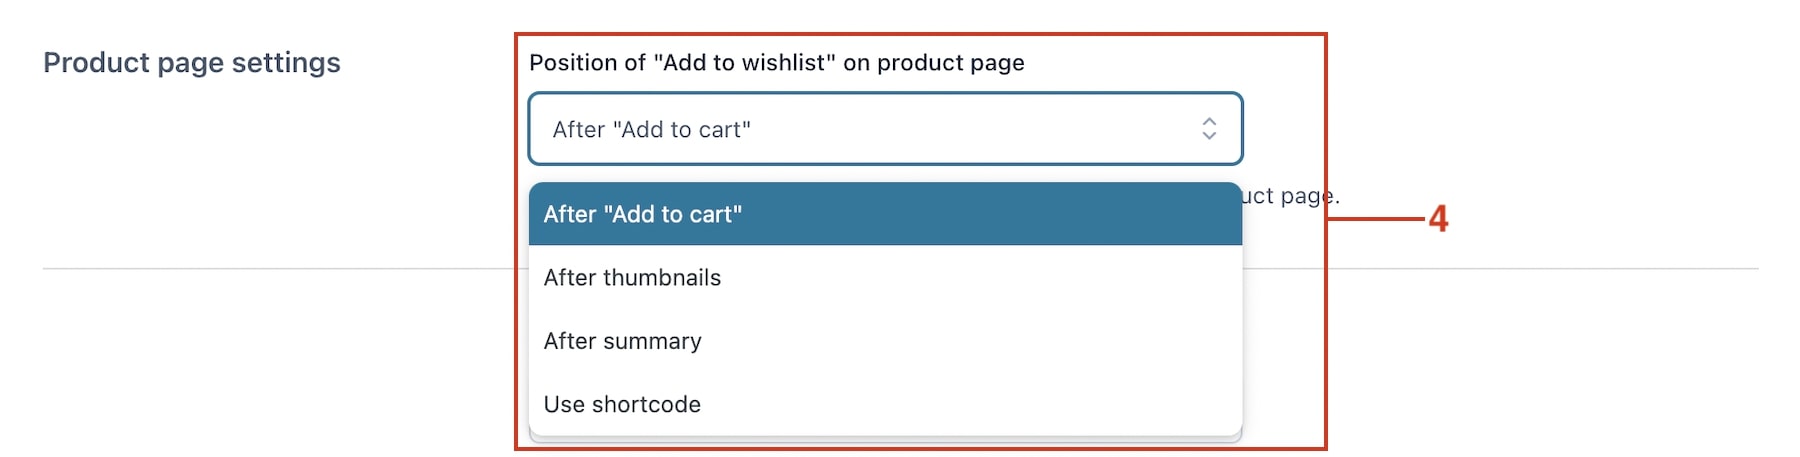
- Then you can choose the position of the “Add to wishlist” button on the product detail page (4).
If you also want to customize the style and text, go to the Customization tab:
- You can select the style of the “Add to Wishlist” button (5). You can choose between a textual link or a button, the theme style or a custom style (if you choose the latter, you can set the button colors).

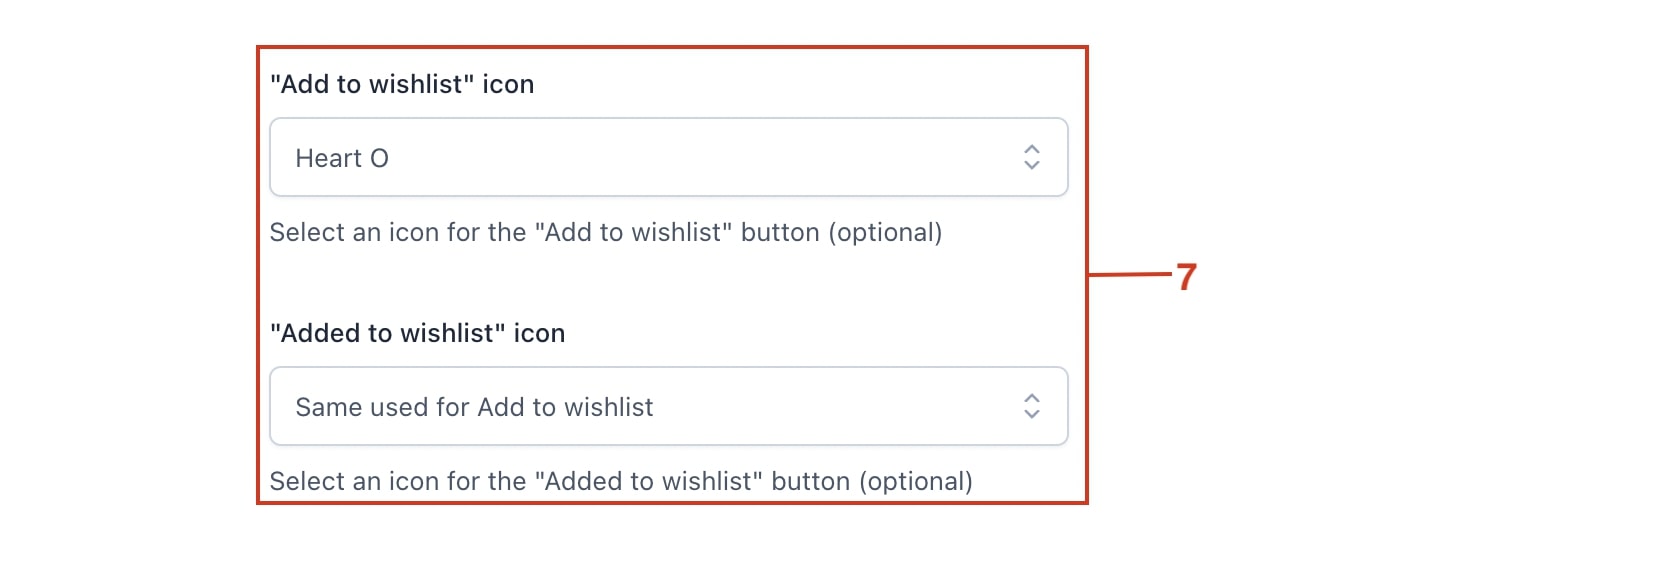
- You can also choose the icon to use. By default, the “heart outline” icon is selected, but you can also pick a different one from the list or upload a custom icon instead (6). You can set the icon color as well (7).
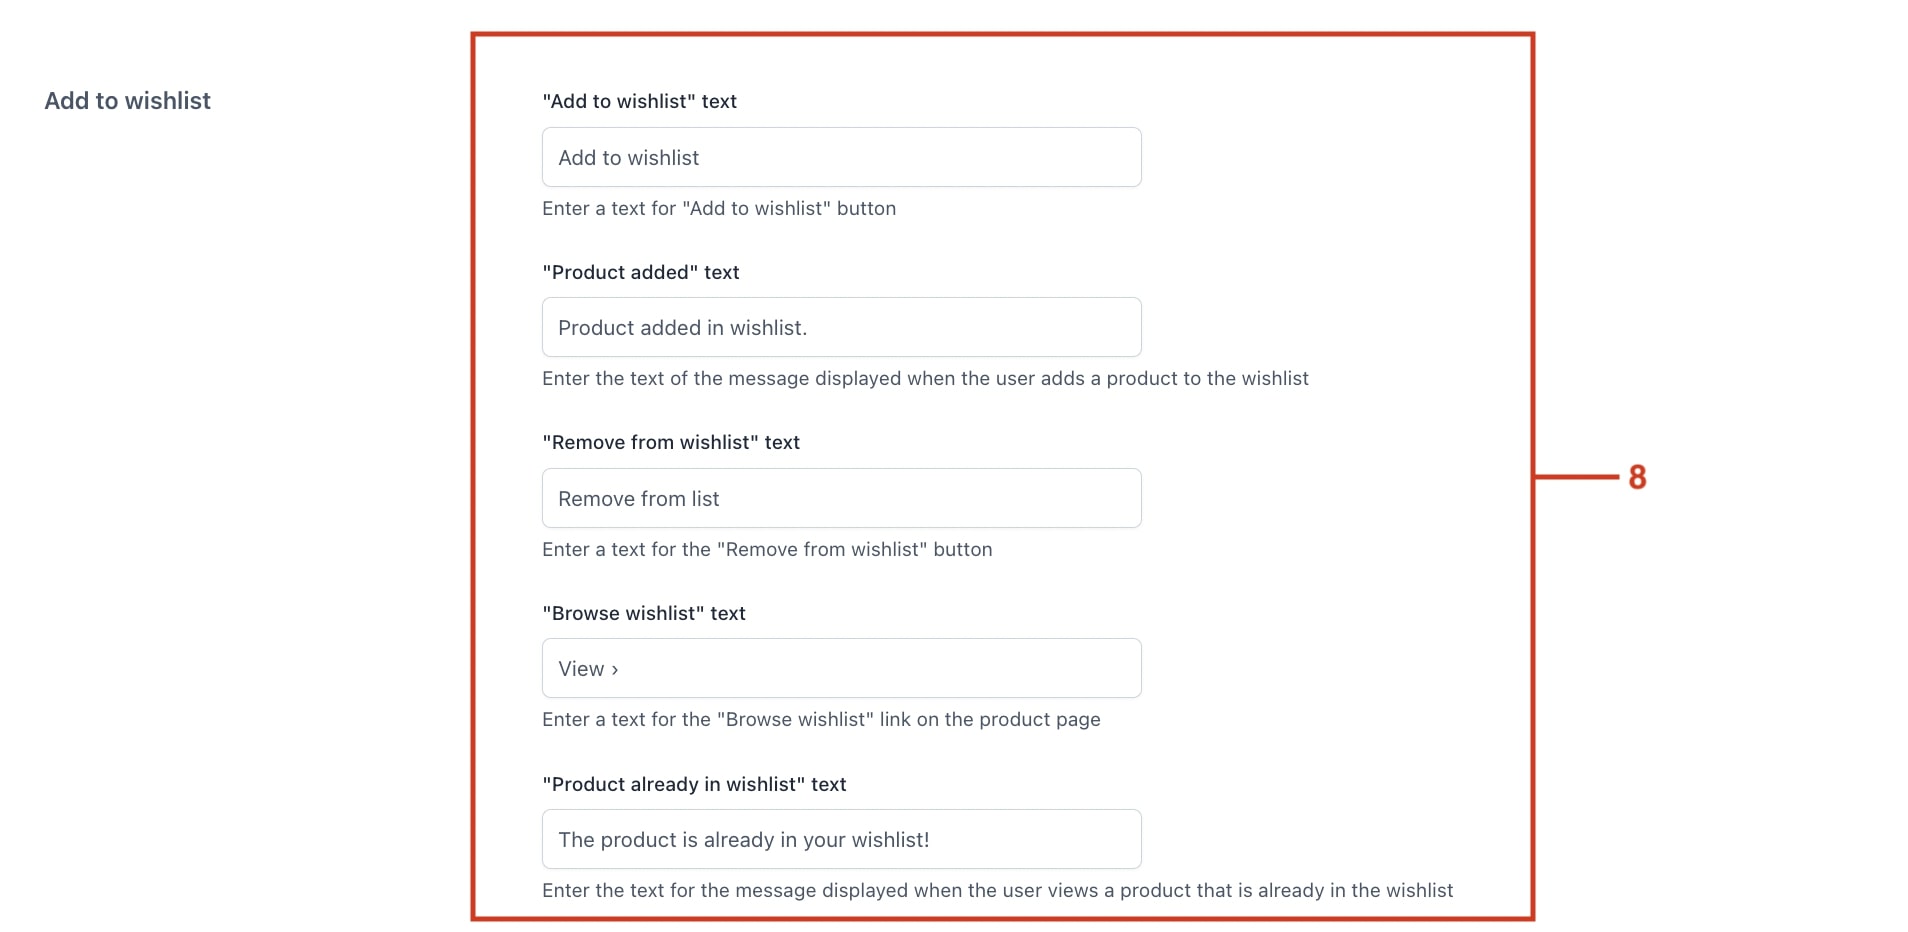
- And from the Labels tab, you can customize the different texts shown to your customers (8).