The Settings section of the plugin is where you can configure the general options about the management of the one-click features. Here, you can manage where, when, and to whom you show the one-click button.
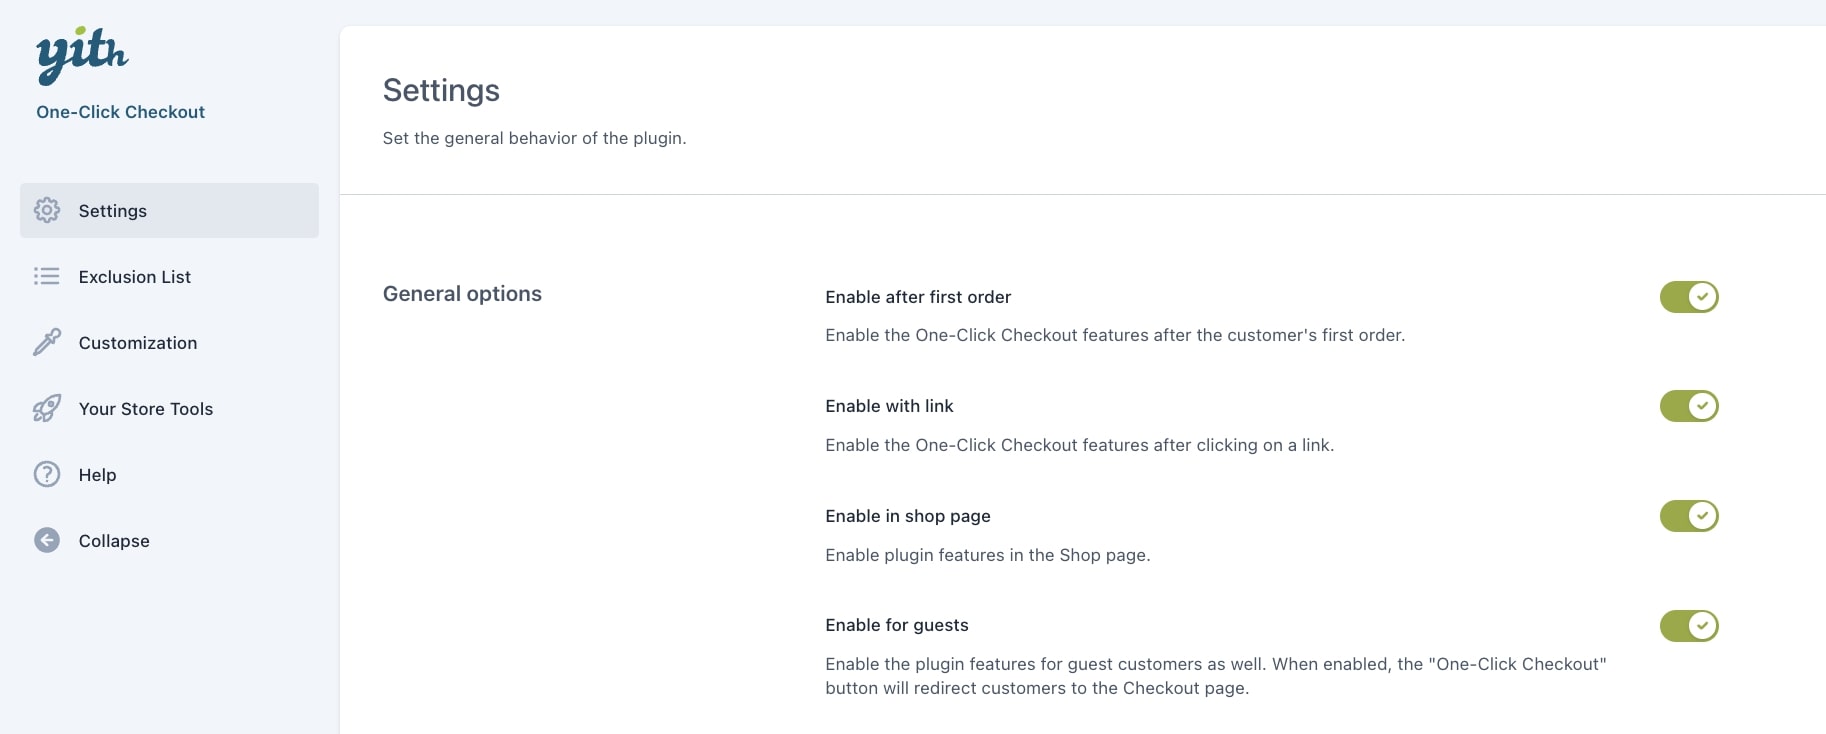
- Enable after first order: enable this option to restrict the plugin features only to users who have purchased at least once in your shop.
- Enable with link: enable this option to show a link instead of the button.
- Enable in shop page: enable this option to show the button also on the Shop page. By default, the plugin adds the button to every product page.
- Enable for guests: enable this option to redirect guest customers to the Checkout page after clicking on the one-click button. By default, the button shows only to users who have entered their shipping data or those who have at least purchased once in your store.
Now, you can define the products that will show the one-click button.

- Show “One-Click Checkout” on: select the products by choosing from
- All products
- Products in the Exclusion List only: by selecting this option, the one-click button will show only on the products added to the Exclusion list.
You can let users add different shipping addresses they can select during the purchase process.
They can add a new shipping address any time from My Account > One Click Checkout or also during the purchase.
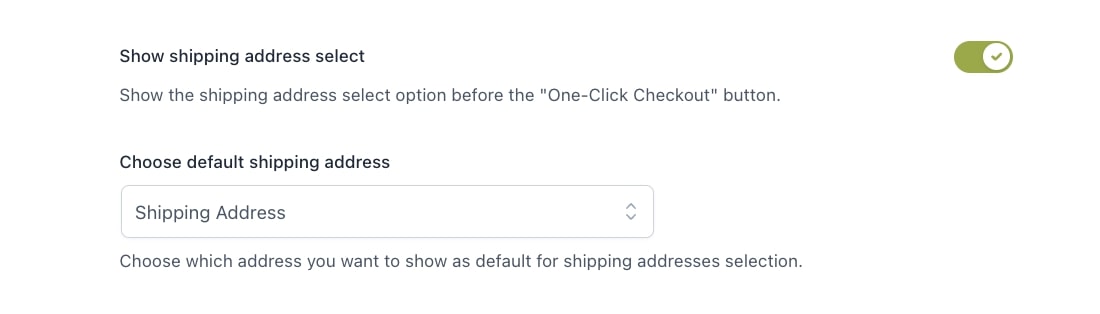
- Show shipping address select: enable this option to let users select their shipping address.
- Choose default shipping address: choose the default shipping address to show from None, Billing address, or Shipping address.
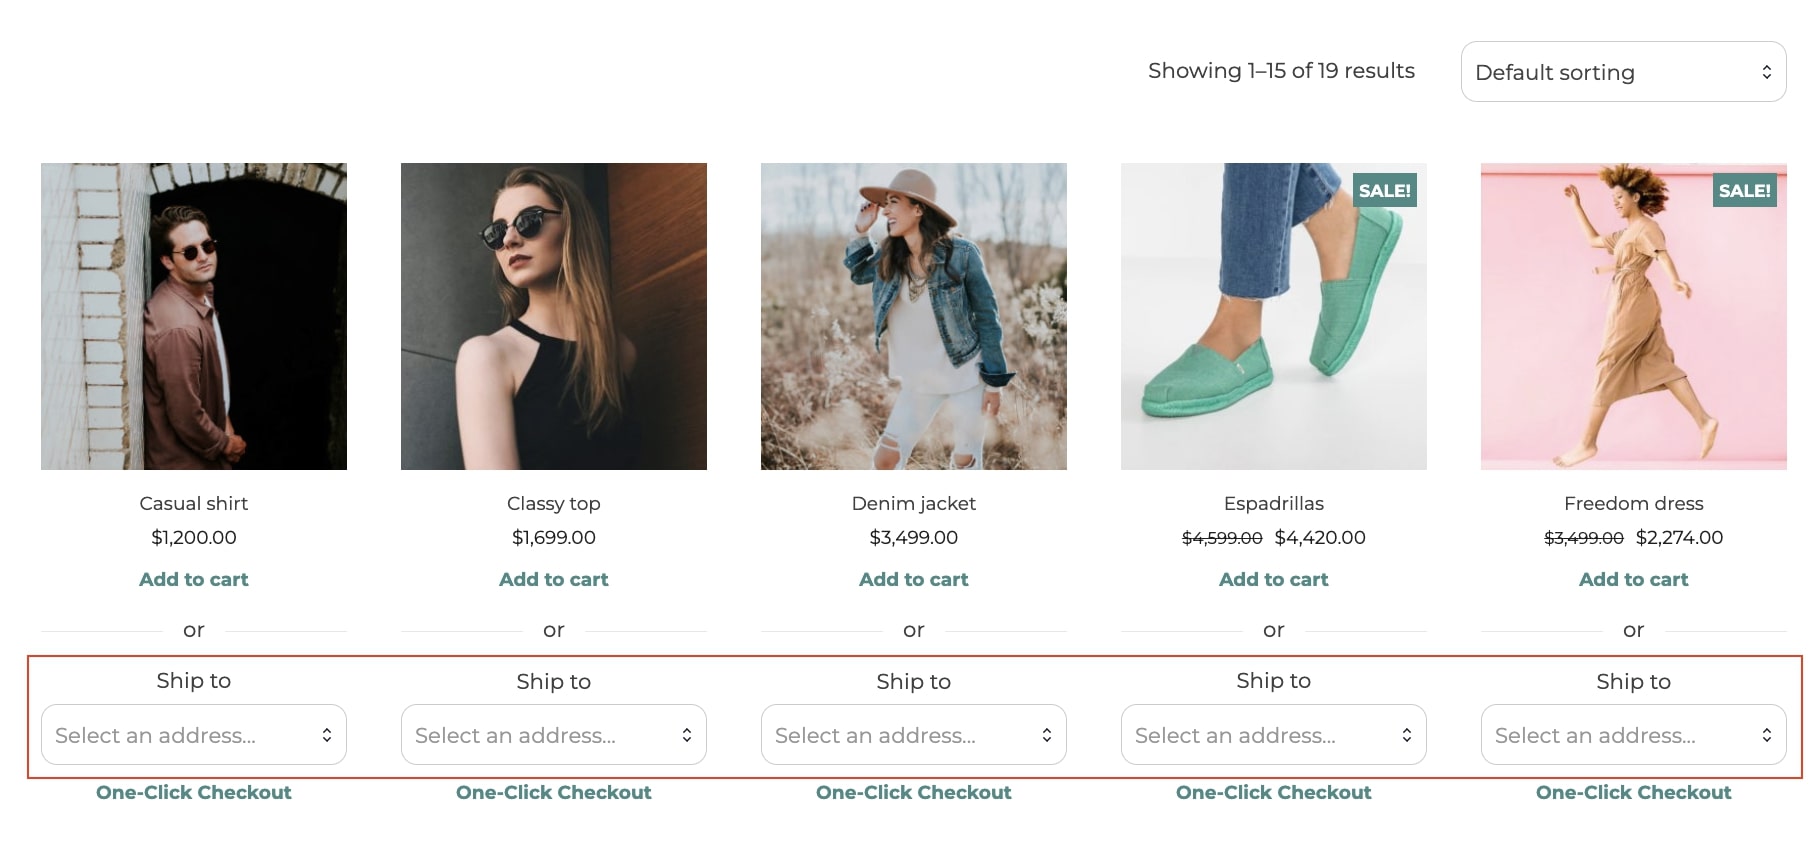
Shipping address selection on Shop page
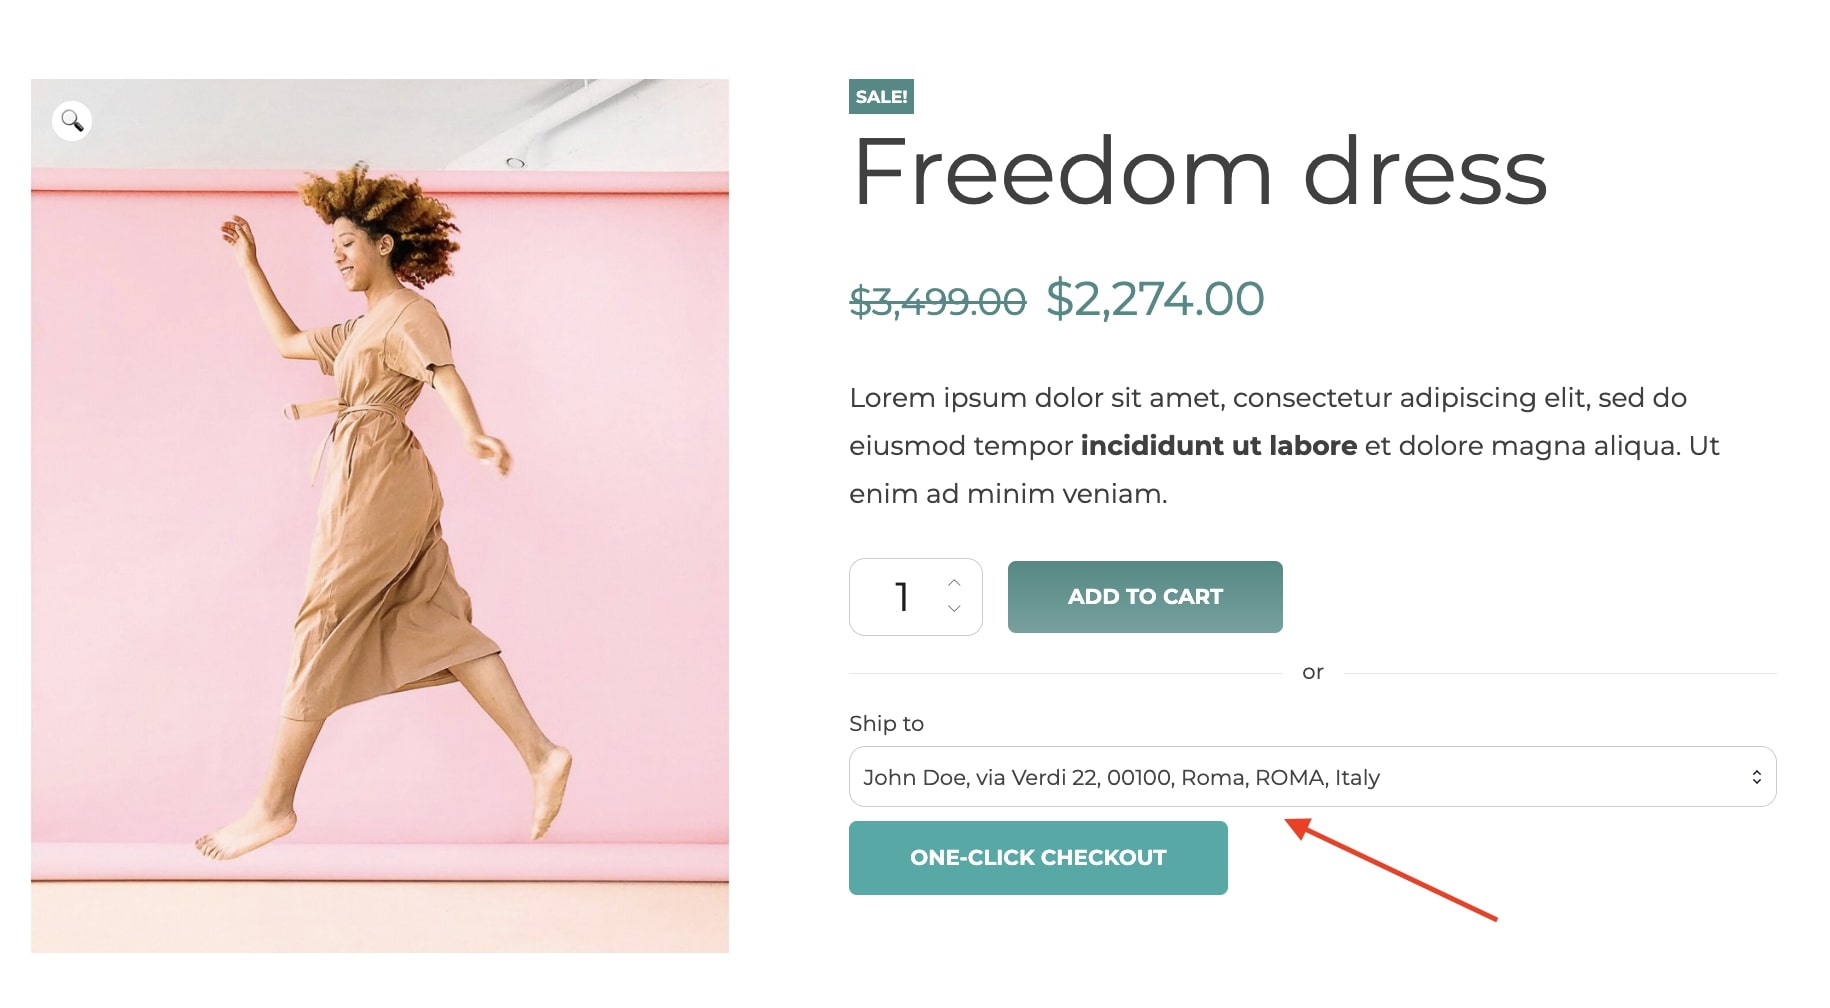
Shipping address selection on Product page
You can now define how to graphically show the one-click-checkout button.

- Show form divider: enable this option to show a divider between the One-click-checkout button and the standard Add-to-cart button.


Finally, you can manage how to redirect users after the one-click purchase.
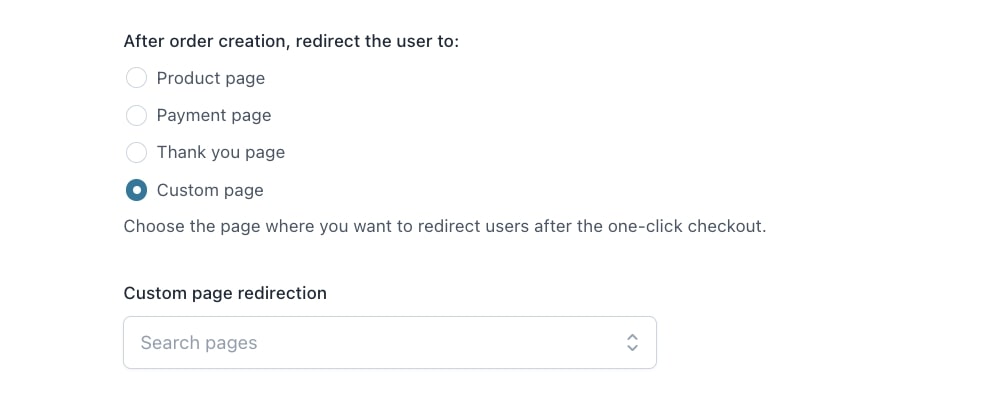
- After order creation, redirect the user to: choose the page to which users will be redirected from:
- Product page
- Payment page
- Thank you page
- Custom page
- Custom page redirection: search the page through the dedicated field.
Stripe integration
The additional option that you find in Stripe integration allows customers to use their credit card to pay orders placed through the one-click checkout. To enable this option, you need to install and activate YITH Stripe.

For further details about the integration with YITH Stripe, visit this page.


