In the plugin Endpoints section, you will find all WooCommerce endpoints shown on the “My Account” page. These are default endpoints that can’t be deleted, but you can disable them, change their content and rearrange them as you prefer.
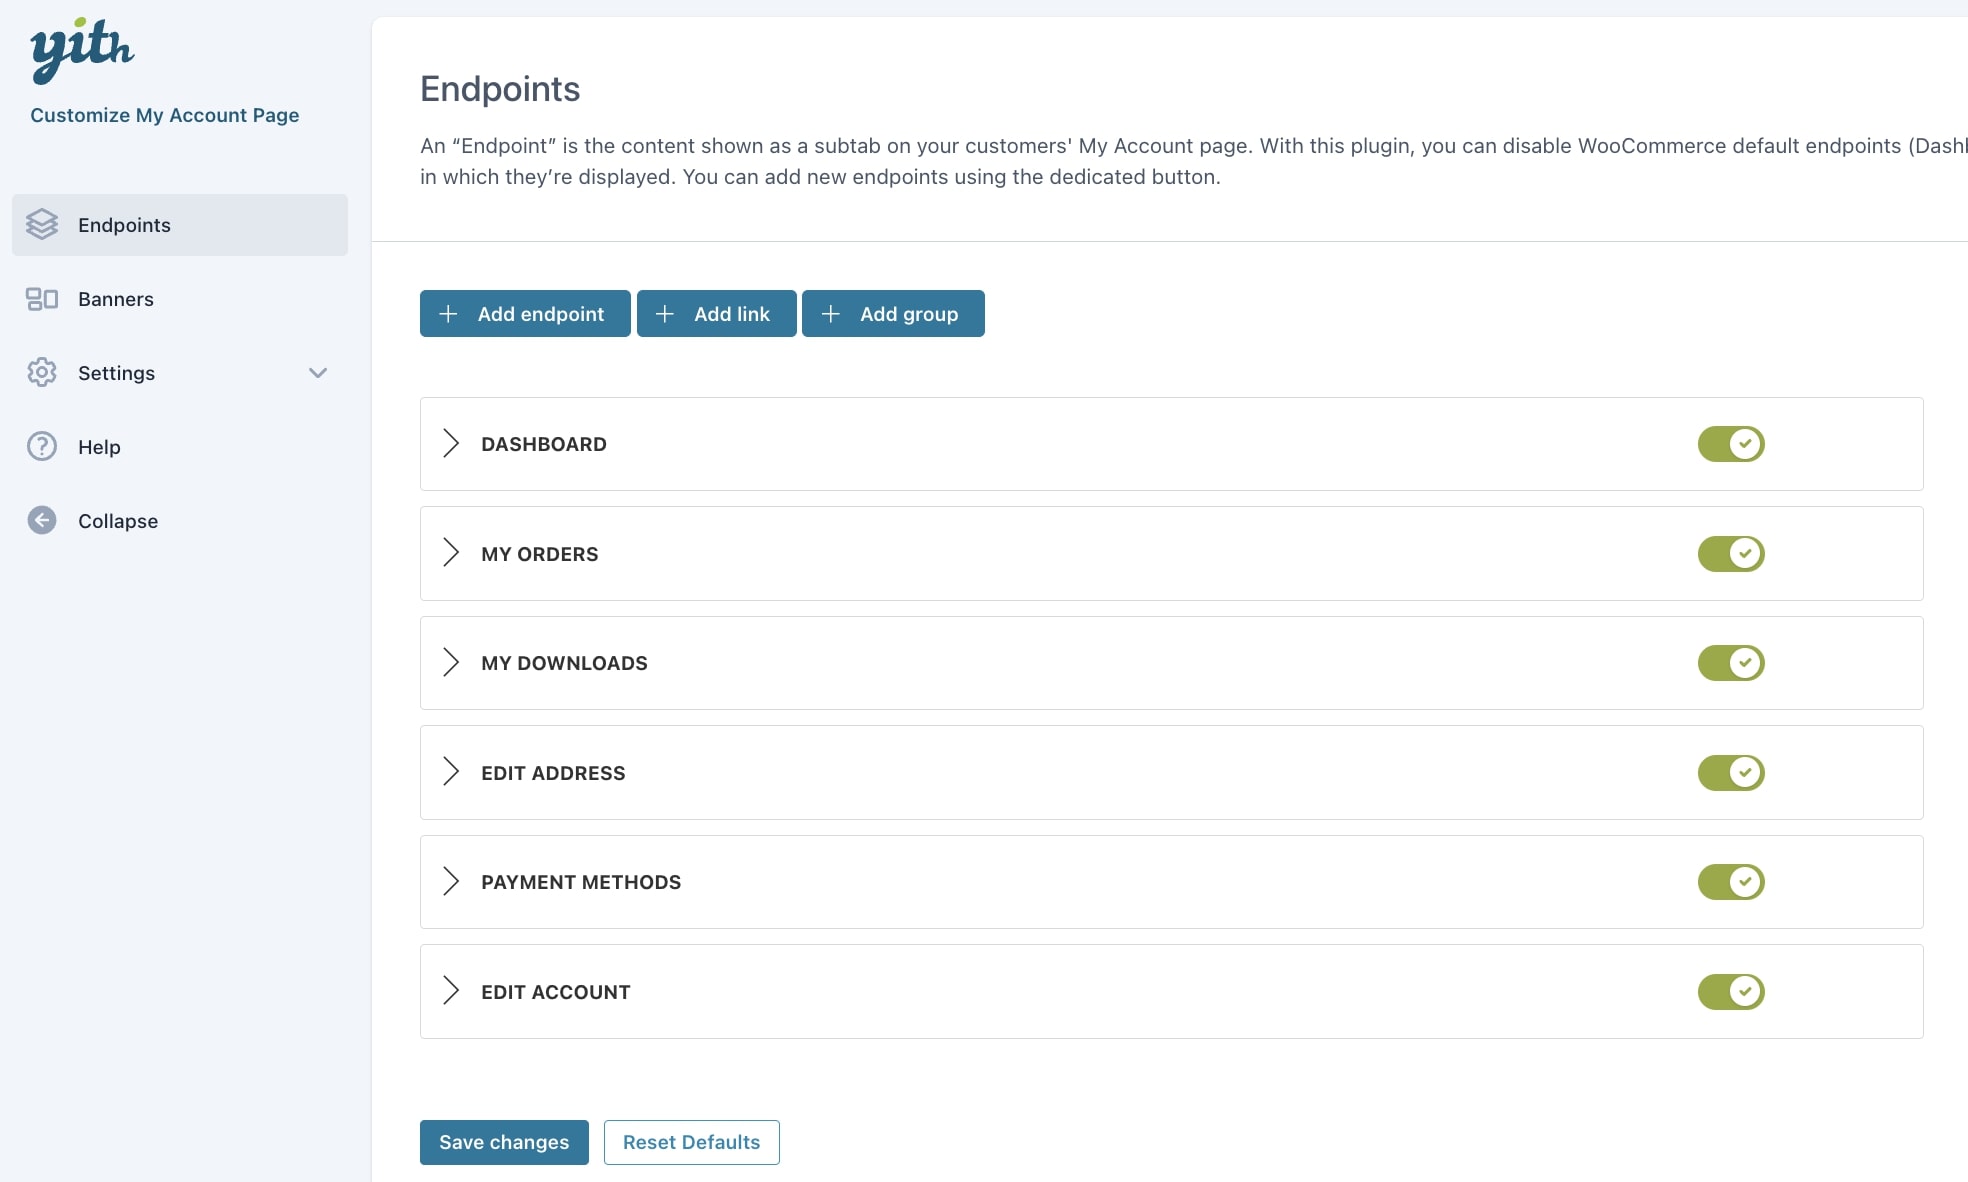
From this section, by clicking on the dedicated buttons, you can start creating your
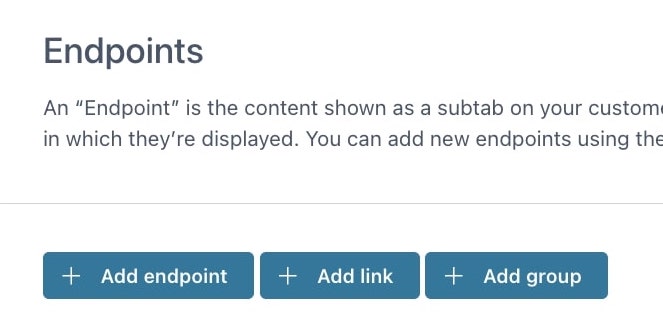
Add endpoint
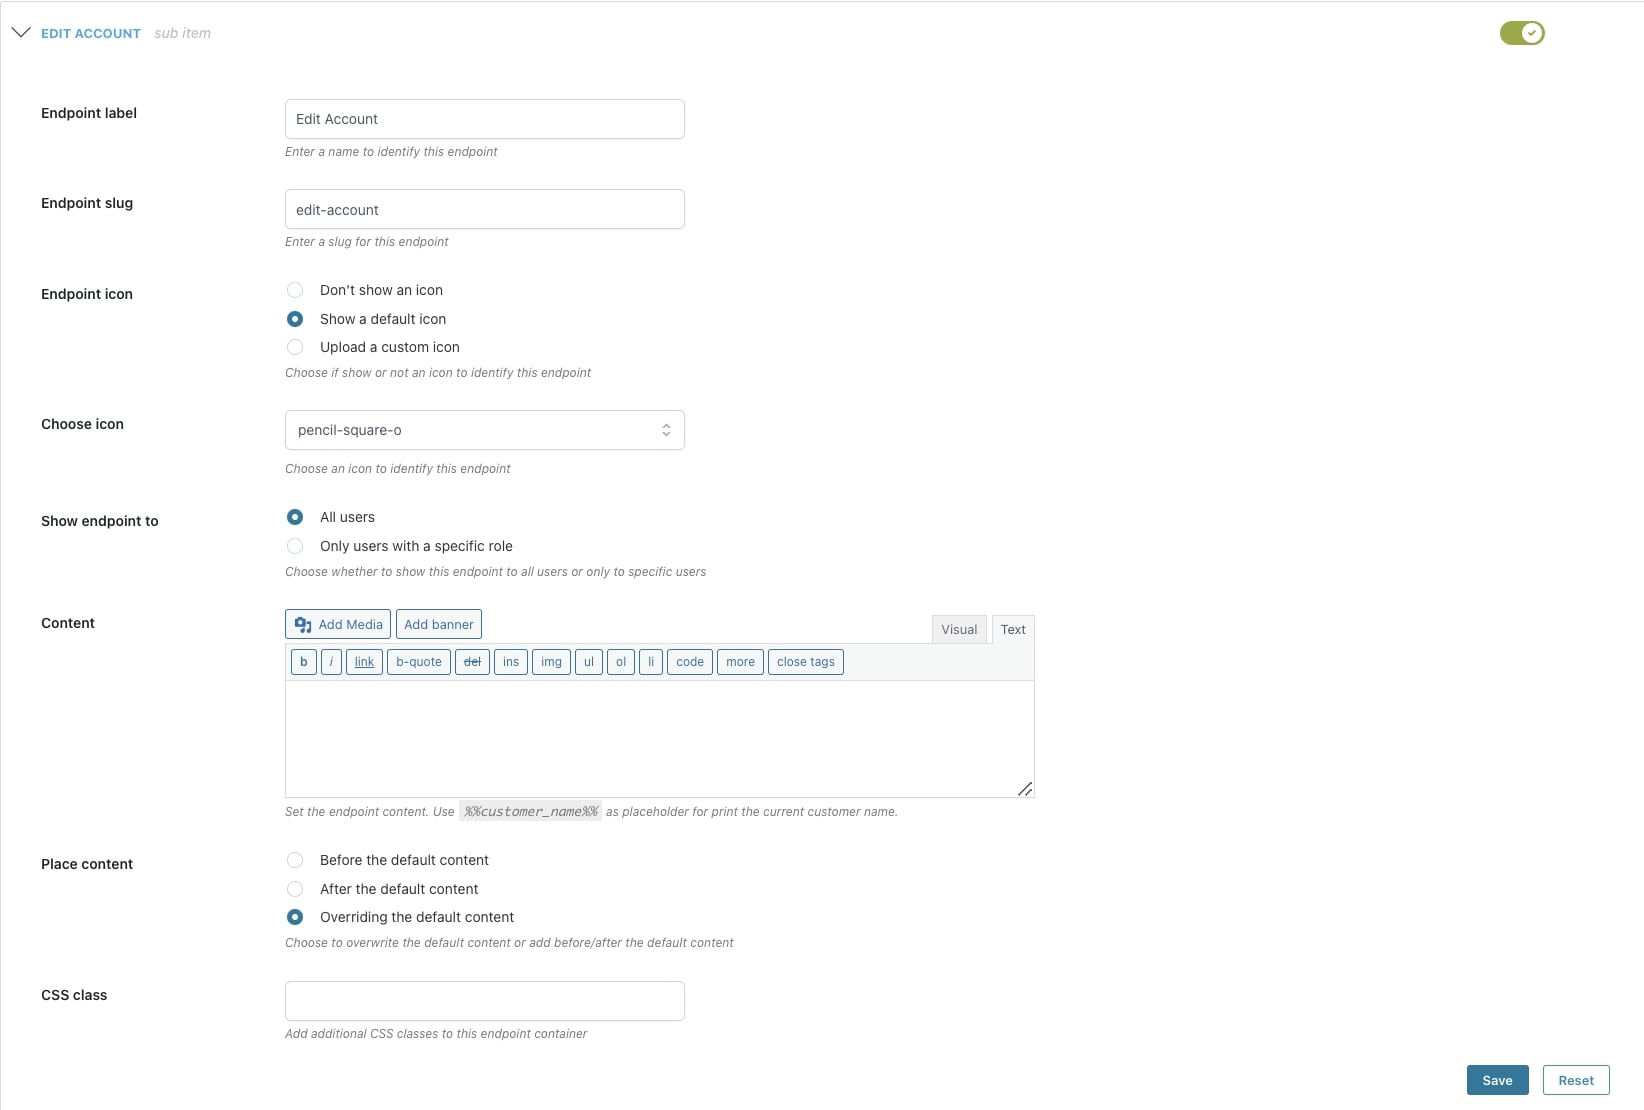
You can easily add your custom endpoints by clicking on the button Add endpoint and configuring the following options:

- Endpoint label: enter the text that will define the endpoint you are creating;
- Endpoint slug: enter the slug for the endpoint;
- Endpoint icon: choose whether to show a default or custom icon or not. When selecting Upload a custom icon, an additional option will show through which you can upload your icon;
- Show endpoint to: decide if you want to show the endpoint to all users or only those with a specific user role. When selecting Only users with a specific role, an additional option will show through which you can add the user roles that will be able to see the endpoint;

- Content: use the built-in editor to add the endpoint content. Available placeholder: %%customer_name%%;
- CSS class: enter additional CSS classes for the endpoint container.
Example
Add link
You can easily add your links by clicking on the button Add link and configuring the following options:

- Link URL: enter the URL of the link;
- Link label: enter the text that will define the link you are creating;
- Link icon: choose whether to show a default or custom icon or not. When selecting Upload a custom icon, an additional option will show through which you can upload your icon;
- Show link to: decide if you want to show the link to all users or only those with a specific user role. When selecting Only users with a specific role, an additional option will show through which you can add the user roles that will be able to see the link;
- CSS class: enter additional CSS classes for the link container;
- Open link in a new tab?: enable this option if you want the link to ope in a new tab when clicking on it.
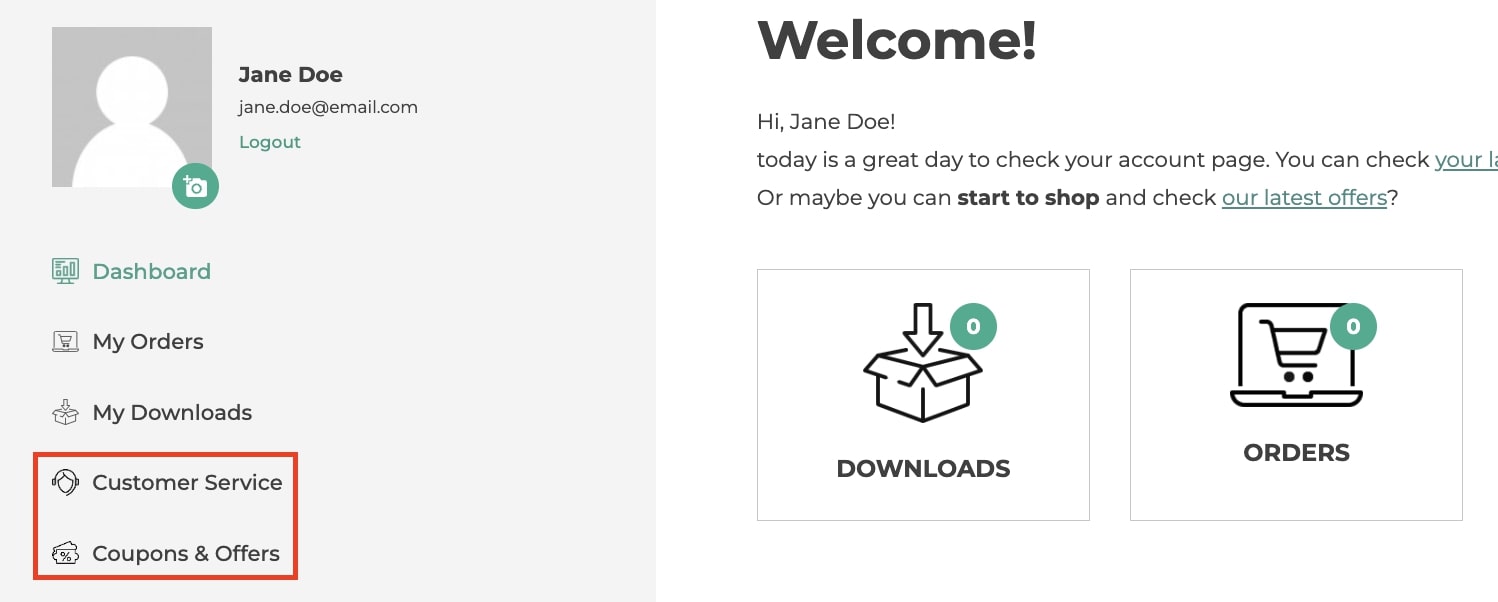
Example

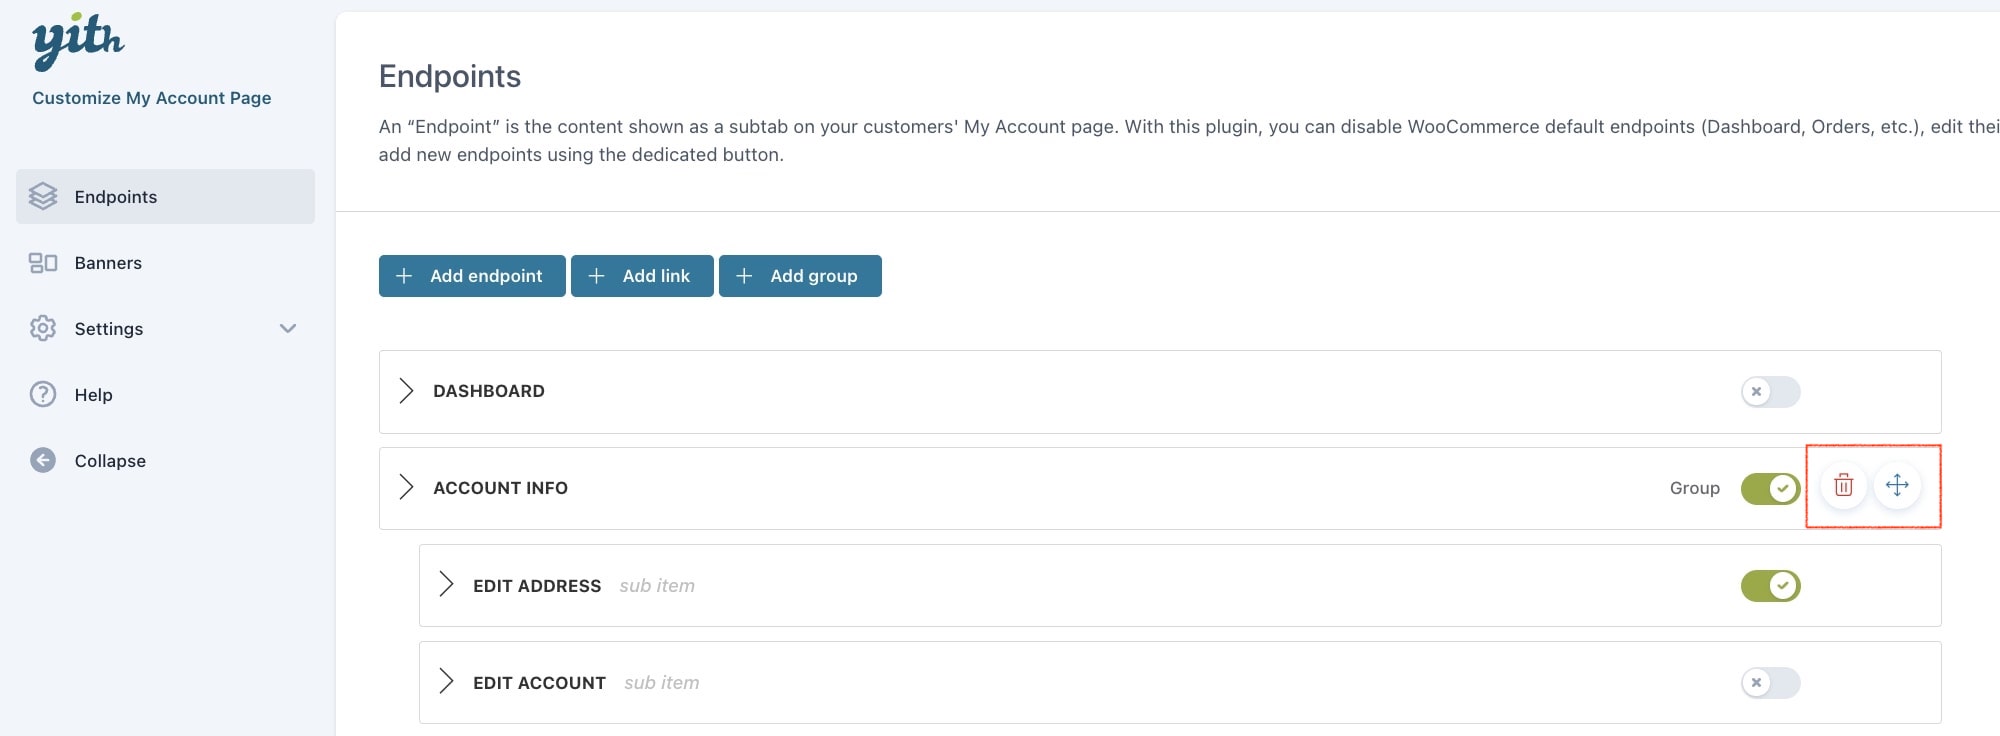
Add group
You can group endpoints or custom links on My Account page to make your page user-friendly and easy to navigate. You can easily add your groups by clicking on the button Add group and configuring the following options:
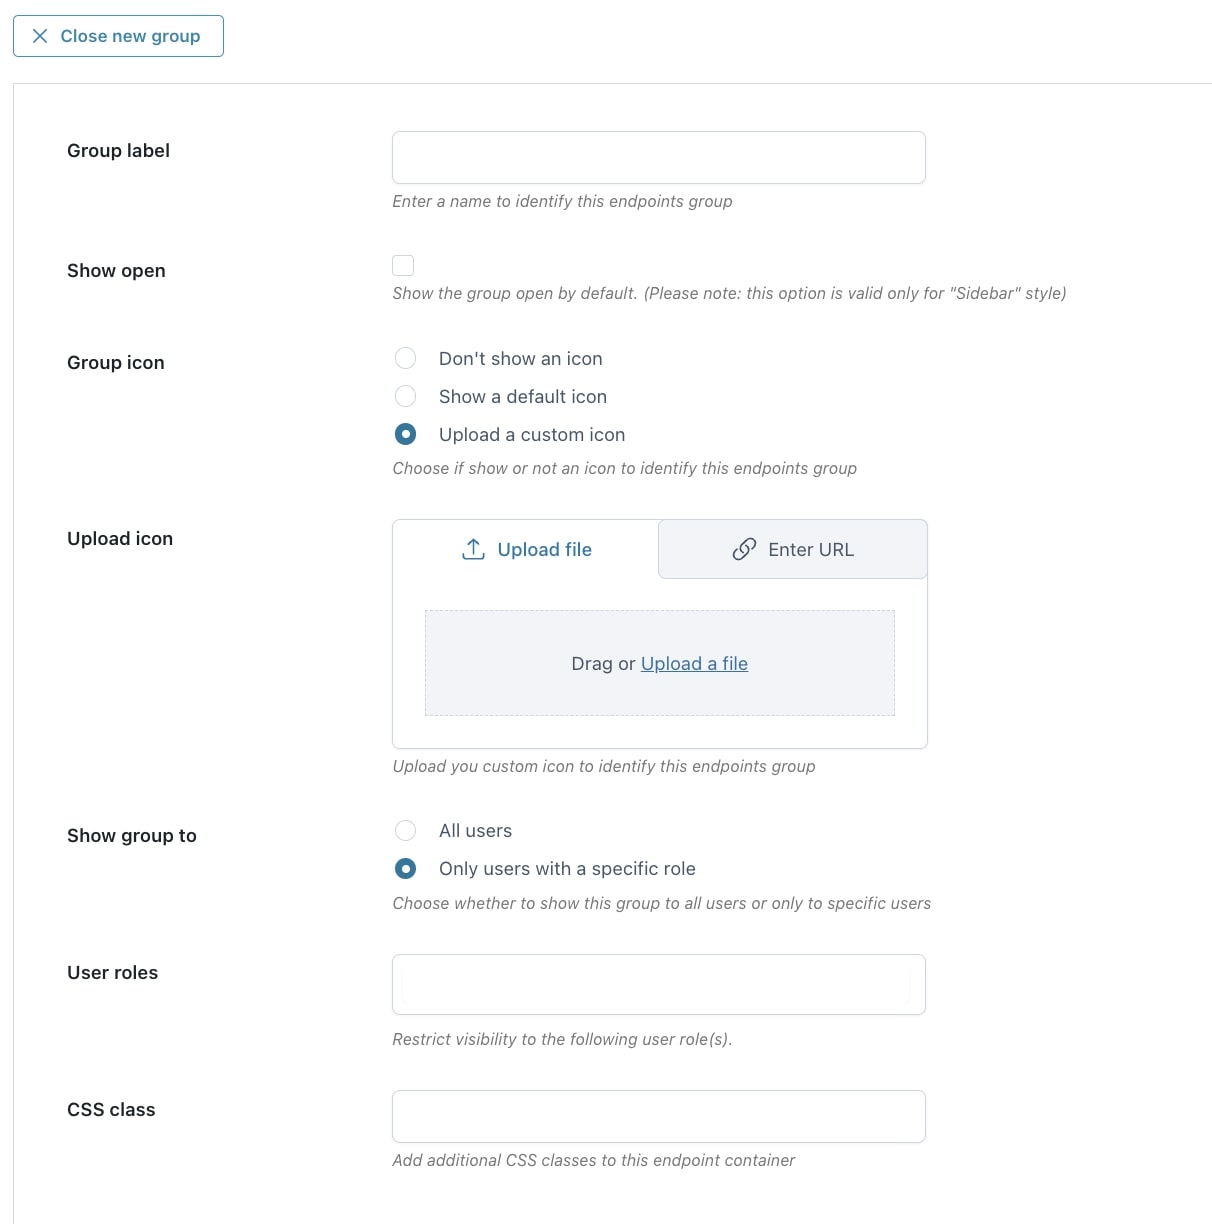
- Group label: enter the text that will define the group you are creating;
- Show open: enable to show the group opened by default (only for vertical style);
- Group icon: choose whether to show a default or custom icon or not. When selecting Upload a custom icon, an additional option will show through which you can upload your icon;
- Show group to: decide if you want to show the group to all users or only those with a specific user role. When selecting Only users with a specific role, an additional option will show through which you can add the user roles that will be able to see the group;
- CSS class: enter additional CSS classes for the group container.
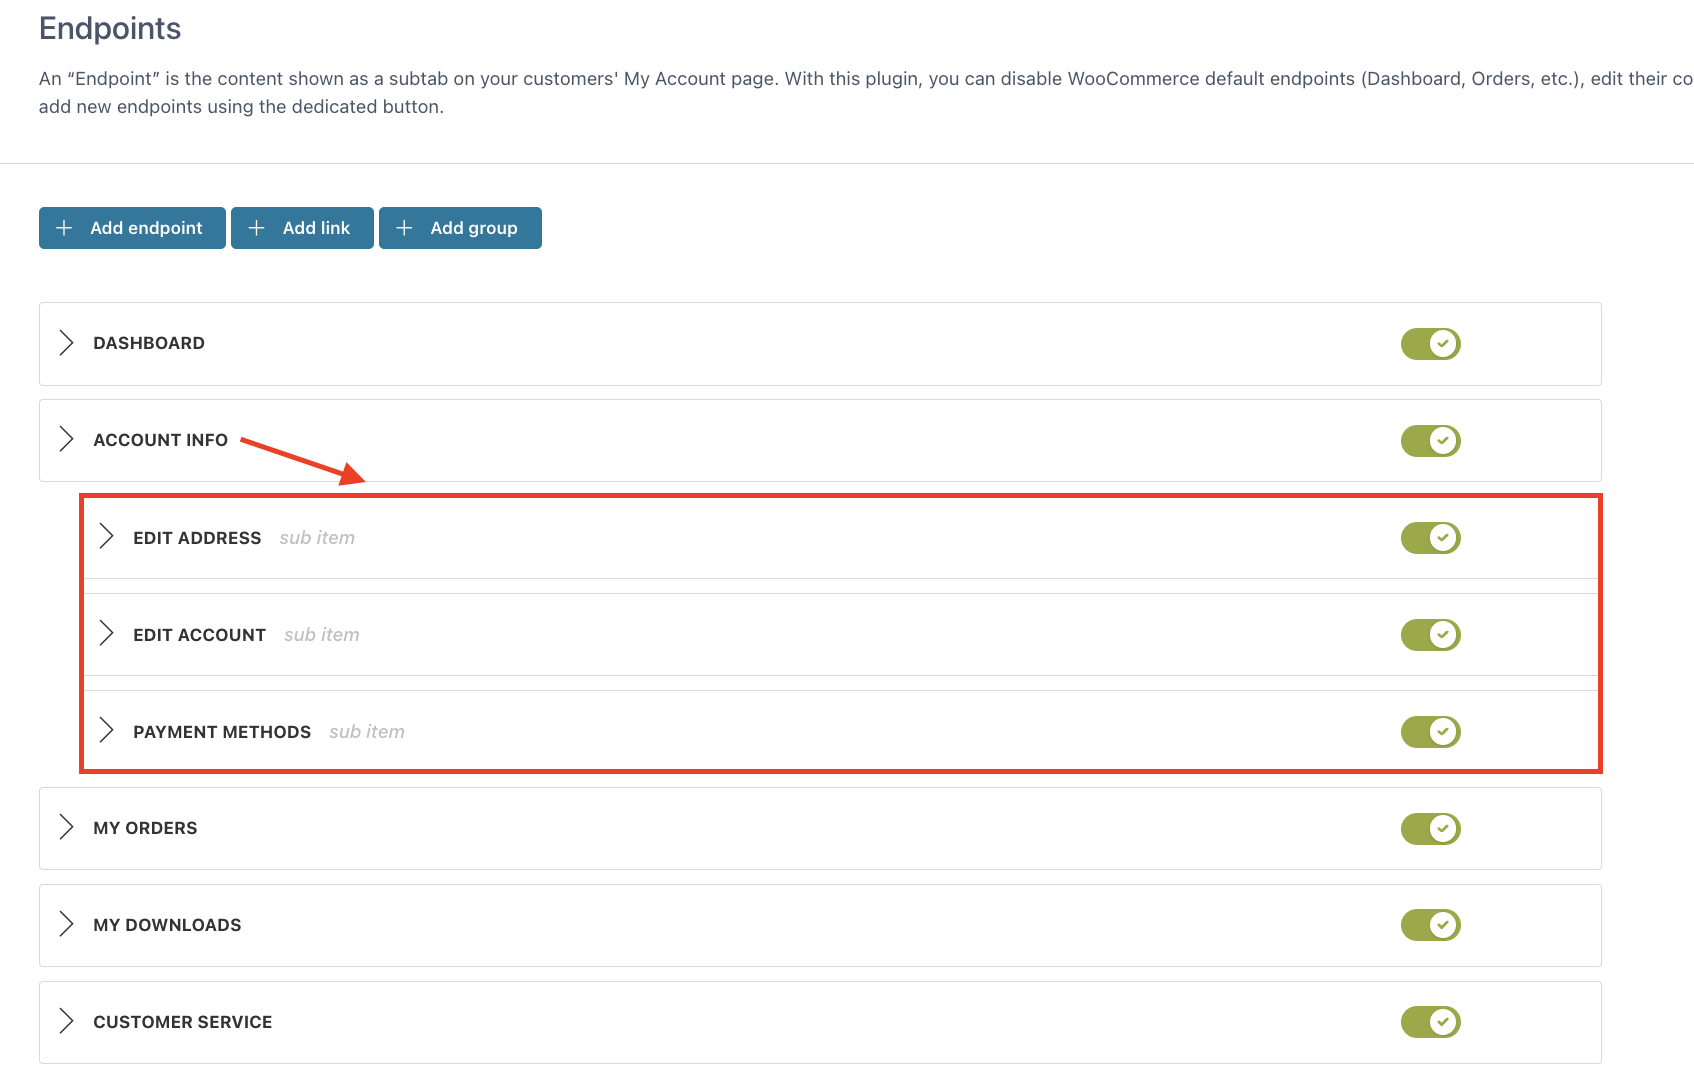
You can order items by drag & drop by making sure you indent the items to include them in the group, so they become subitems.
Example (backend)
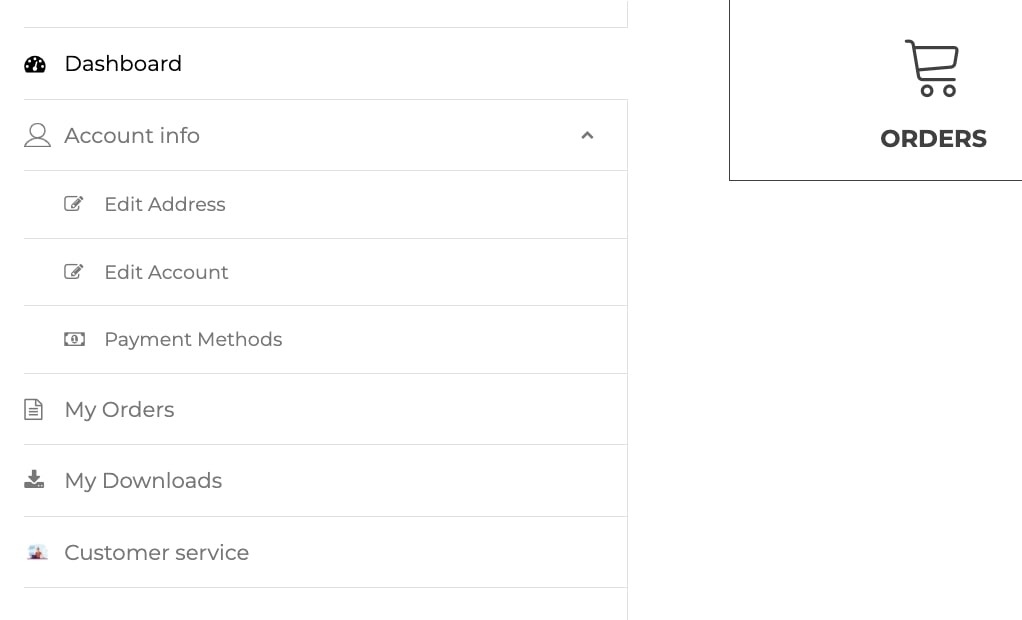
Example (frontend)