YITH Google Product Feed is only responsible for generating product feeds that you’ll use later to show your products on Google Shopping.
With this plugin, you will be able to create more than one feed and choose which attributes to include and which to leave aside.
In order to use the generated feeds on Google Shopping, you should first have a Google Merchant account.
For all information concerning Google Merchant and how to use the feeds generated by the plugin, we kindly invite you to read the official Google Merchant documentation.
Please, be careful when you select the attribute fields to include in the feed: Google Merchant has specific rules for each country and you’d better know which fields are required for your country in order to be able to use the feed the right way.
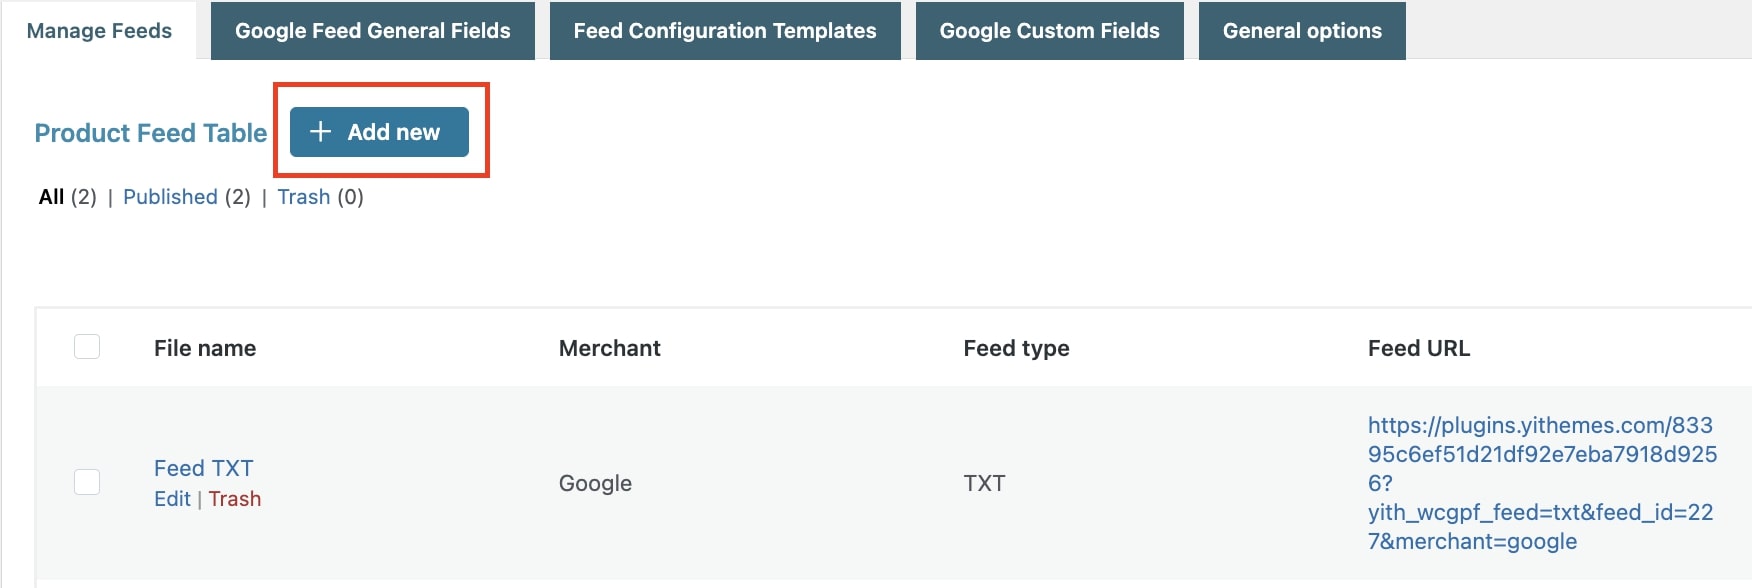
To create your first product feed, open the “Manage feeds” tab in the plugin settings panel and click on “Add new product feed”.
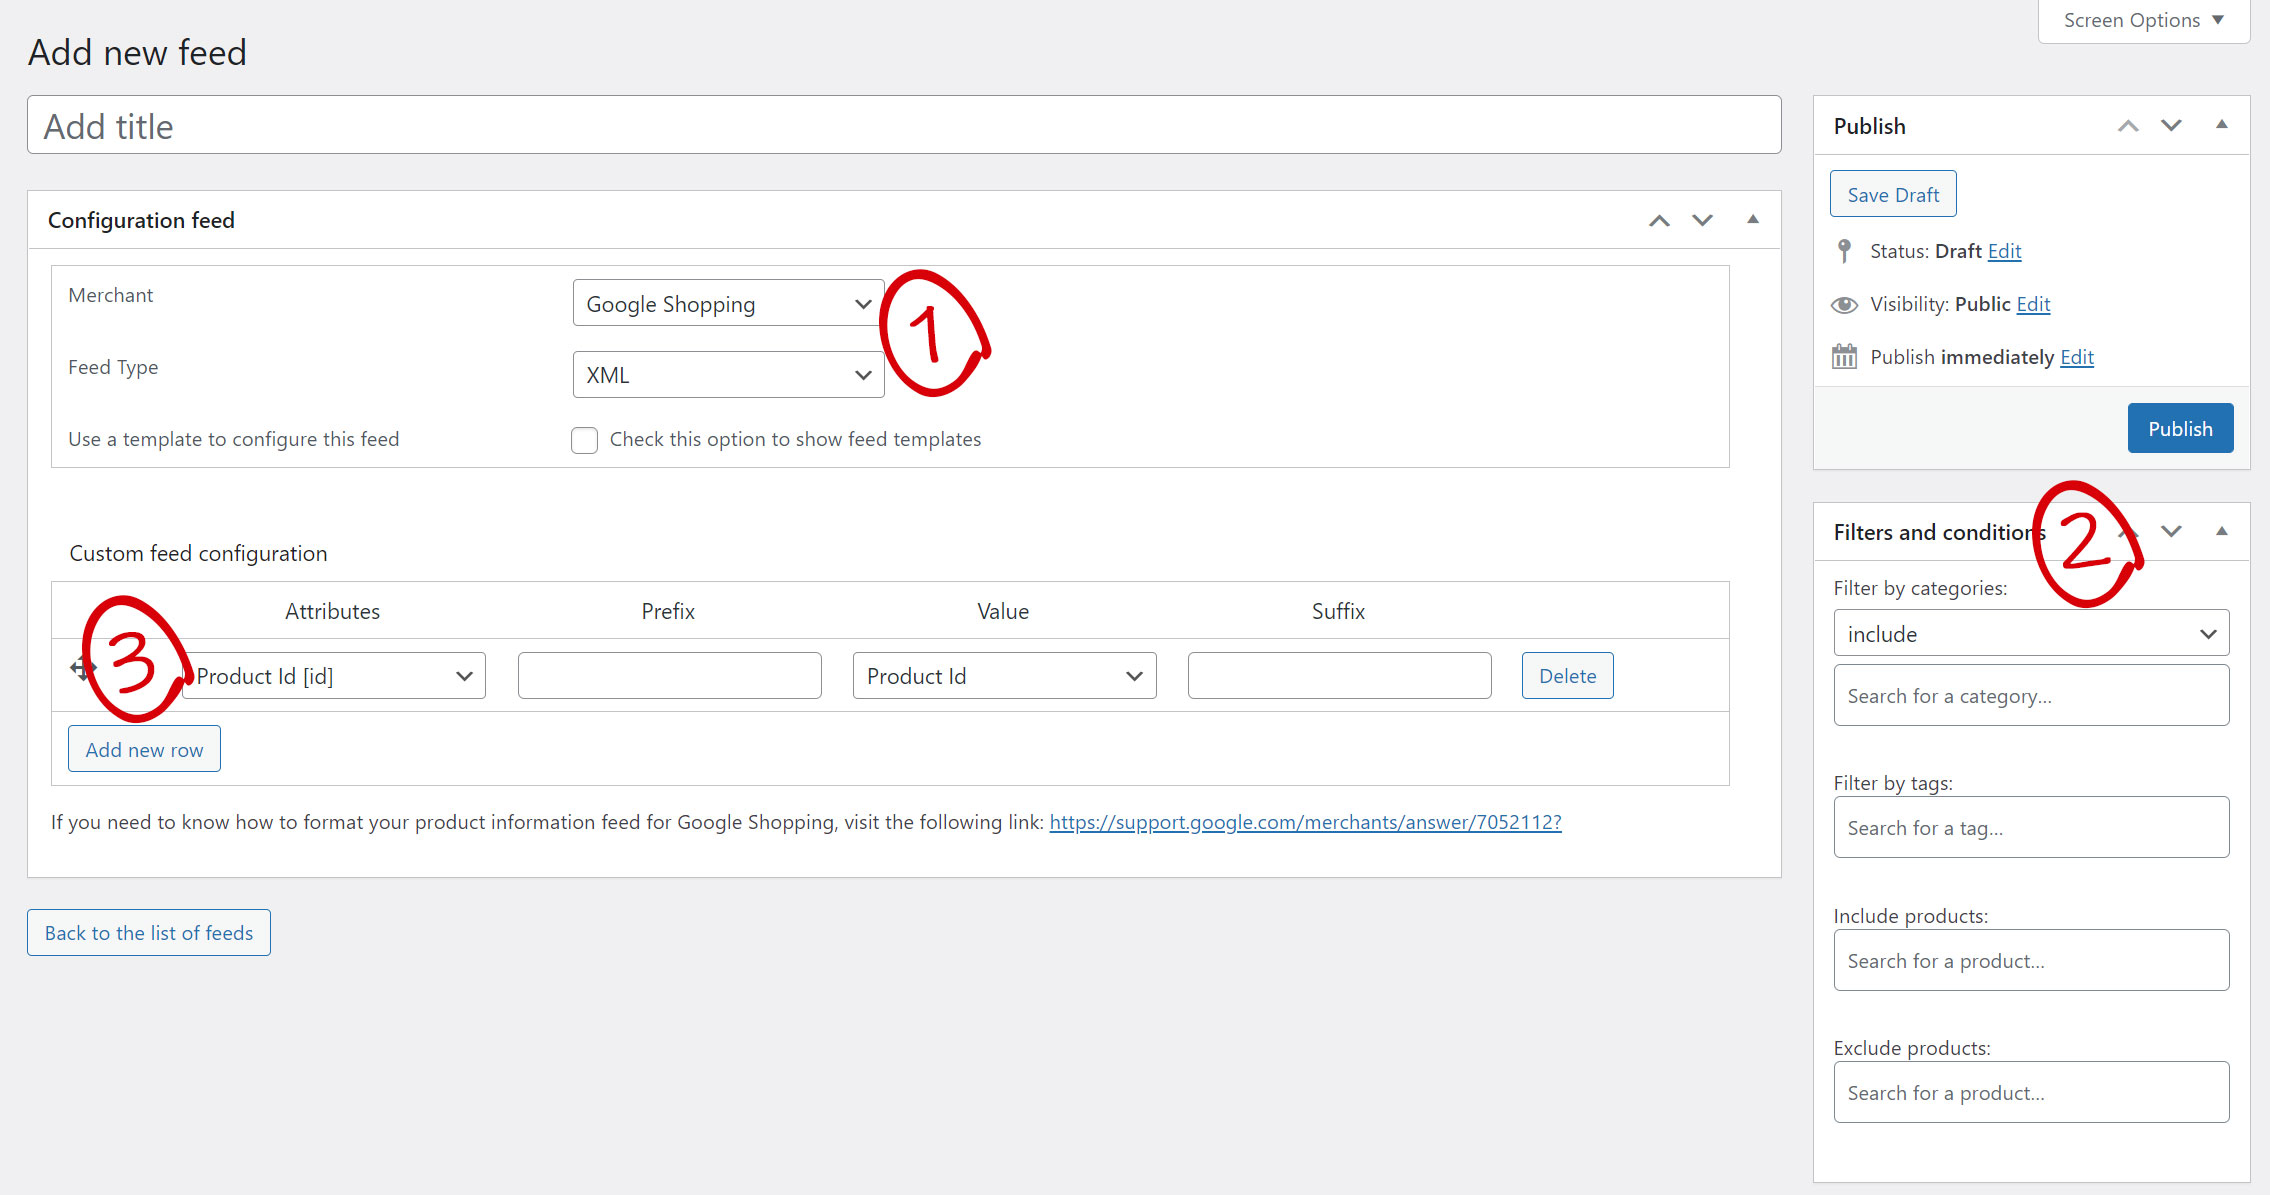
Now that you are on the new feed page, you can go on with its configuration.
Choose the Feed Type you need to generate (.xml or .txt)
Choose whether to include all the products in the shop or only some of them; filter them by name, tag, and/or category from the section “Filters and conditions” on the right side. This section will also let you exclude some products or select only specific ones.
Select the attribute fields to include in the feed so as to have the right information for each product. You can either choose to select fields during the configuration of the feed or use a pre-set template.
You can use Google default template or create a new custom one in the “Feed Configuration Templates” settings.
Check this page to see how to configure the fields in the feed.
Generate feed
Feed file
The last step is to generate the feed that we have just configured. Save the settings and click on the Generate feed file button.
If you want to generate the same feed once again (for example because you have made some changes to your products), you just have to click on the Regenerate feed file button and wait for the feed to be generated again.
After that, you can download the file by clicking on the Feed file link.
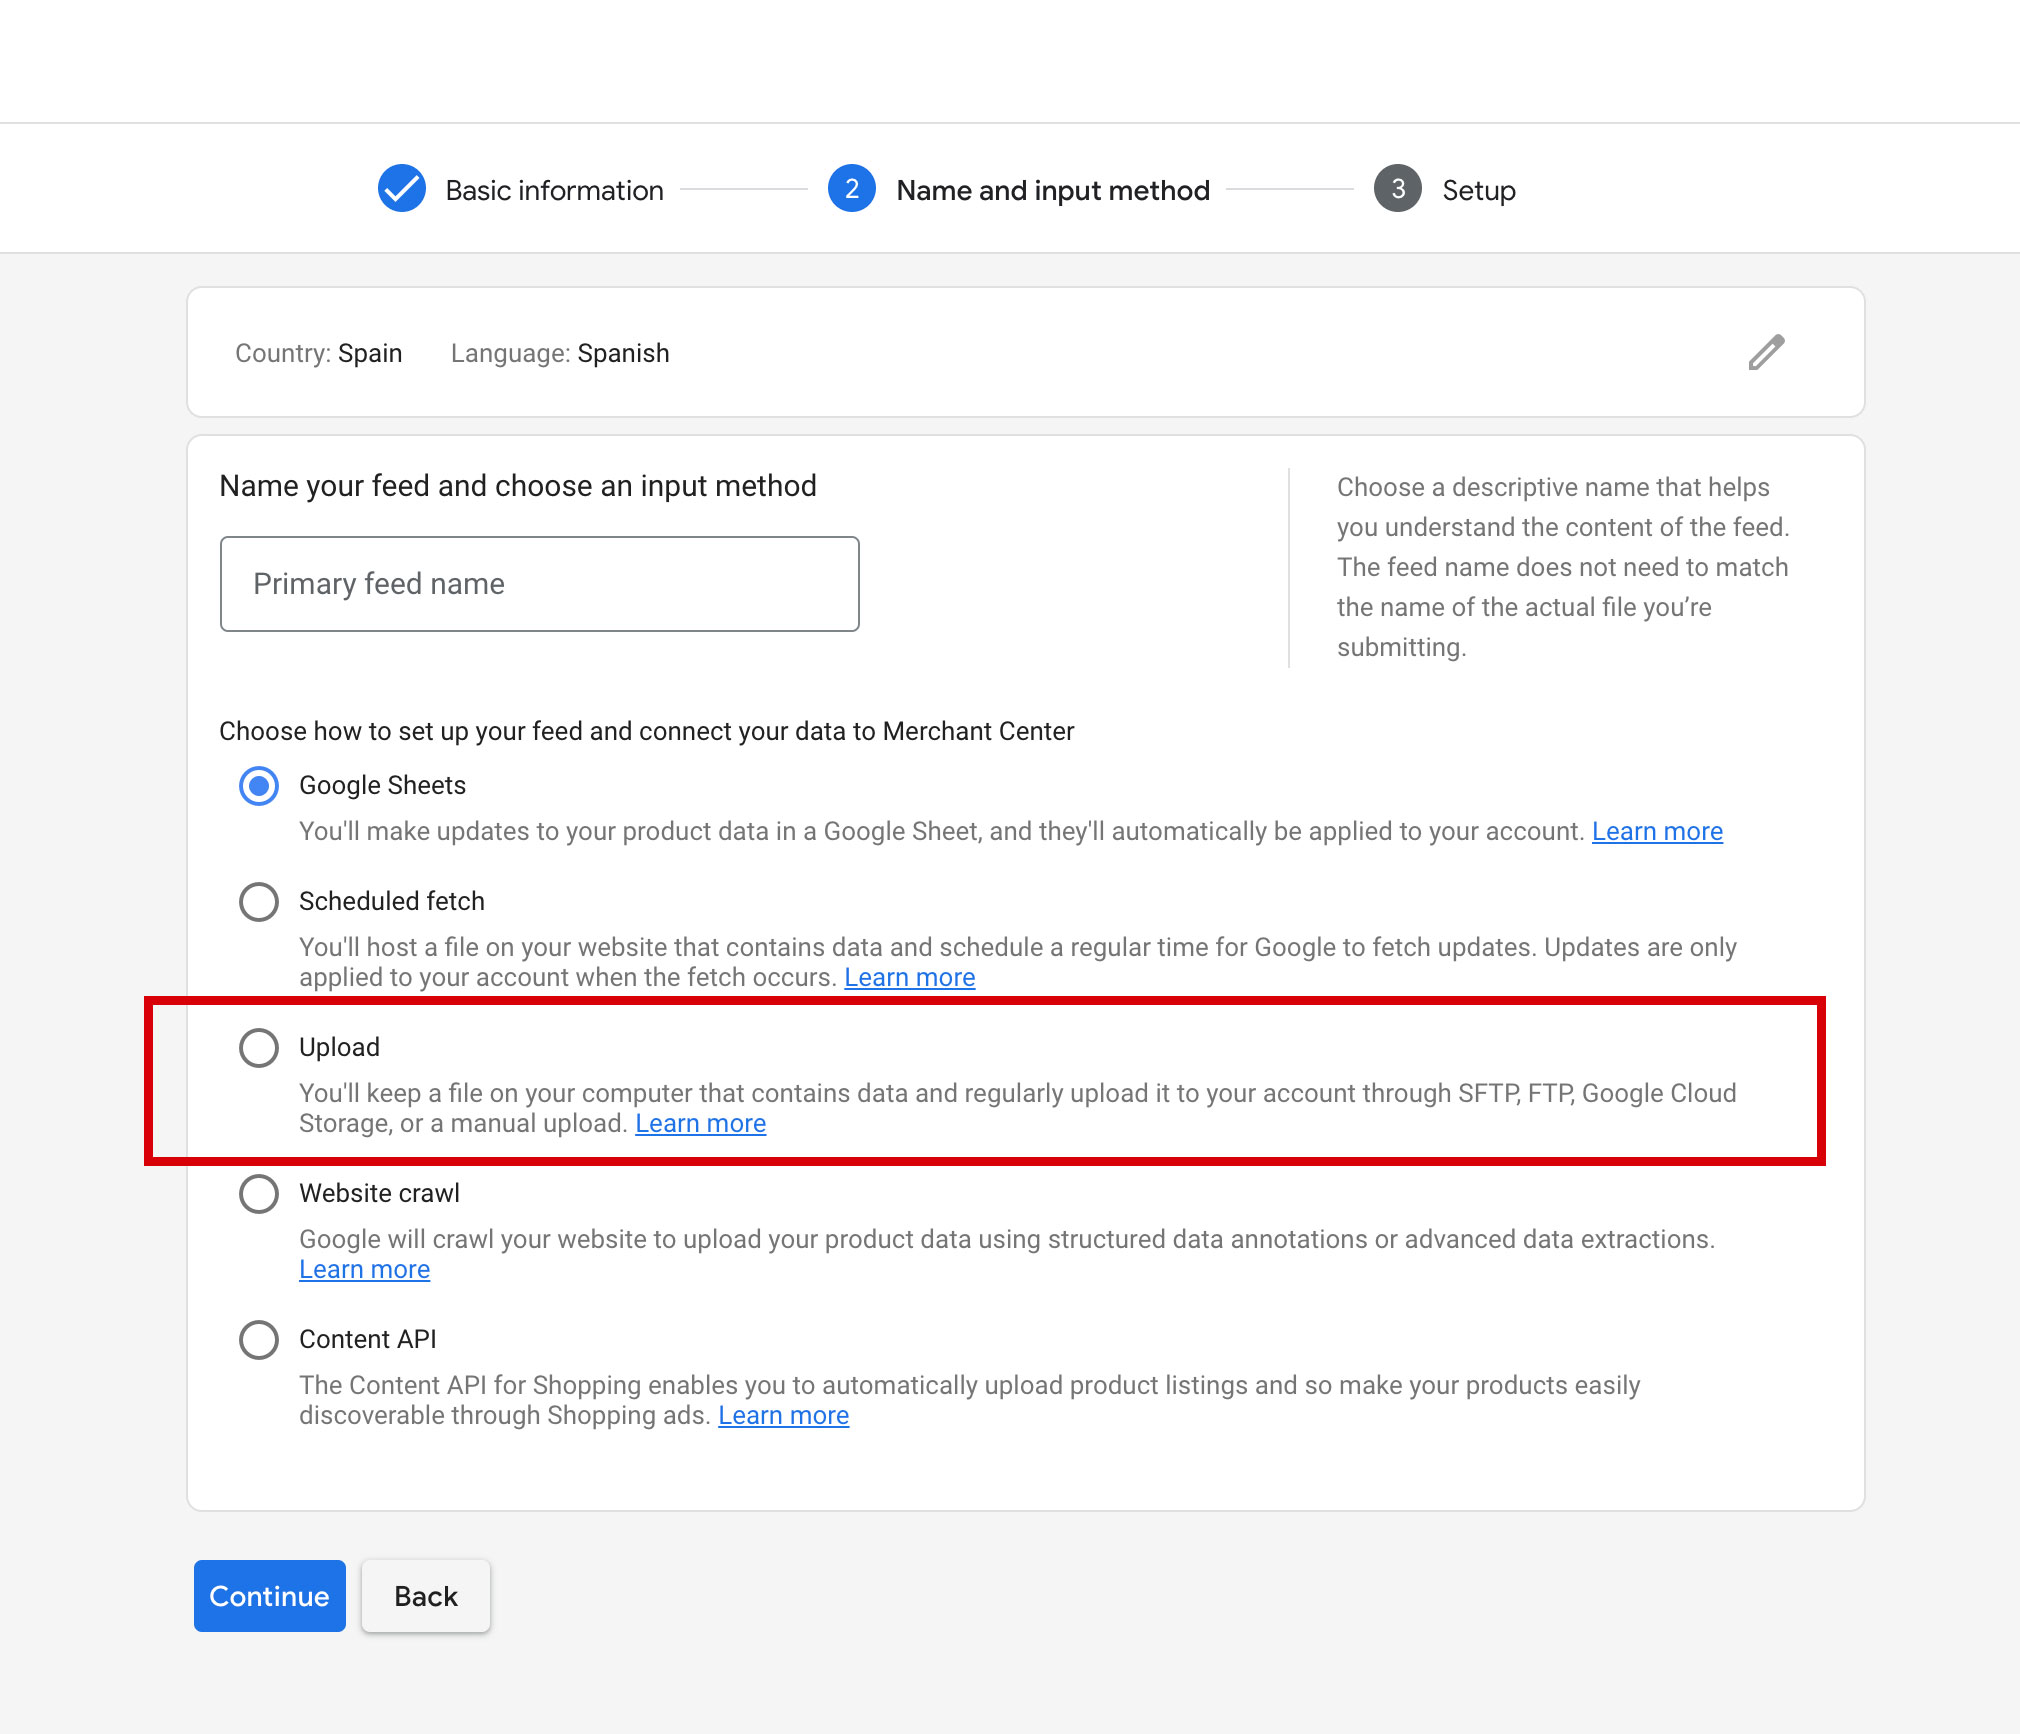
To upload the file to your Google Merchant Center account, you can choose the Upload option and refer to this page from the official documentation of Google Merchant for all details.
Feed URL
If you want the feed to be automatically updated, you can copy the Feed URL (which is always updated) and use this one in the Google Merchant Center.
Please, note: if you have a huge number of products, the feed might not be generated due to server resources that stop the process.
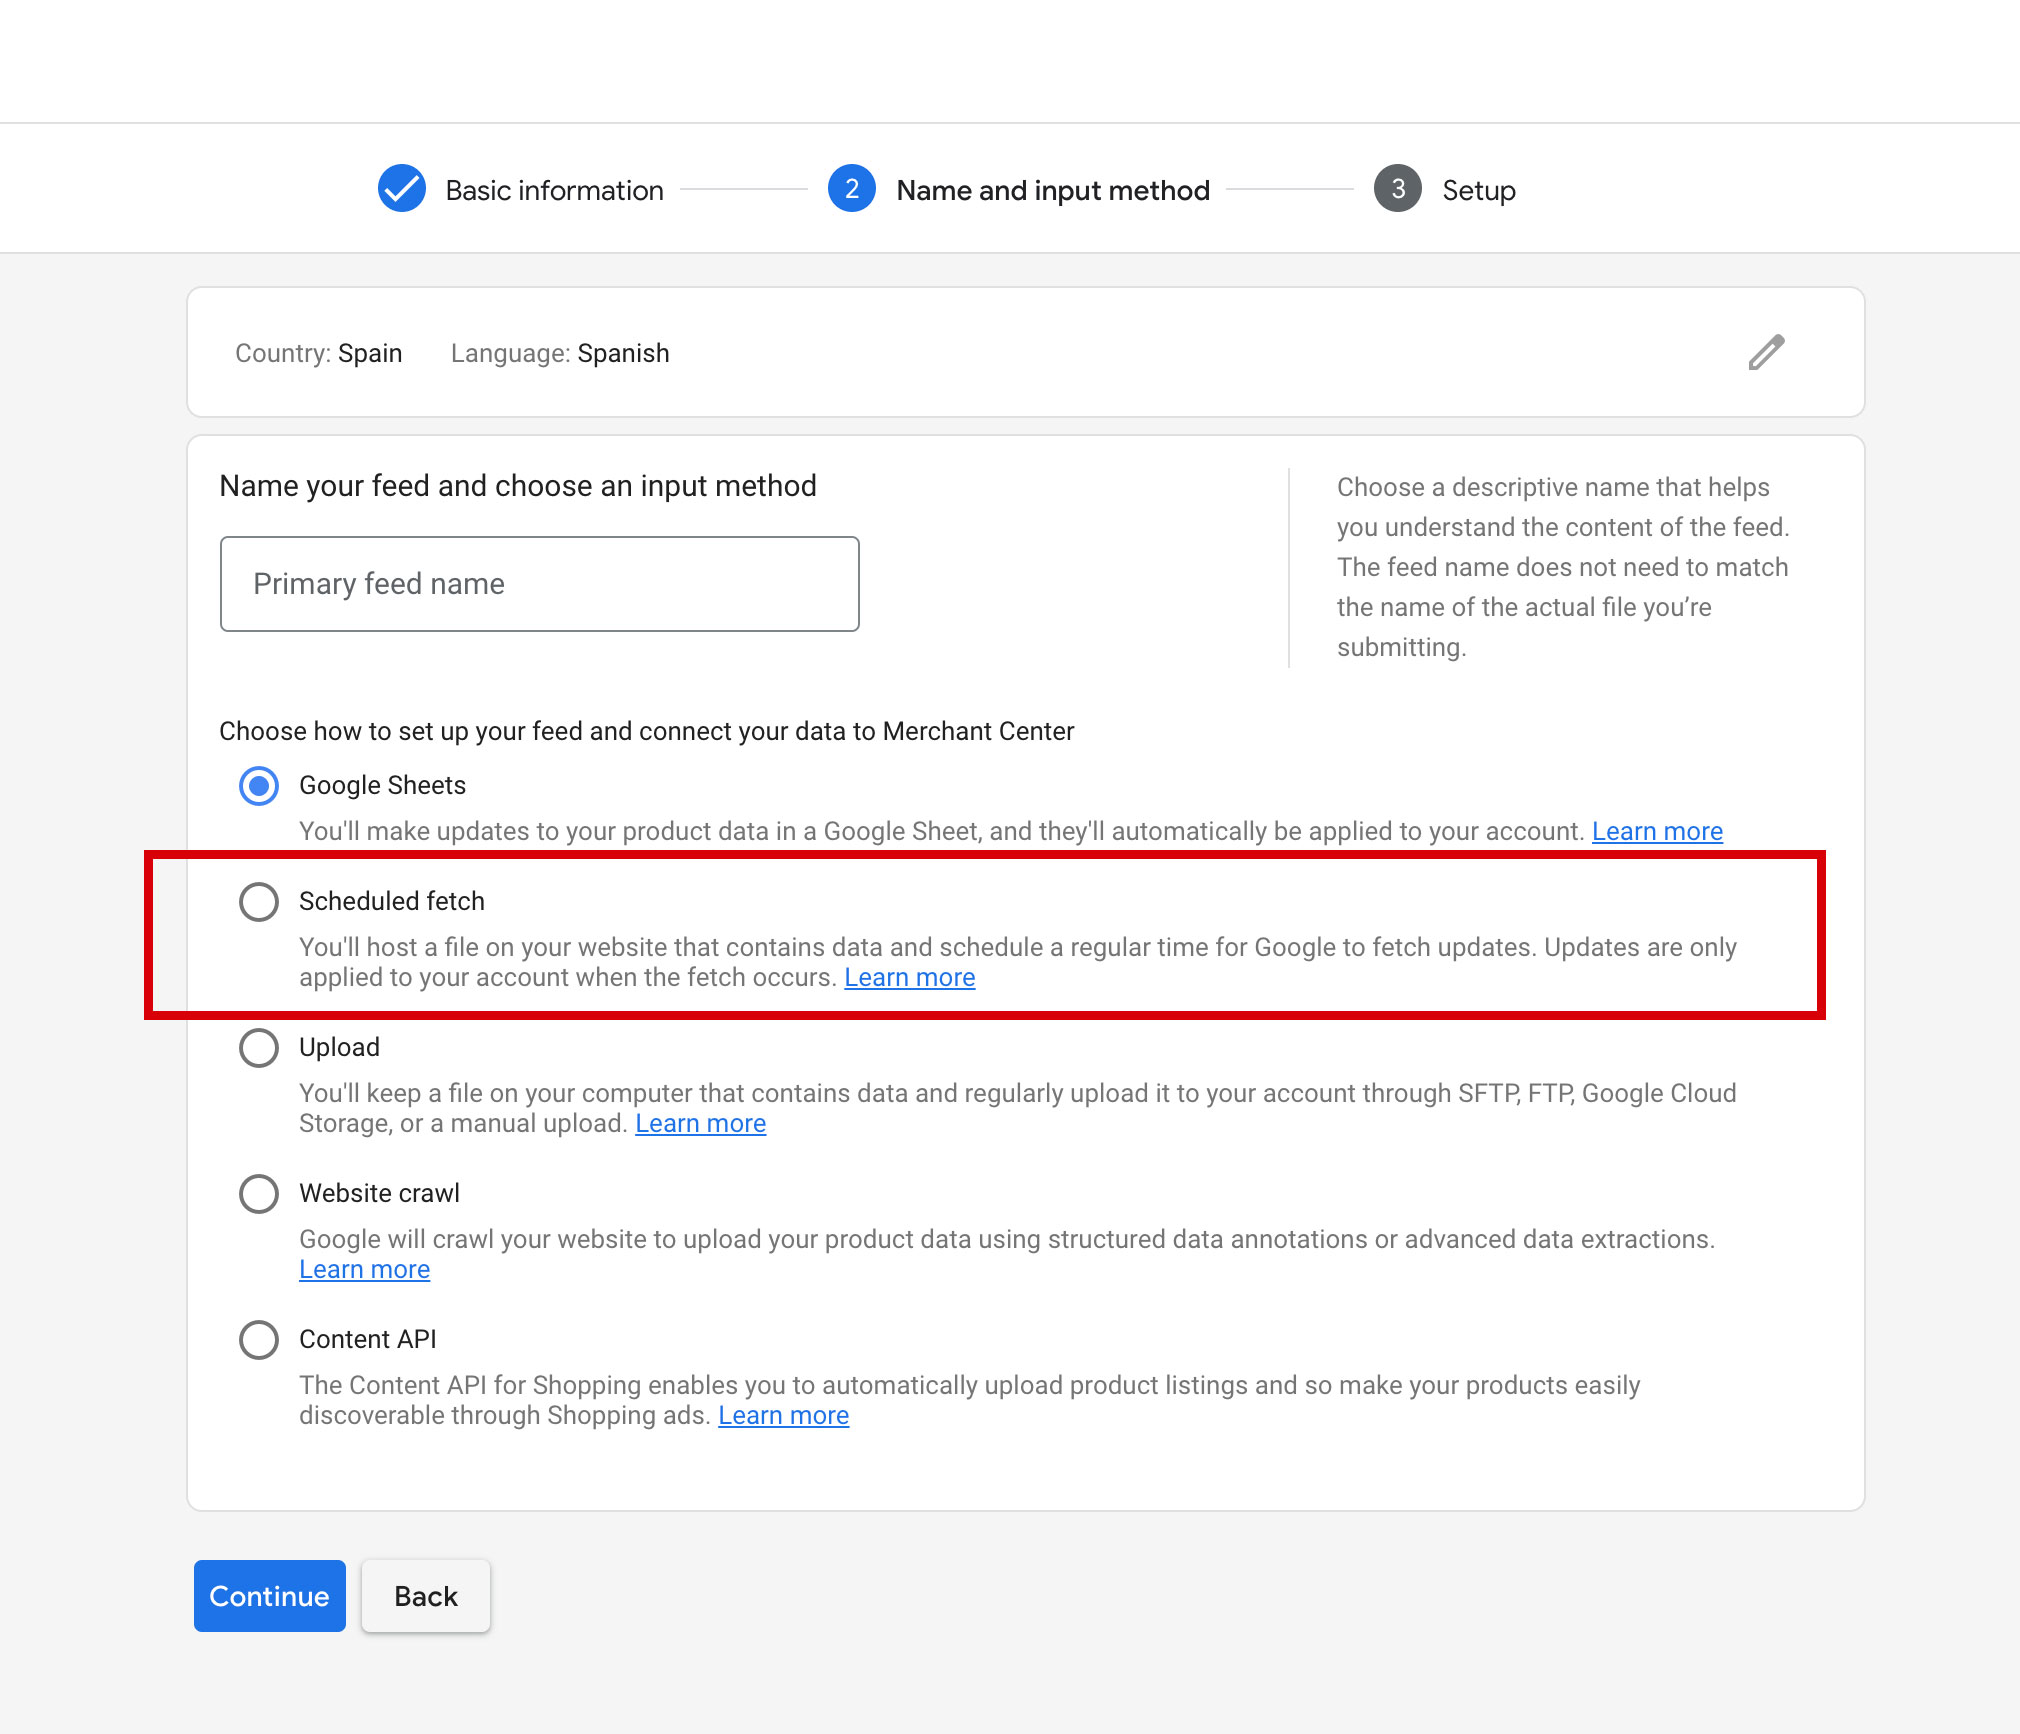
To add the URL to your Google Merchant Center account, you have to select the Scheduled Fetch option in your Google Merchant account. For more details, please, refer to this page from the official documentation of Google Merchant.
On this page of the guide, we will see how to add and configure the attribute fields to use in the feed.
Please, be careful when you select the attribute fields to include in the feed: Google Merchant has specific rules for each country and you’d better know which fields are required for your country in order to be able to use the feed the right way.
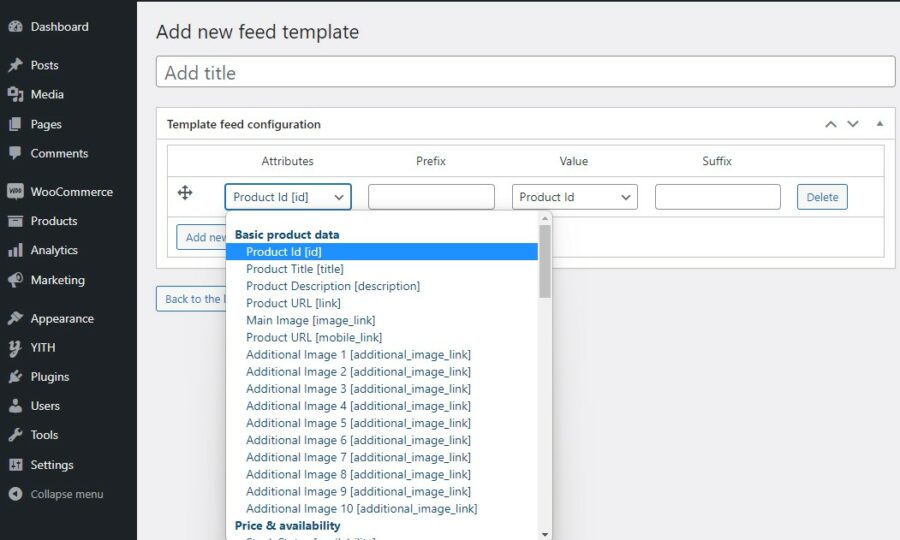
In the “Attributes” column, select the attribute you want to add choosing among the ones made available by Google Merchant.
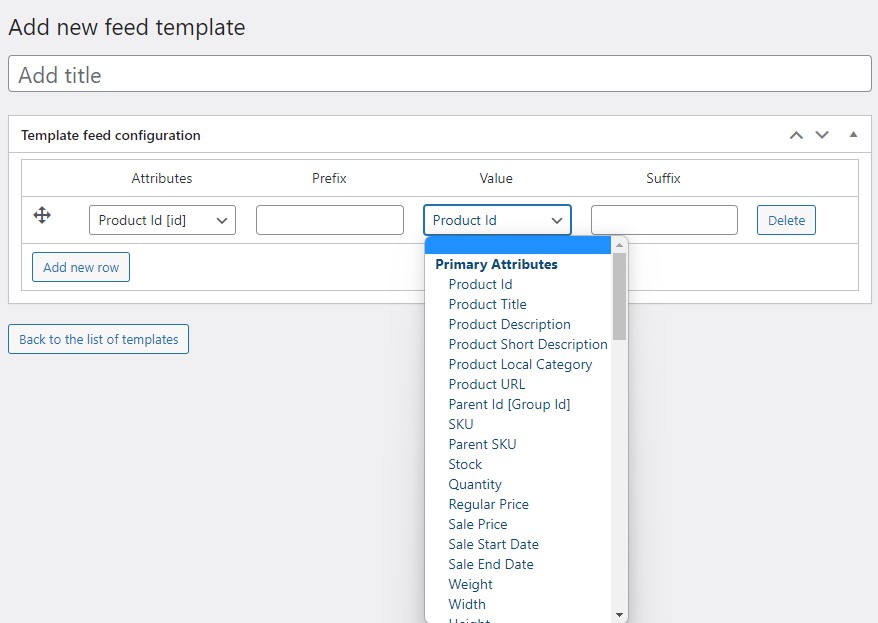
Now under column “Value”, pick the piece of information you want to associate to the selected attribute.
For each field, you can also choose to specify a prefix and a suffix that will apply to the displayed value.
Can I associate the value of a custom field I’ve created with something else?
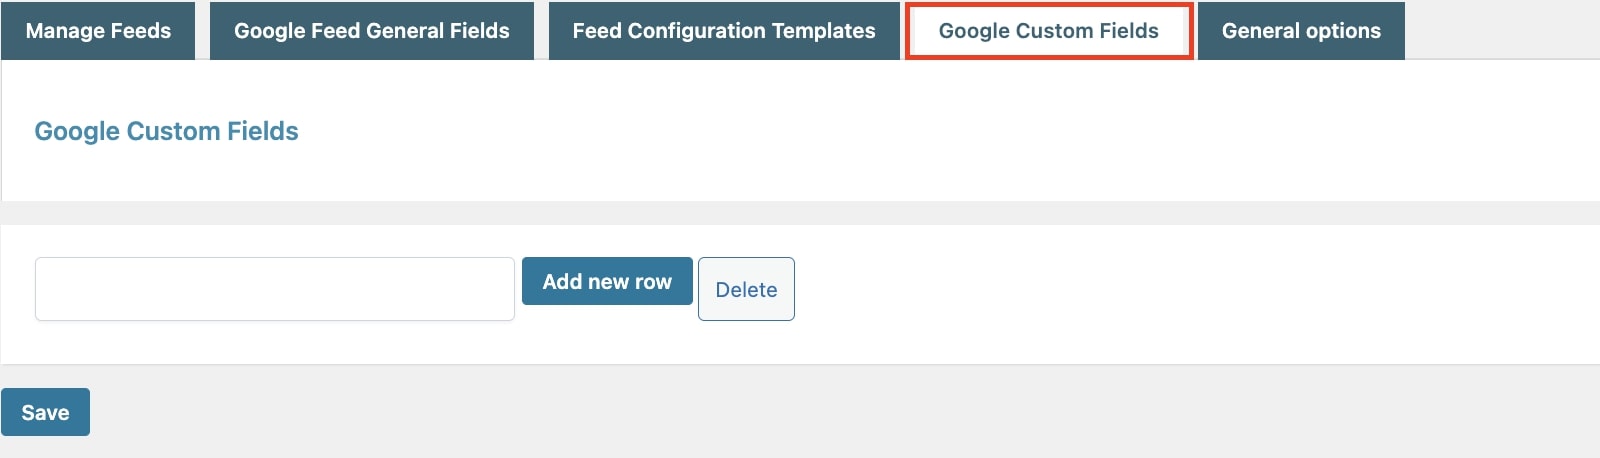
Yes! Every custom field you want to use must be added manually from the “Google Custom Fields” tab in the plugin settings panel.
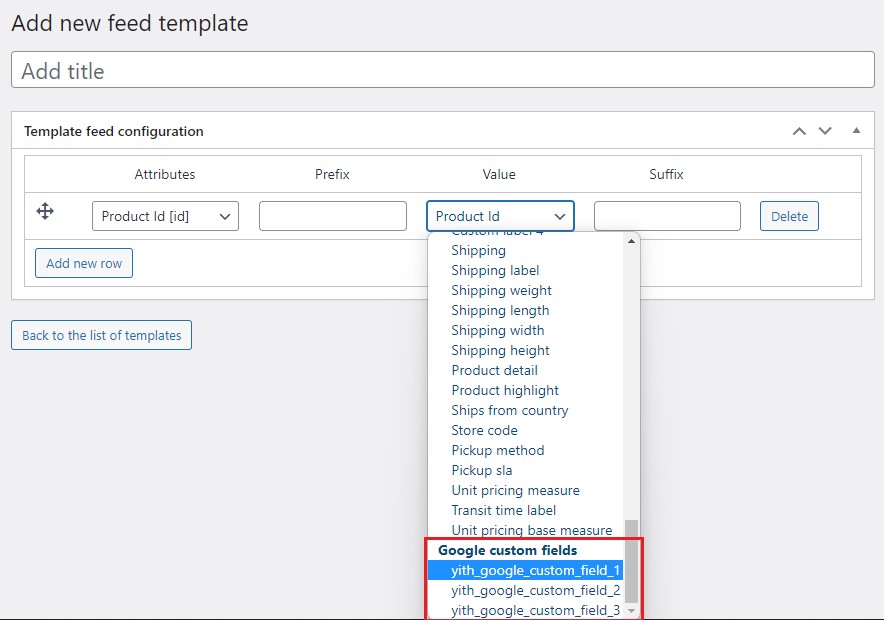
All the custom fields you have added so far will appear as selectable values for the feeds.
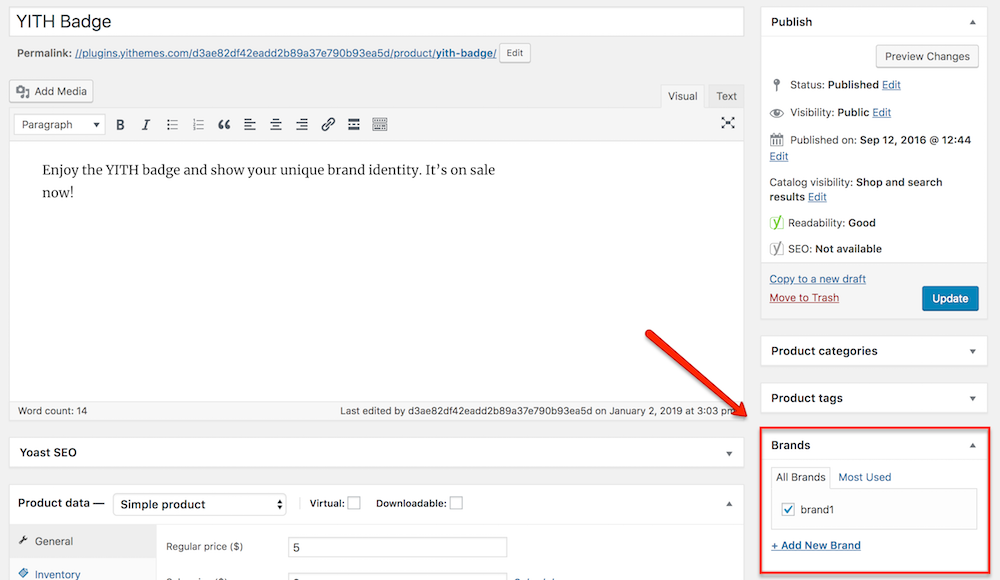
With YITH WooCommerce Brands Add-on, you can create brands which you can link to the products in your shop. Customers will be able to filter the products on brands which will make it easier for them to find products they are interested in.
The integration allows you to export all associated brands to each product in the XML file information. This way you will not need to set the brand in the Google Product Feed fields manually.
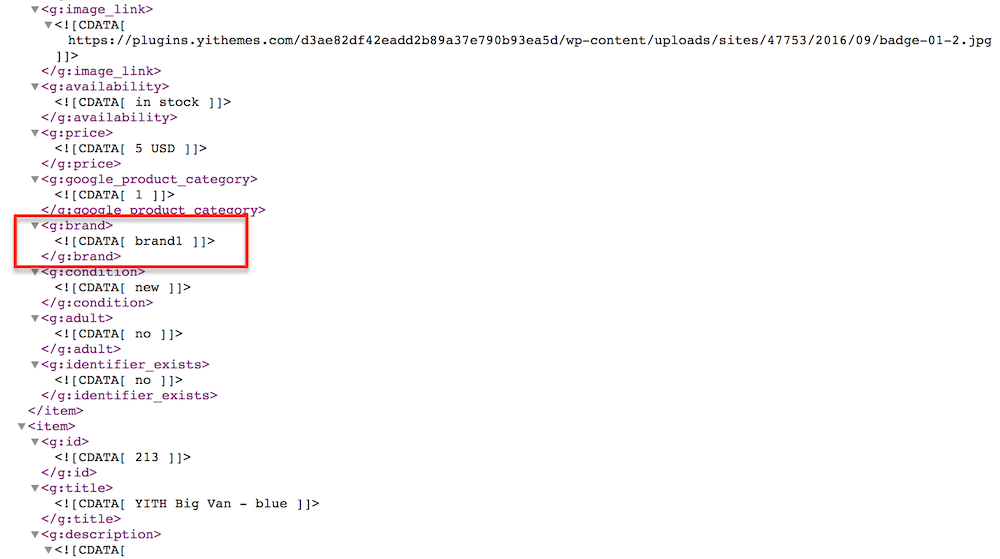
Link the brand(s) you want to the product(s) you want and save them. Go to Google Product Feed > Manage Feeds > Feed XML > Download.
The brand(s) you have added will appear in the list, as shown in the example below.
For more information on how to set up the Brands Add-on plugin, please check the complete documentation here.