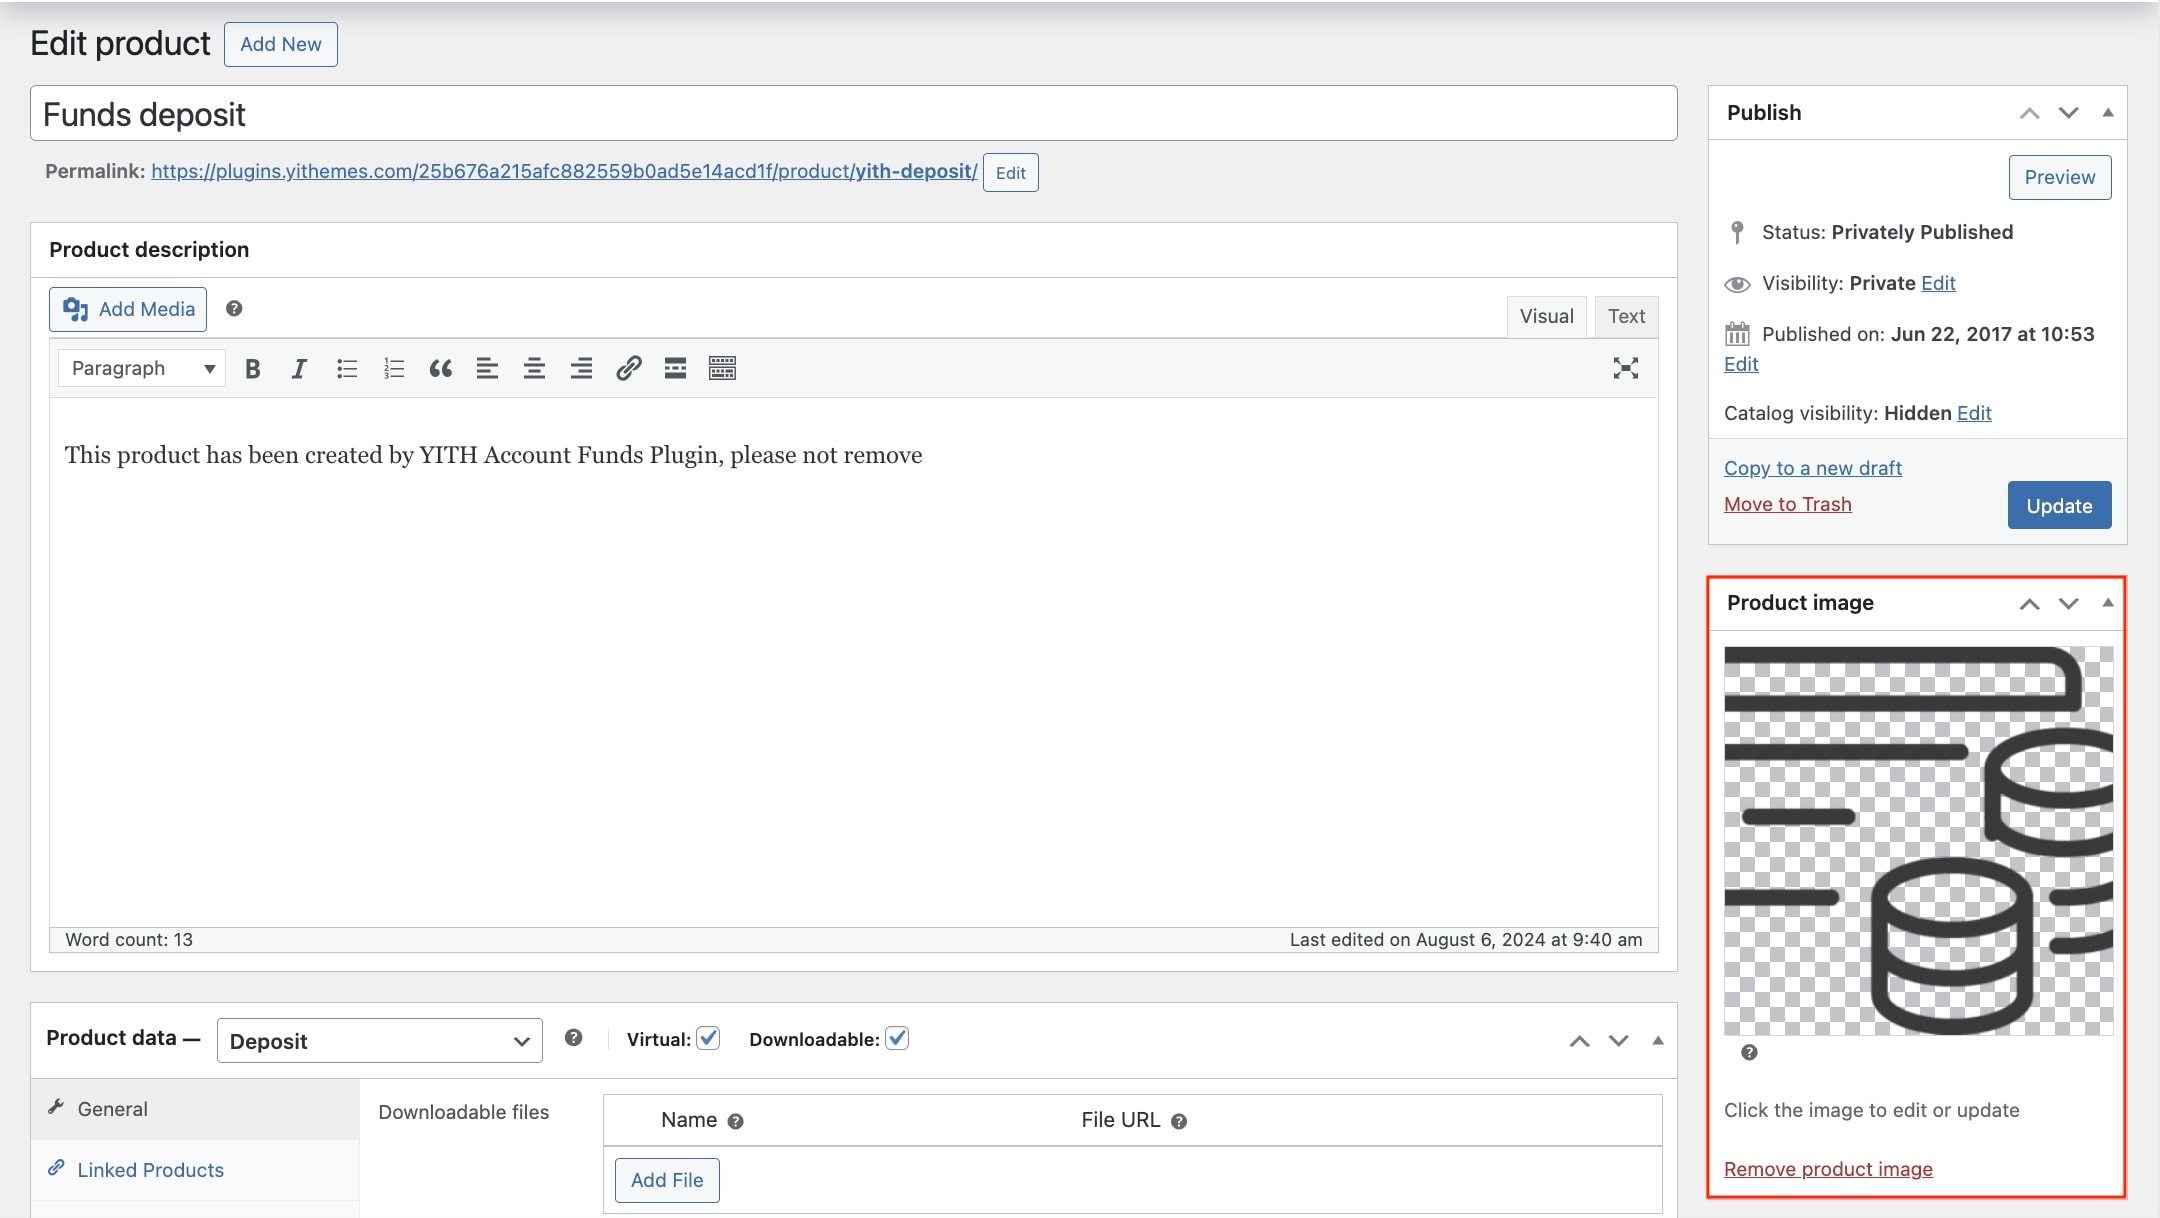
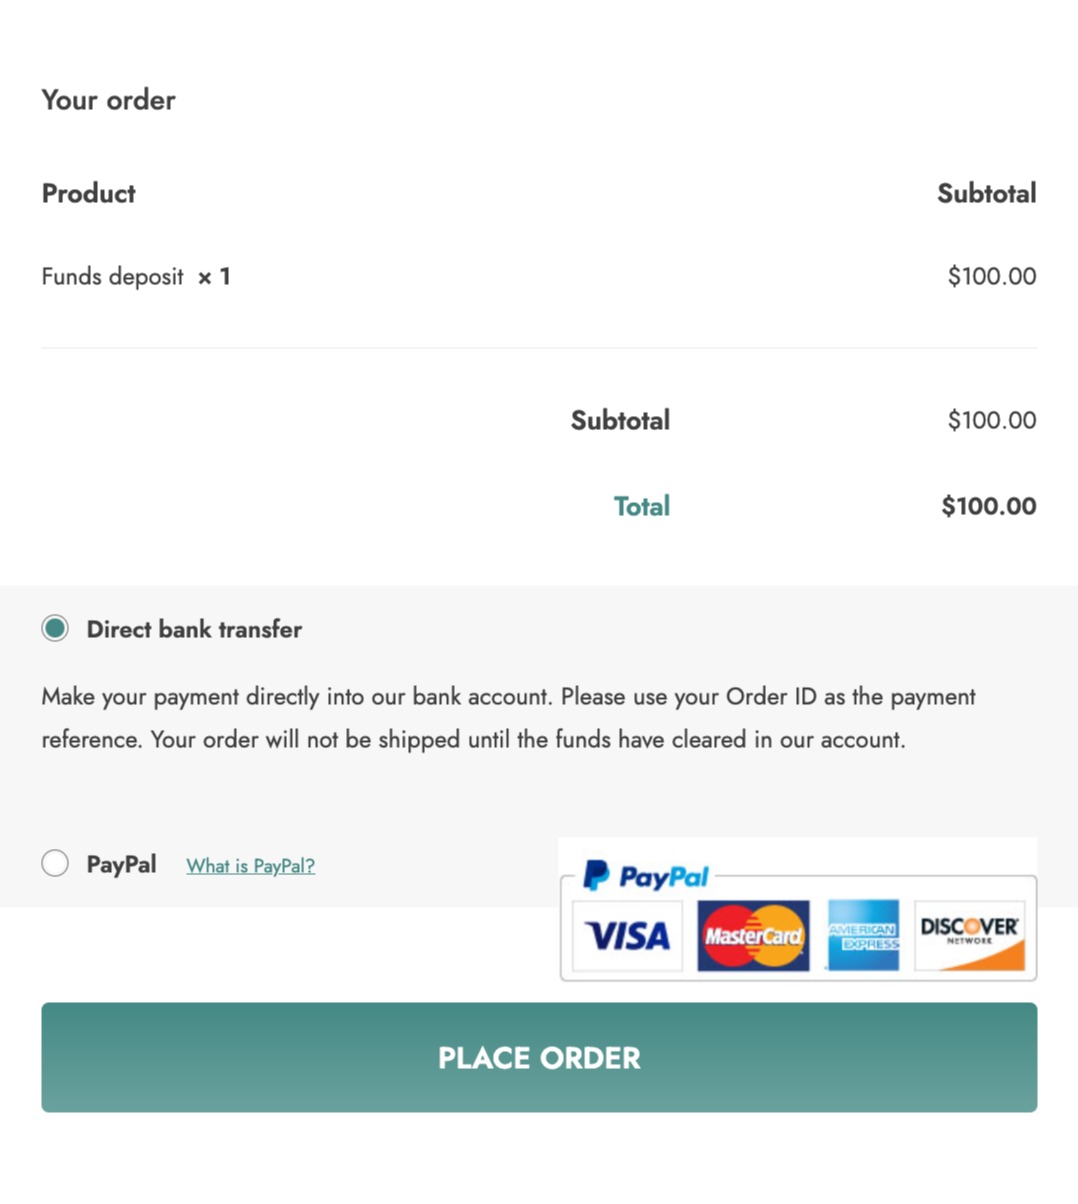
As soon as the plugin is activated, a product named Funds deposit will be automatically created and added to WooCommerce > Products. This product is set as private and is essential for the plugin to work. Make sure you never remove it.
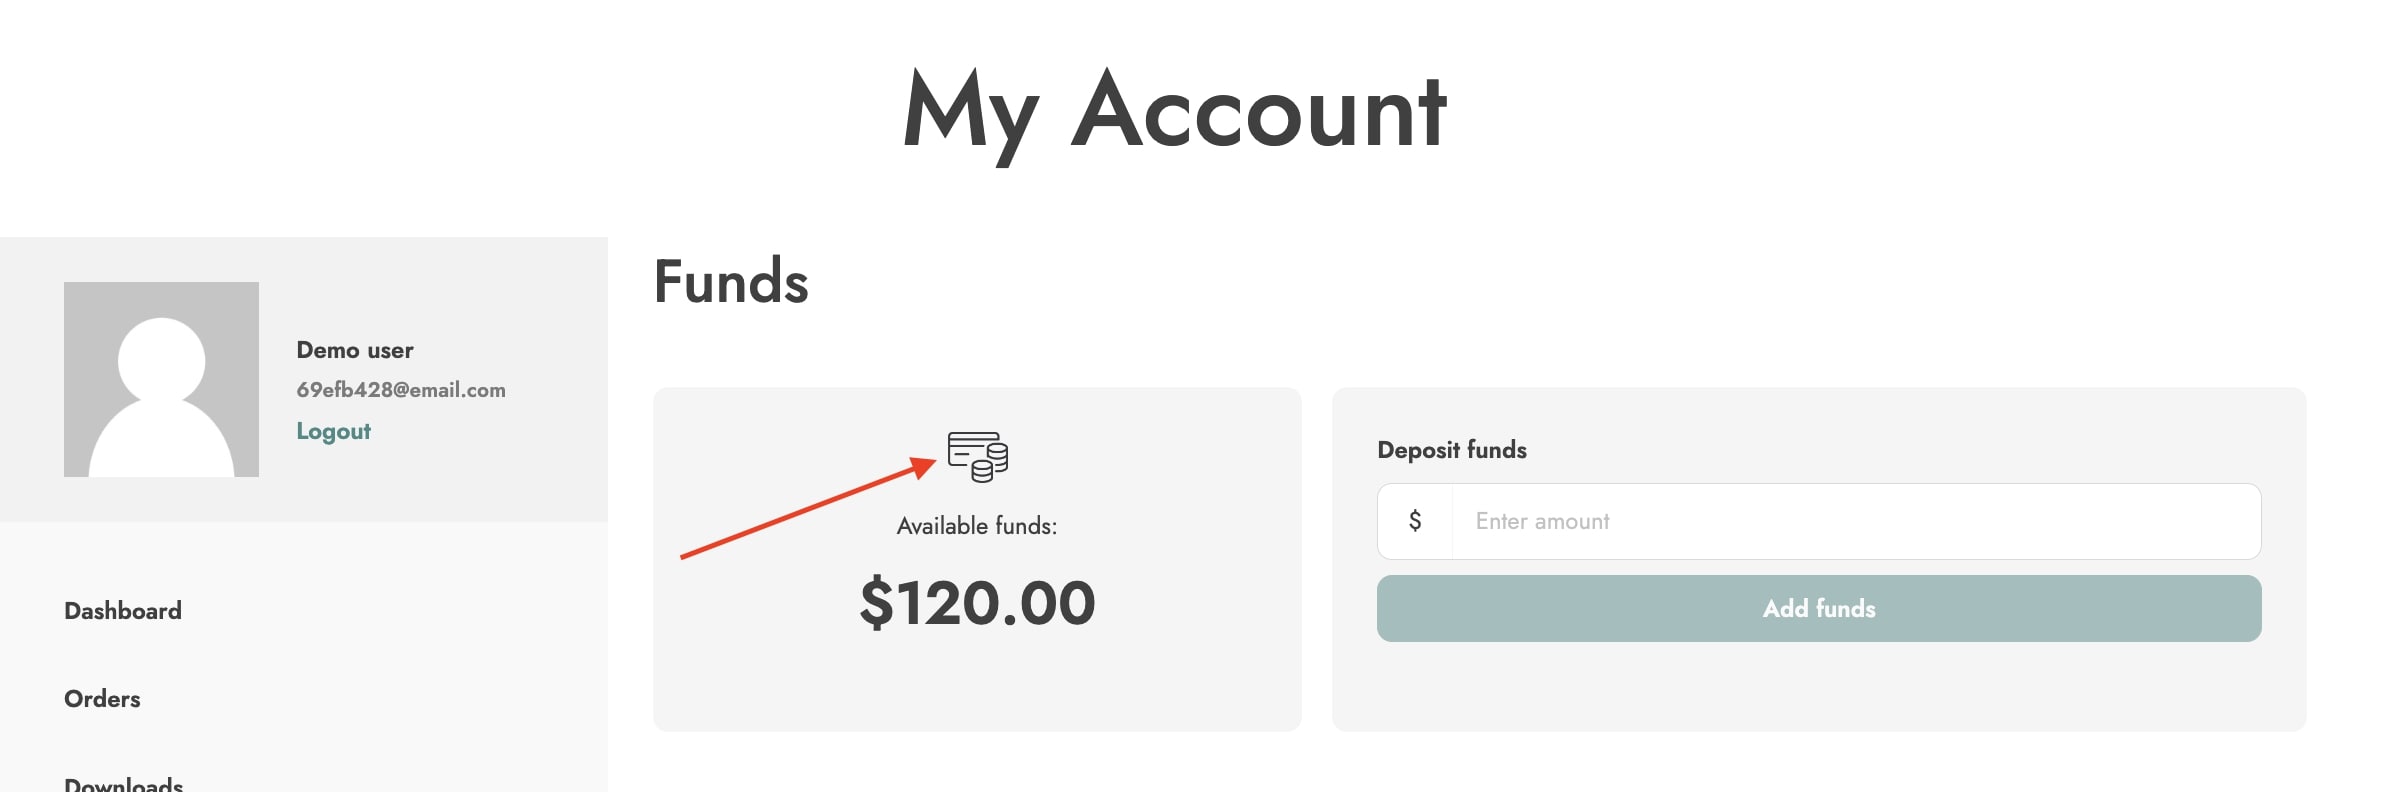
In the product edit page, you can set up the image that will be the same one shown in My Account section in the available funds.
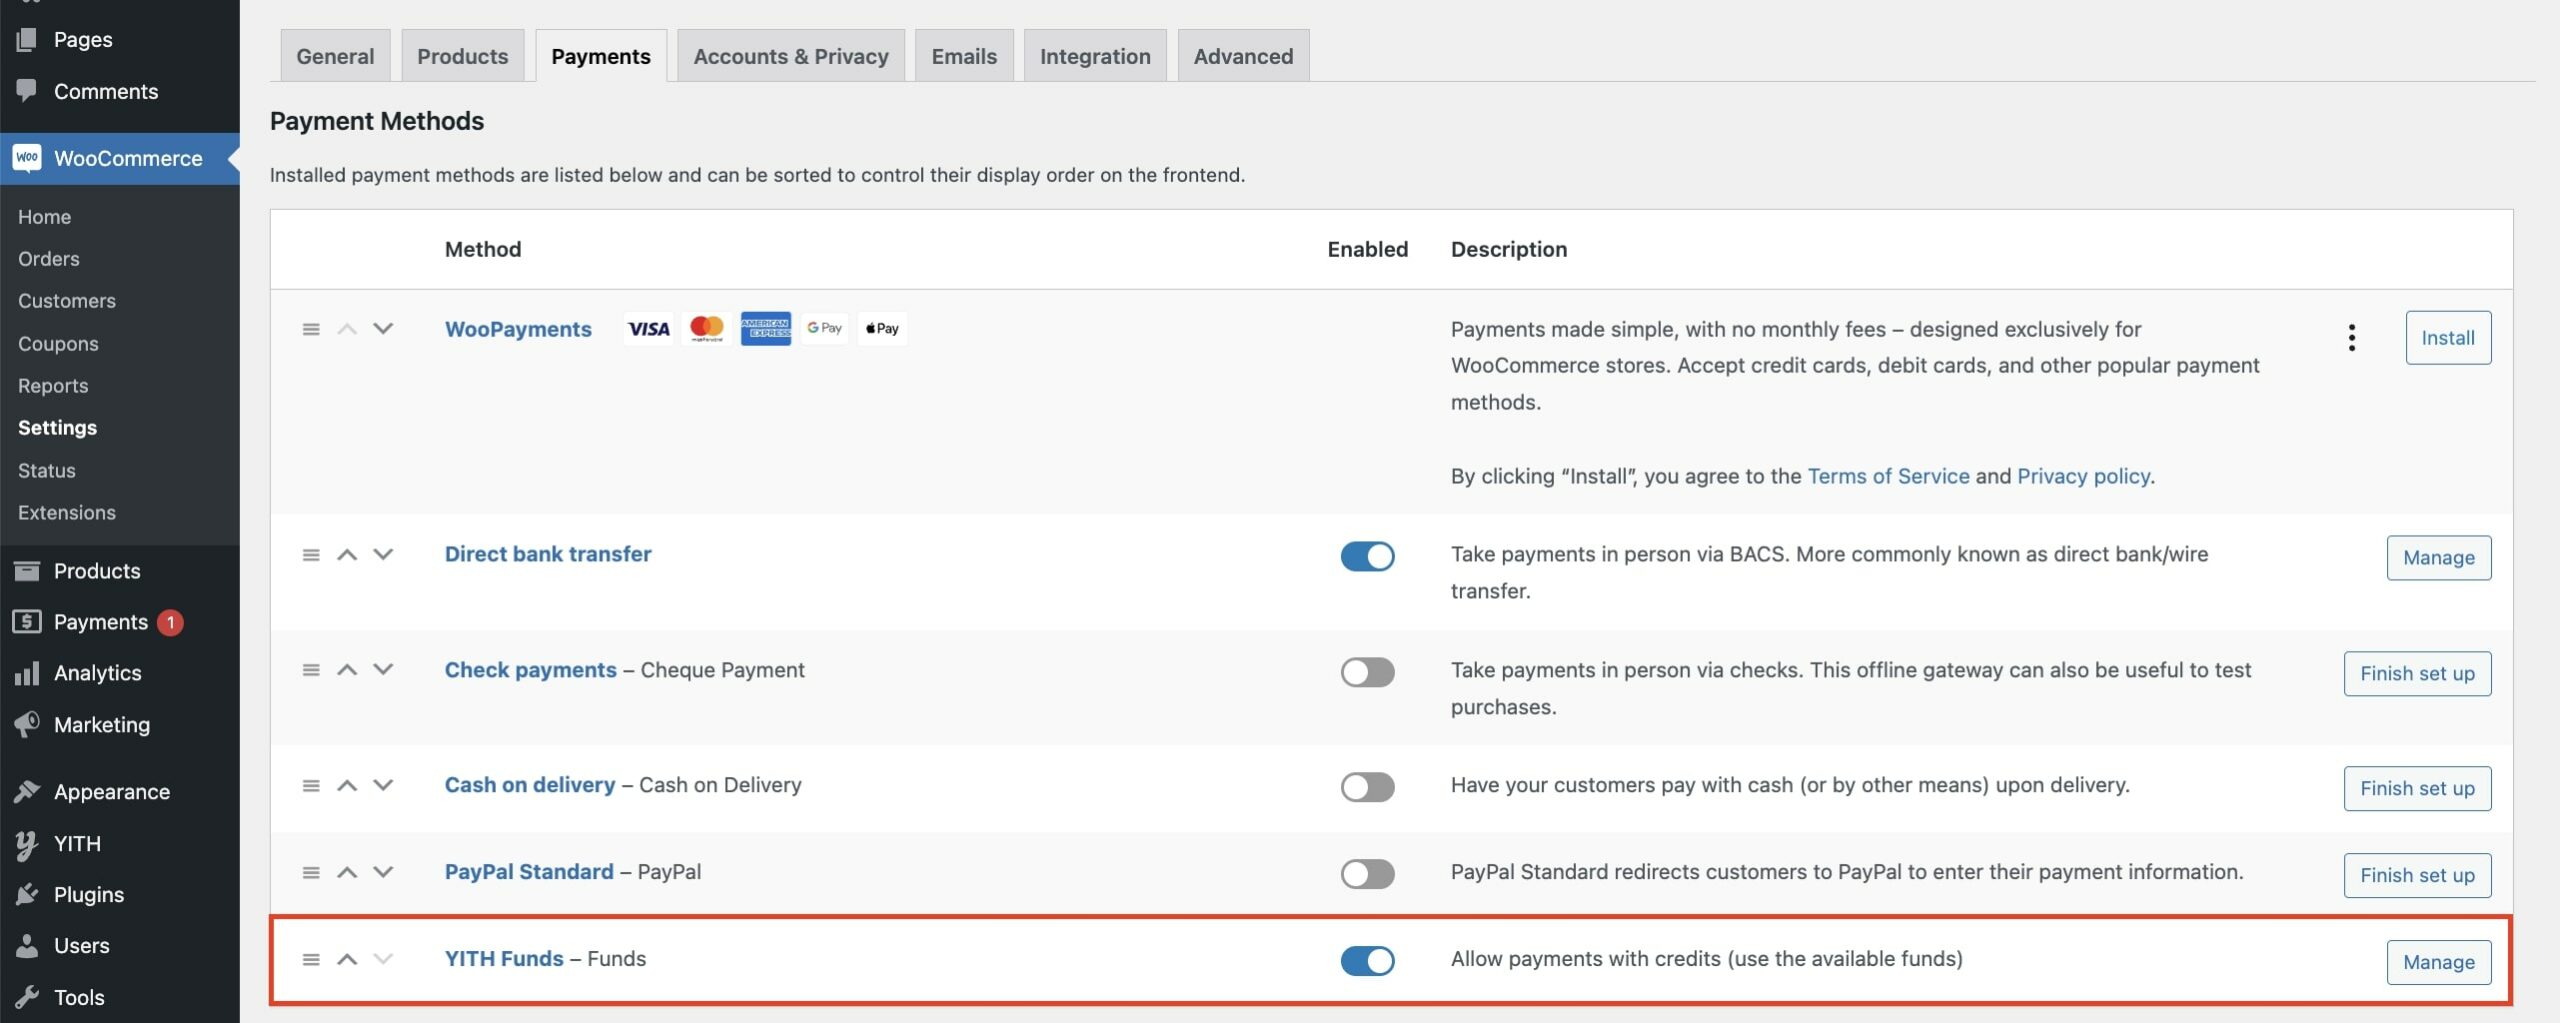
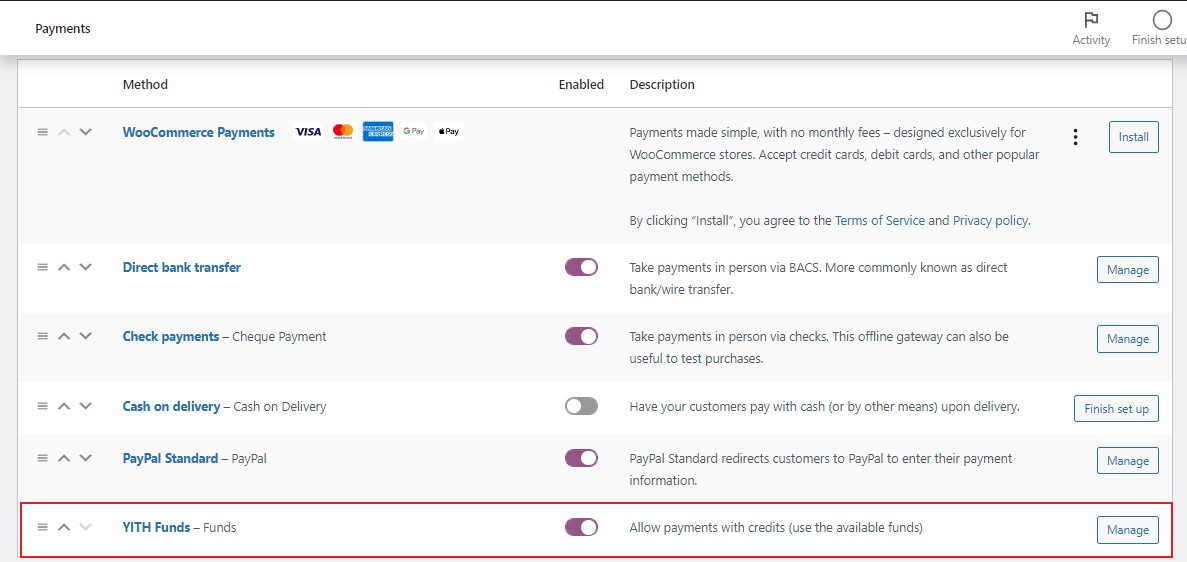
Payment method
As soon as you activate the plugin, a new payment method called Funds will be made available among the WooCommerce payment gateways.
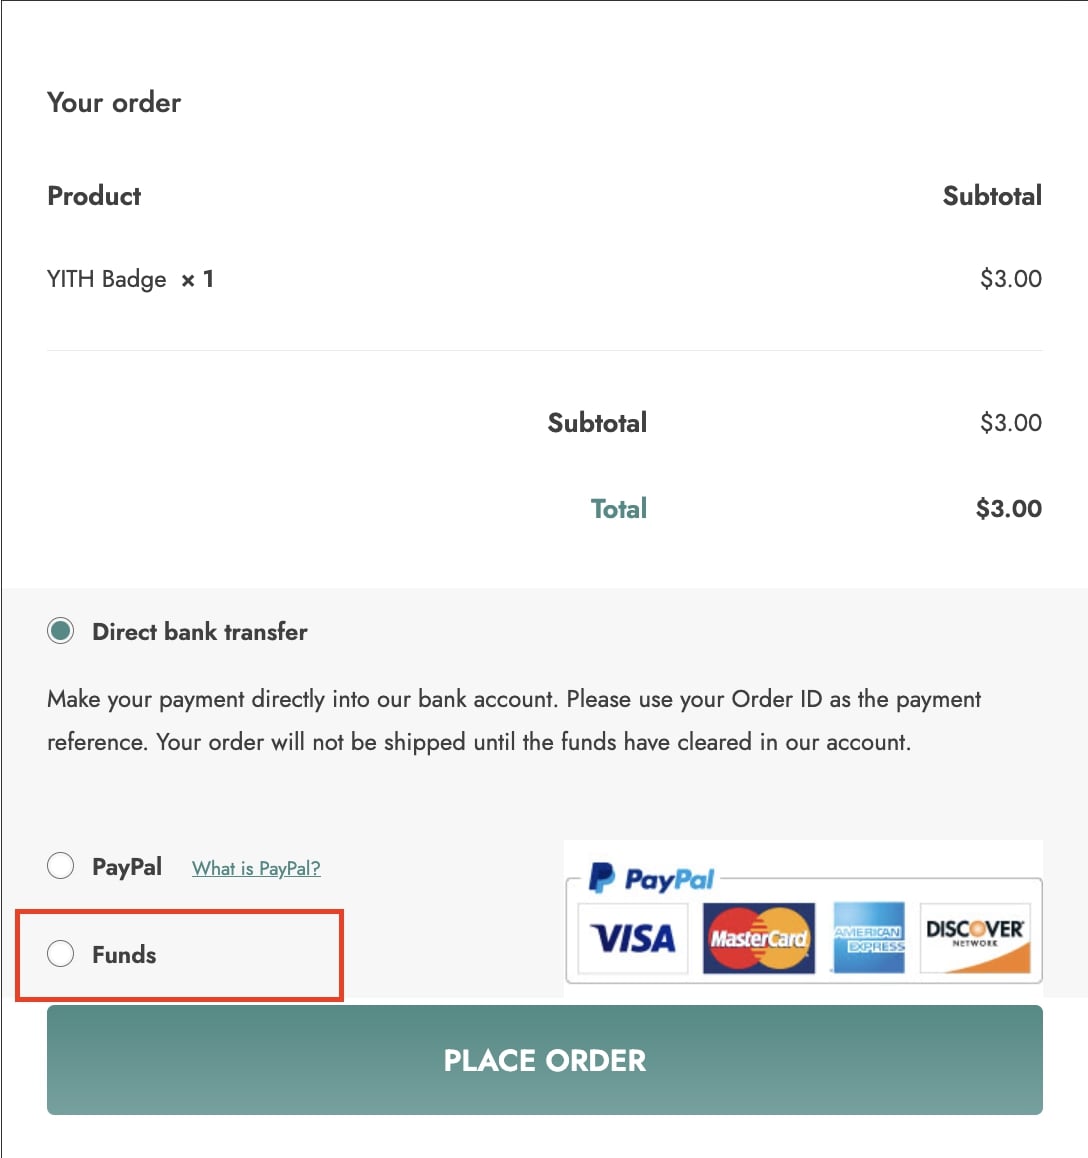
Checkout
When the user completes an order paid with funds, the order gets the Completed status, unless it includes the shipping. In this case, the status gets to Processing and will require the administrator to take some action.
Please note that if you are using a billing plugin, it will probably generate invoices for every order, including deposit ones to add funds. Deposits are net and VAT free, therefore no invoice should be issued for these orders. YITH WooCommerce PDF Invoices & Packing Slips has been already tested with YITH WooCommerce Account Funds and necessary compatibility fixes have been applied, so that no invoice is generated for deposit orders.
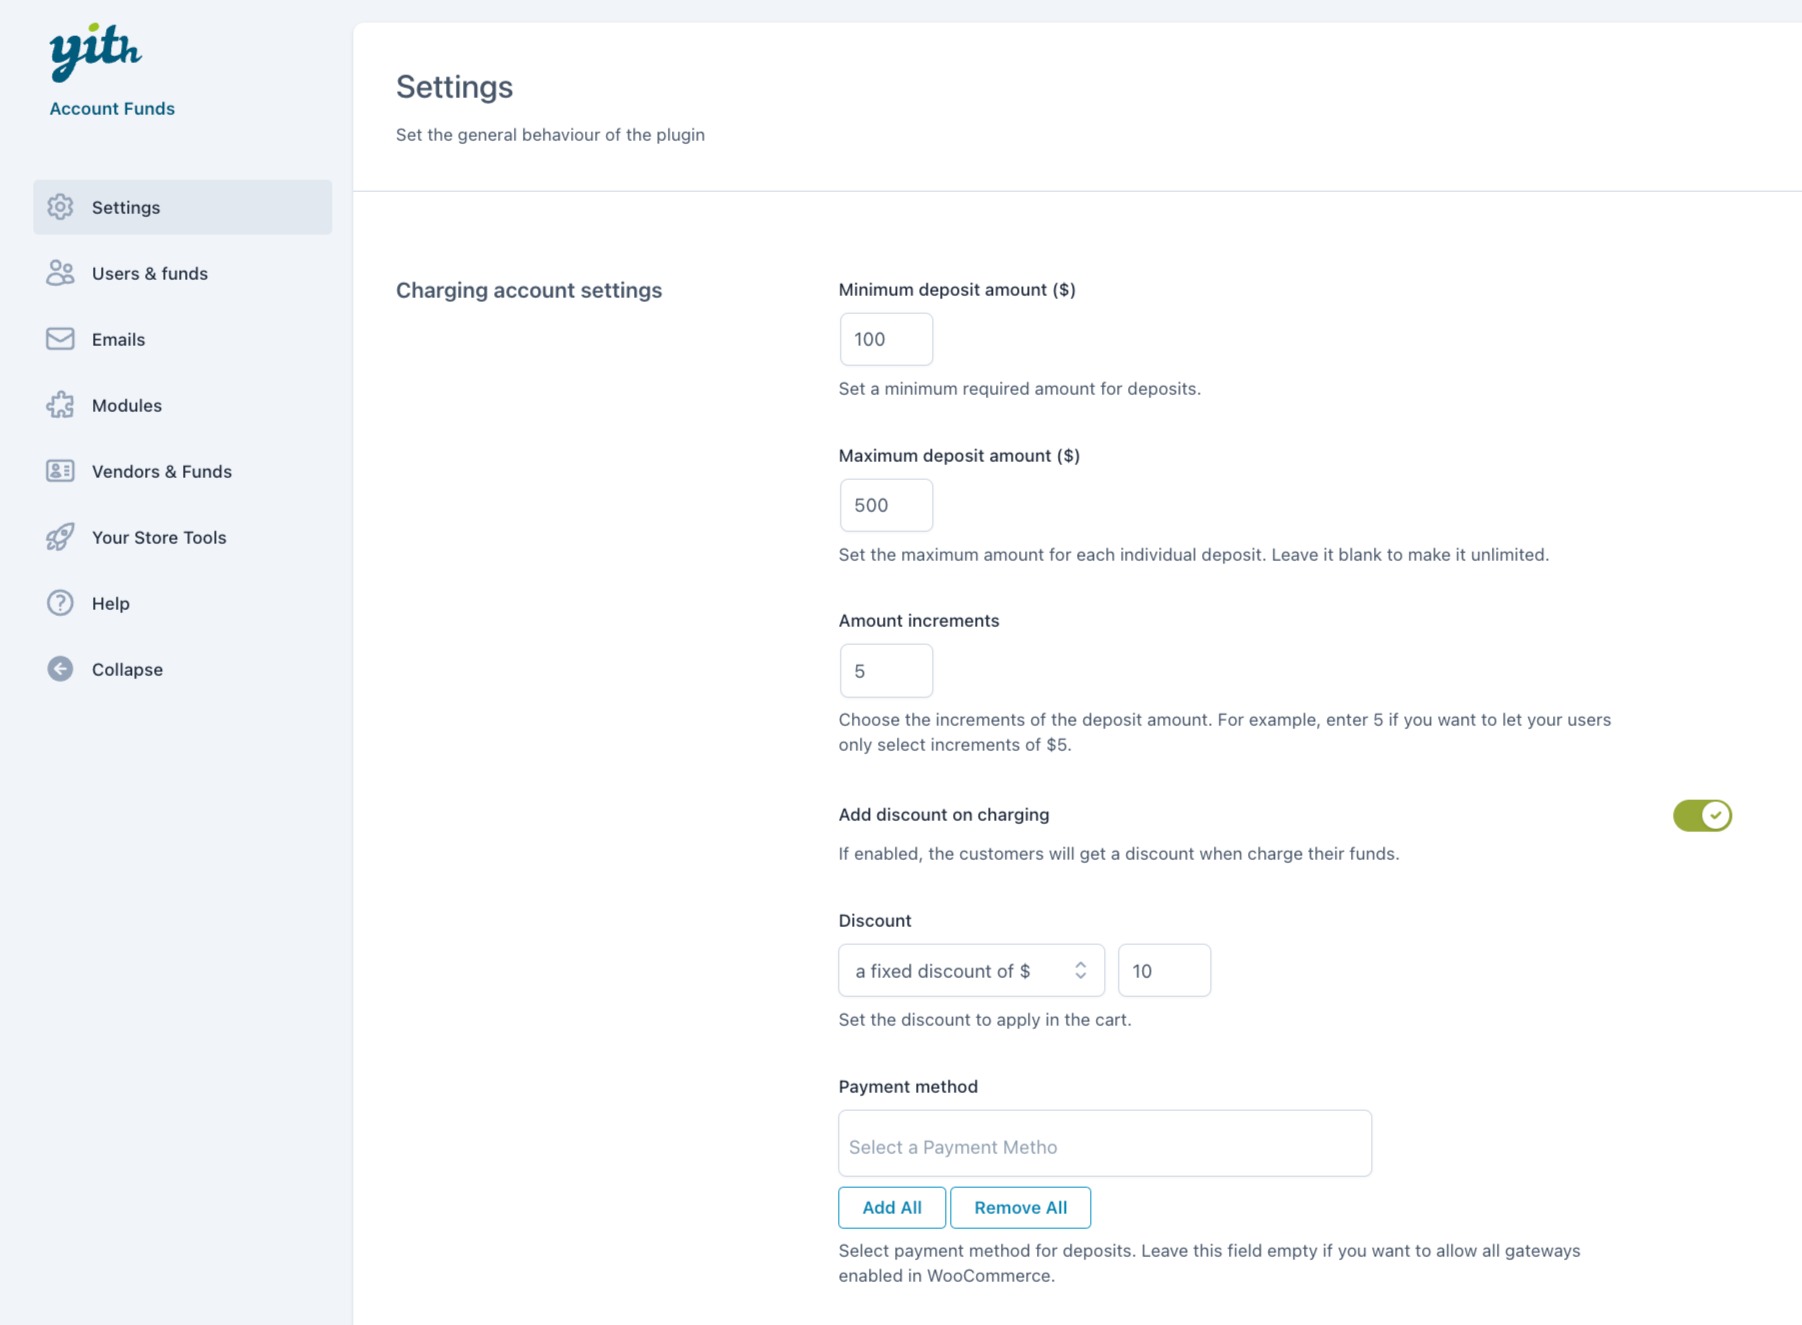
Let’s now start with the general settings. Go to YITH > Account Funds > Settings where you will find five sections with different options:
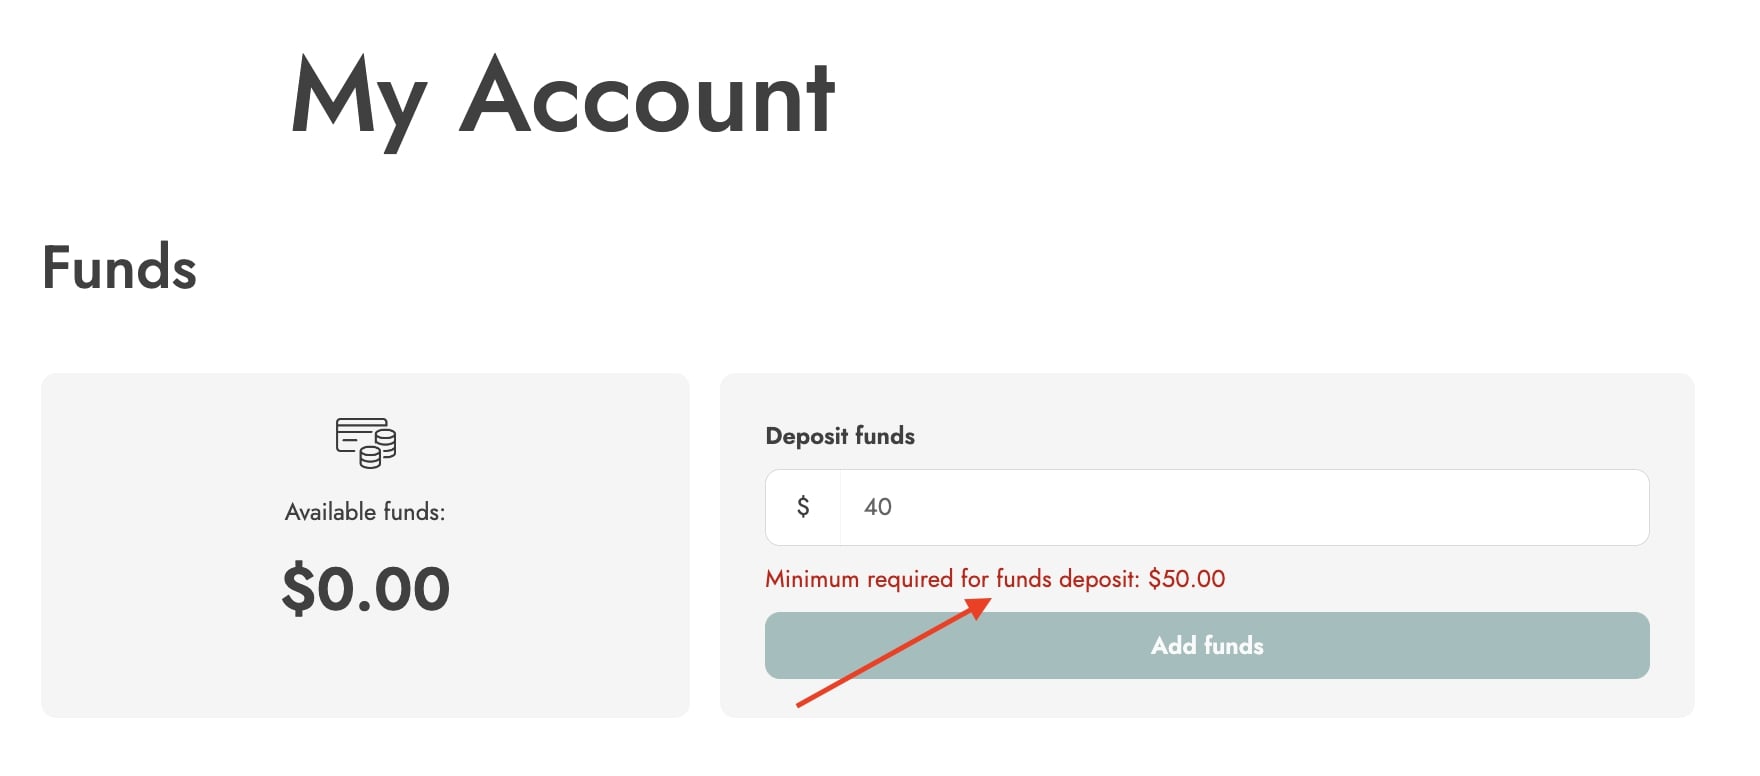
Minimum deposit amount ($): use this option if you want to request a minimum deposit amount. For instance, if you set 50, customers will only be allowed to deposit 50$ or higher amounts. The default value is 100. A notice will show if users try to add an amount with a lower value.
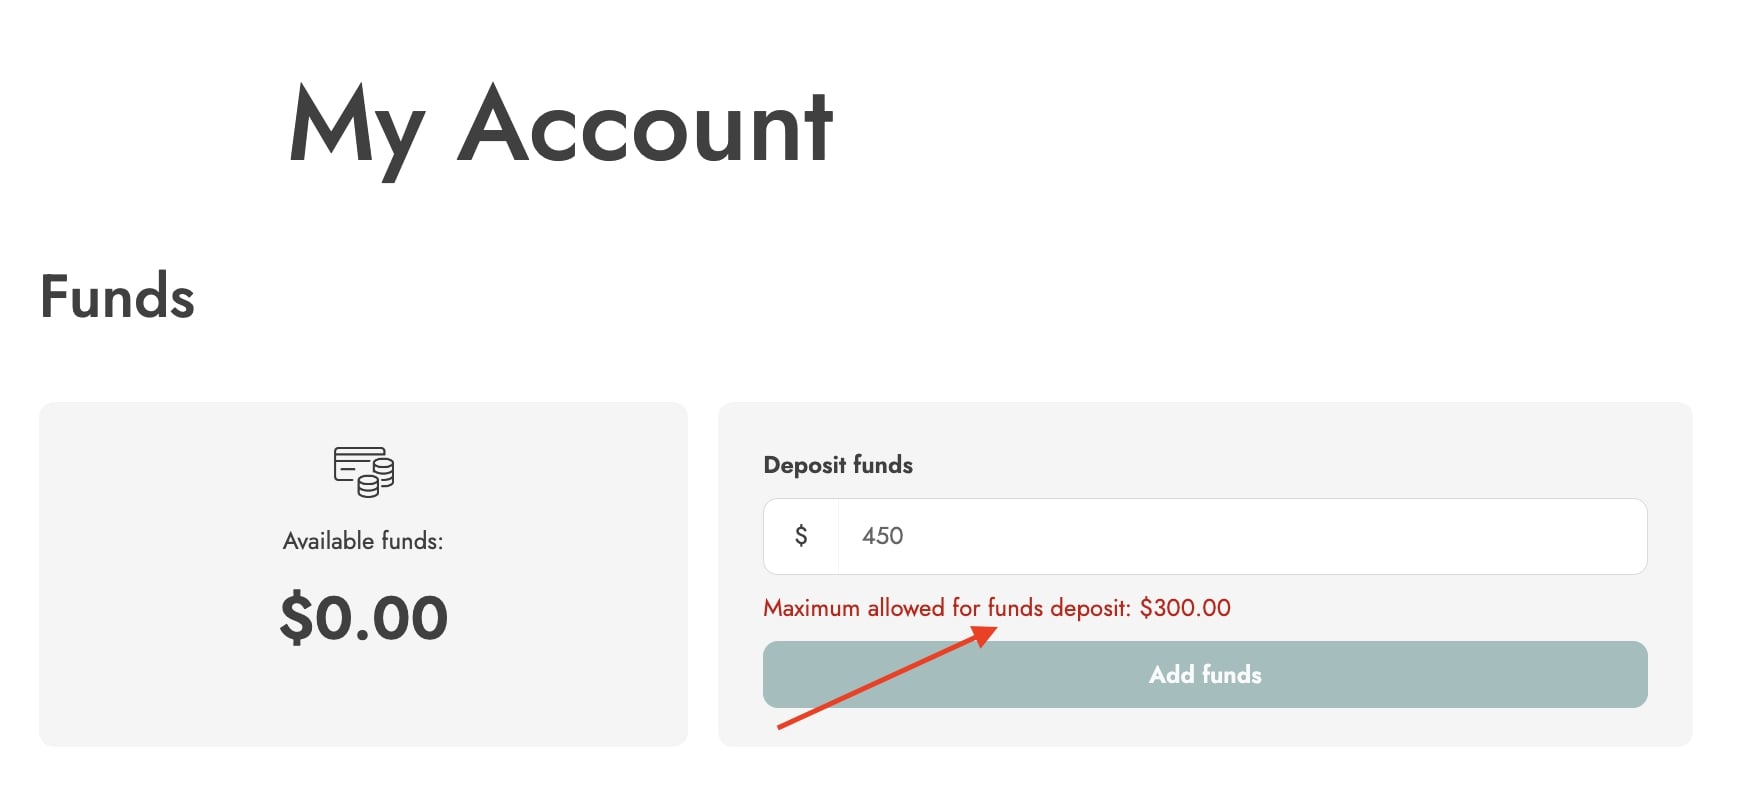
Maximum deposit amount ($): use this option if you want to request a maximum deposit amount. For instance, if you set 300, customers will only be allowed to deposit 300$ or lower amounts. The default value is 500. A notice will show if users try to add an amount with a higher value.
Amount increments: use this option to let your users increment the deposit amount of a specific unit. For example, by setting 10, they will be able to add from 100 to 110 to 120, and so on. No option to enter a value in between.
Add discount on charging: enable this option to give a discount to users topping-up their funds.
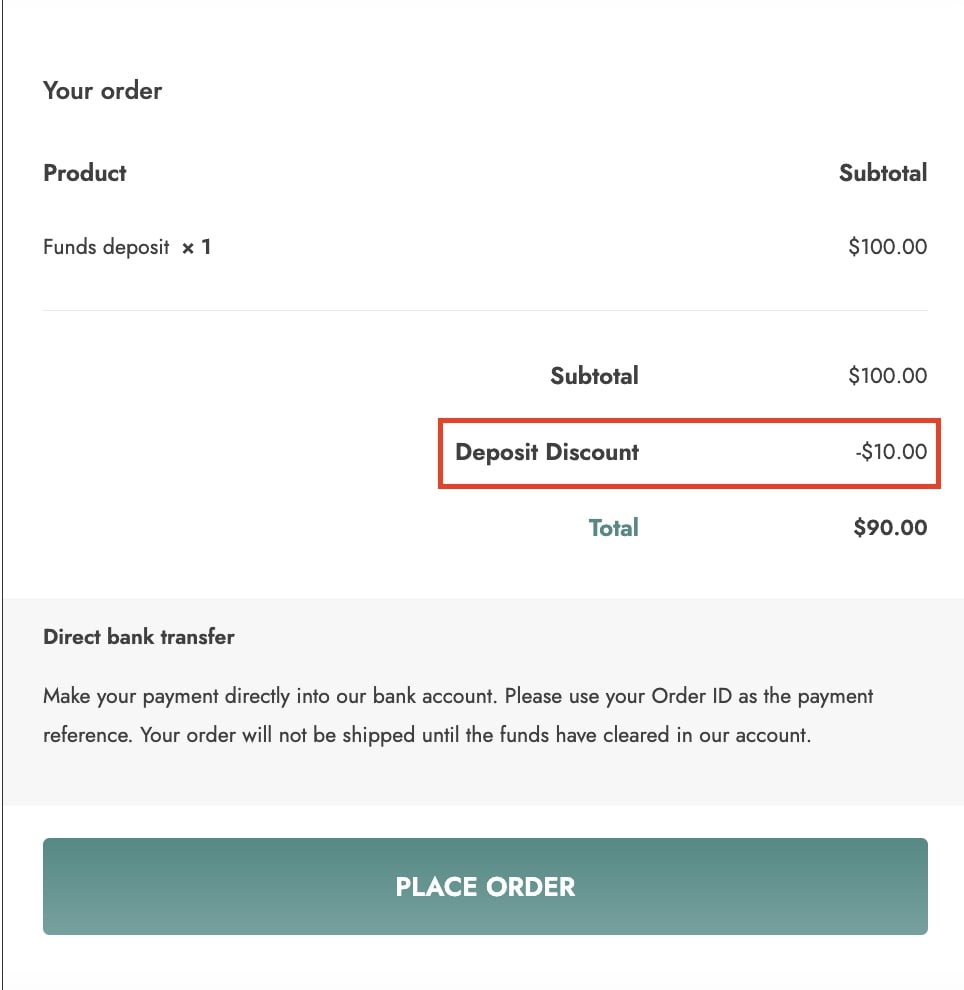
Discount: choose from a fixed or % discount and enter the value. (E.g. for a fixed discount of $10, users adding a credit of $100 will pay $90.)
Payment method: add the payment methods allowed to pay to add funds. Leave it empty to make every payment method set up in WooCommerce available.
When adding funds, users are redirected to the Checkout page for the payment. The funds will be credited into the user’s account only when the deposit order turns into the status Completed.
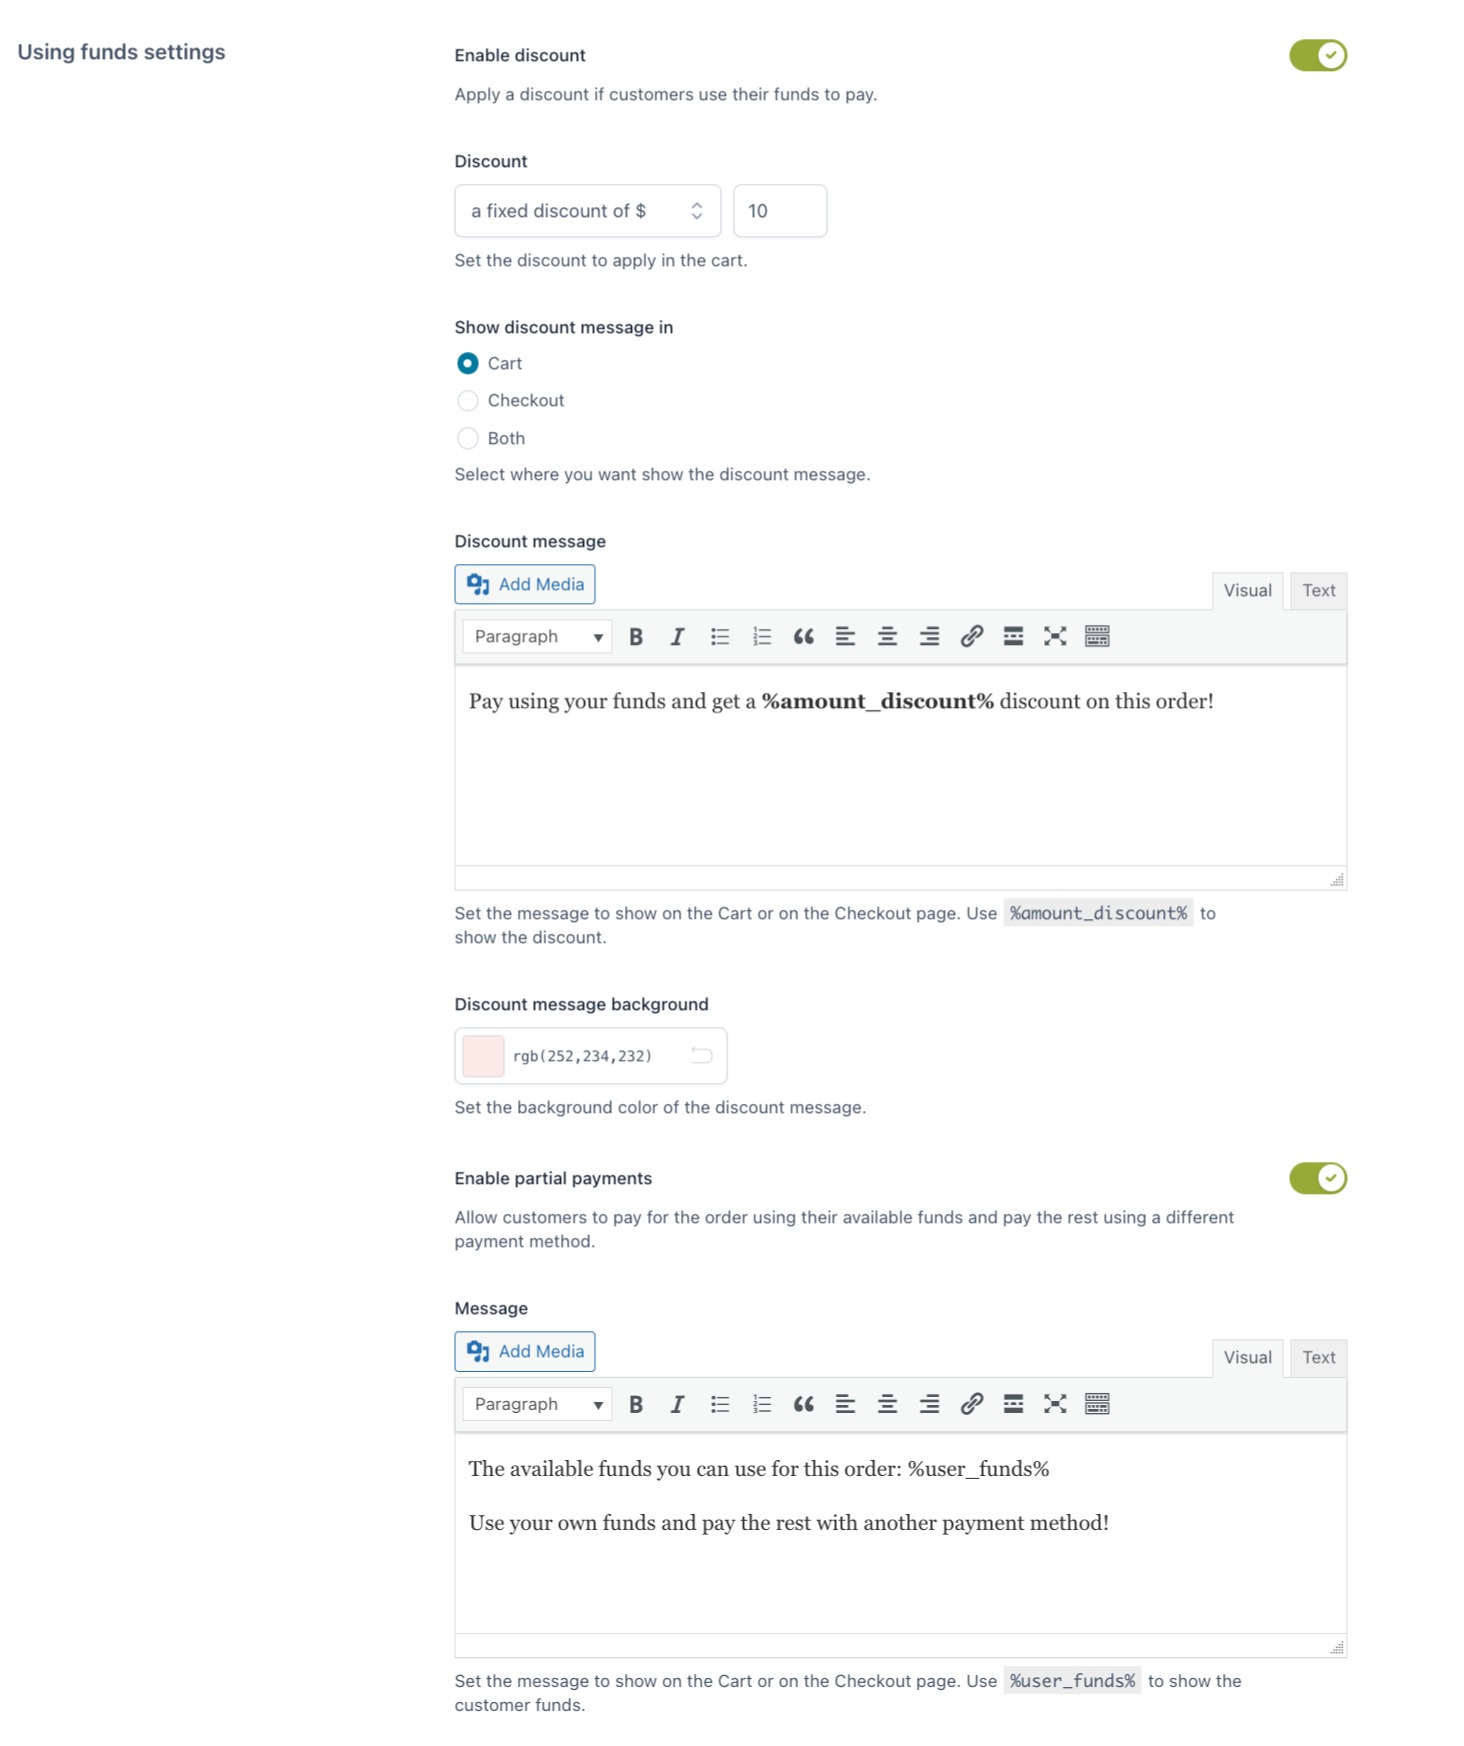
In the section Settings >Using funds settings, you can set up the options related to discounts for users using funds and partial payments.
Enable discount: this is the option you need to enable if you want to offer discounts to customers using their available funds to purchase in your store.
Discount: use this option to offer a fixed discount or a percentage discount.
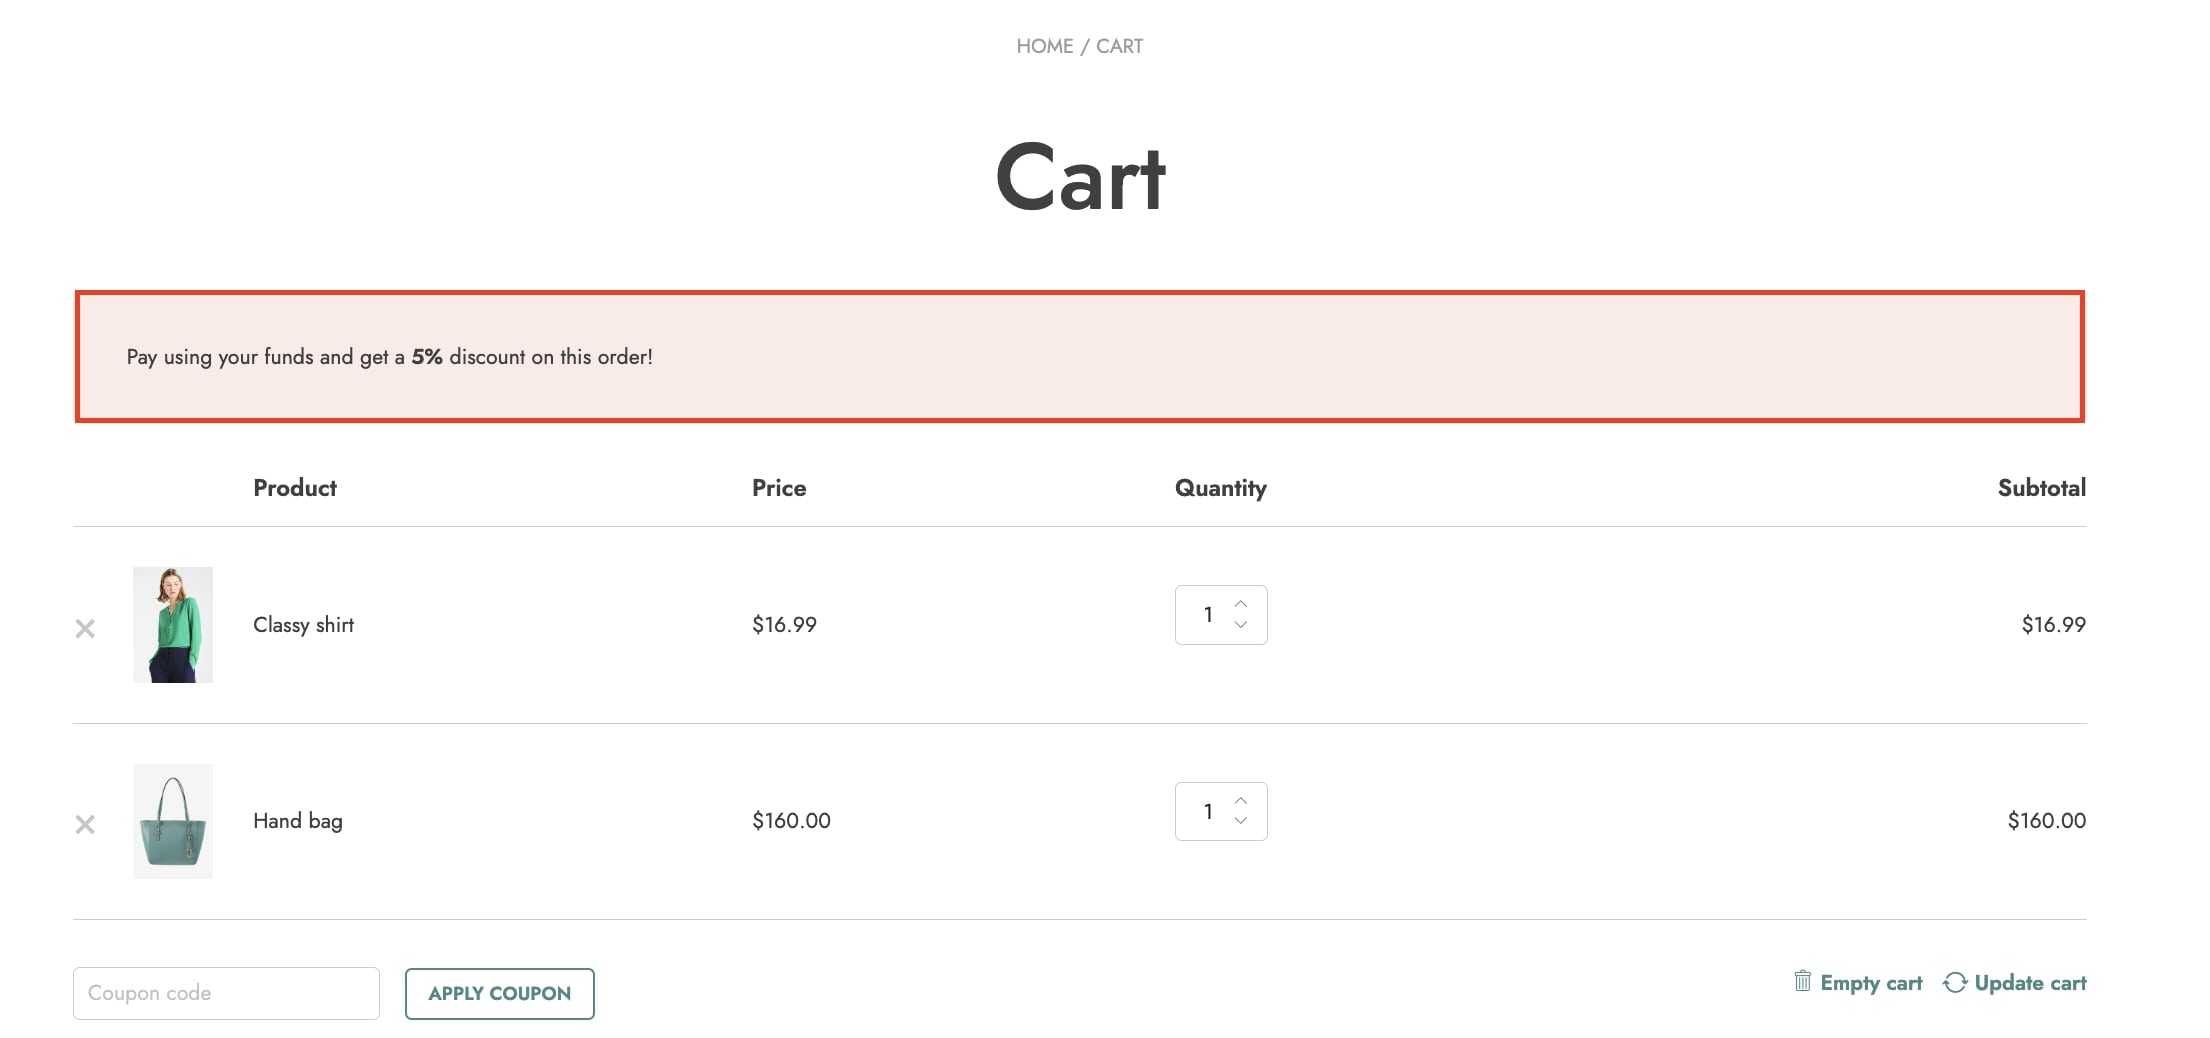
Show discount message in: choose where to show the message informing customers of the discount from Cart, Checkout or both.
Discount message: use the editor to set your message. To show the discount value, you can use the placeholder %amount_discount%.
Discount message background: set the color for the message background.
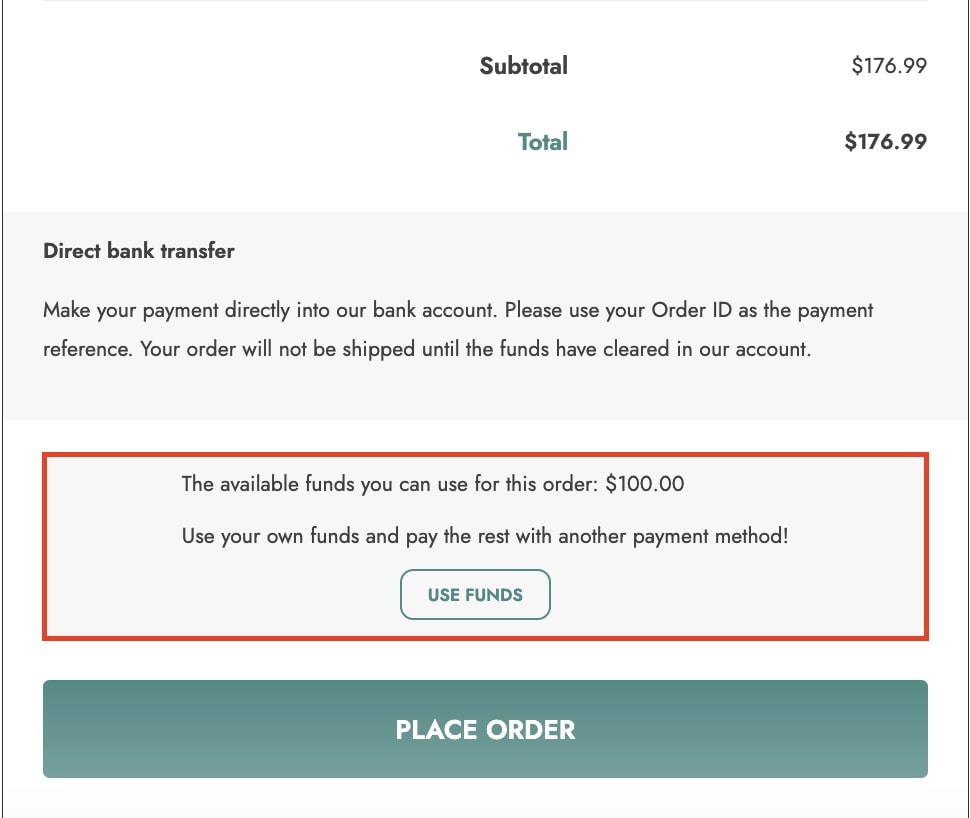
Enable partial payments: enable this option to you can let customers pay the order partially with their funds and part with any other payment method available in your store when their credit is not enough to cover the whole order amount.
Message: use the editor to create the message to show for partial payments.
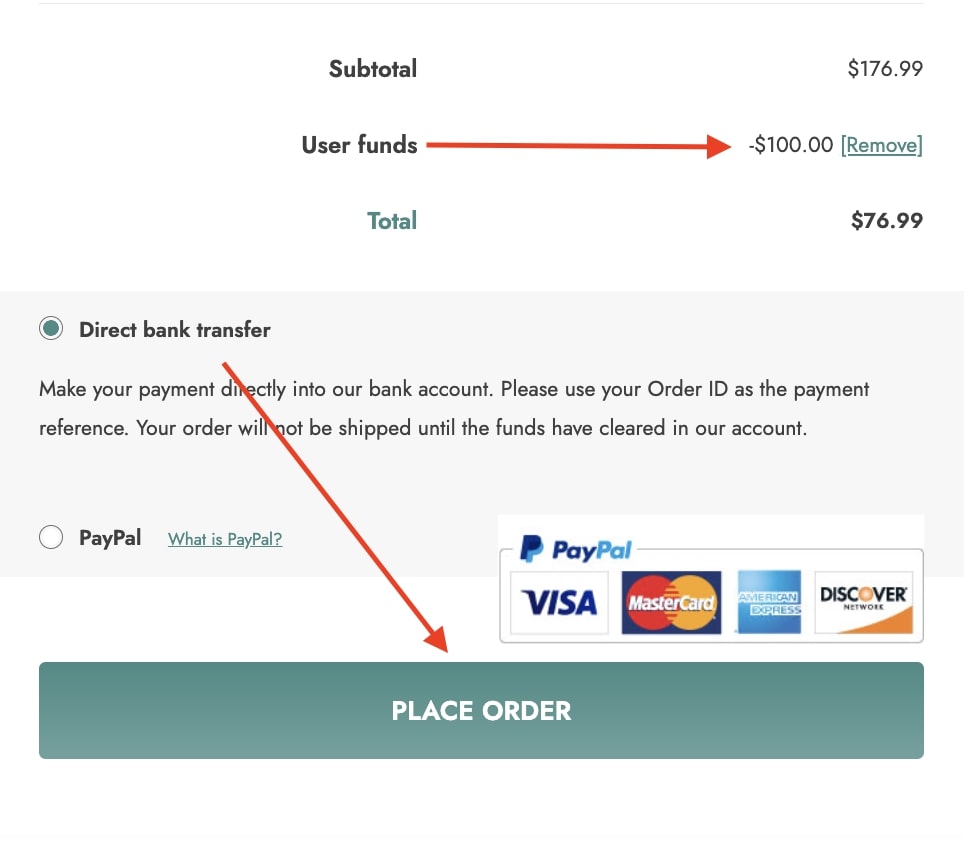
So, if the customer’s funds don’t cover the order total, they can choose to use their available funds by clicking on Use funds and then selecting another gateway for the remaining amount.
Step 1: use funds
Step 2: select the gateway to pay the remaining amountand complete the order
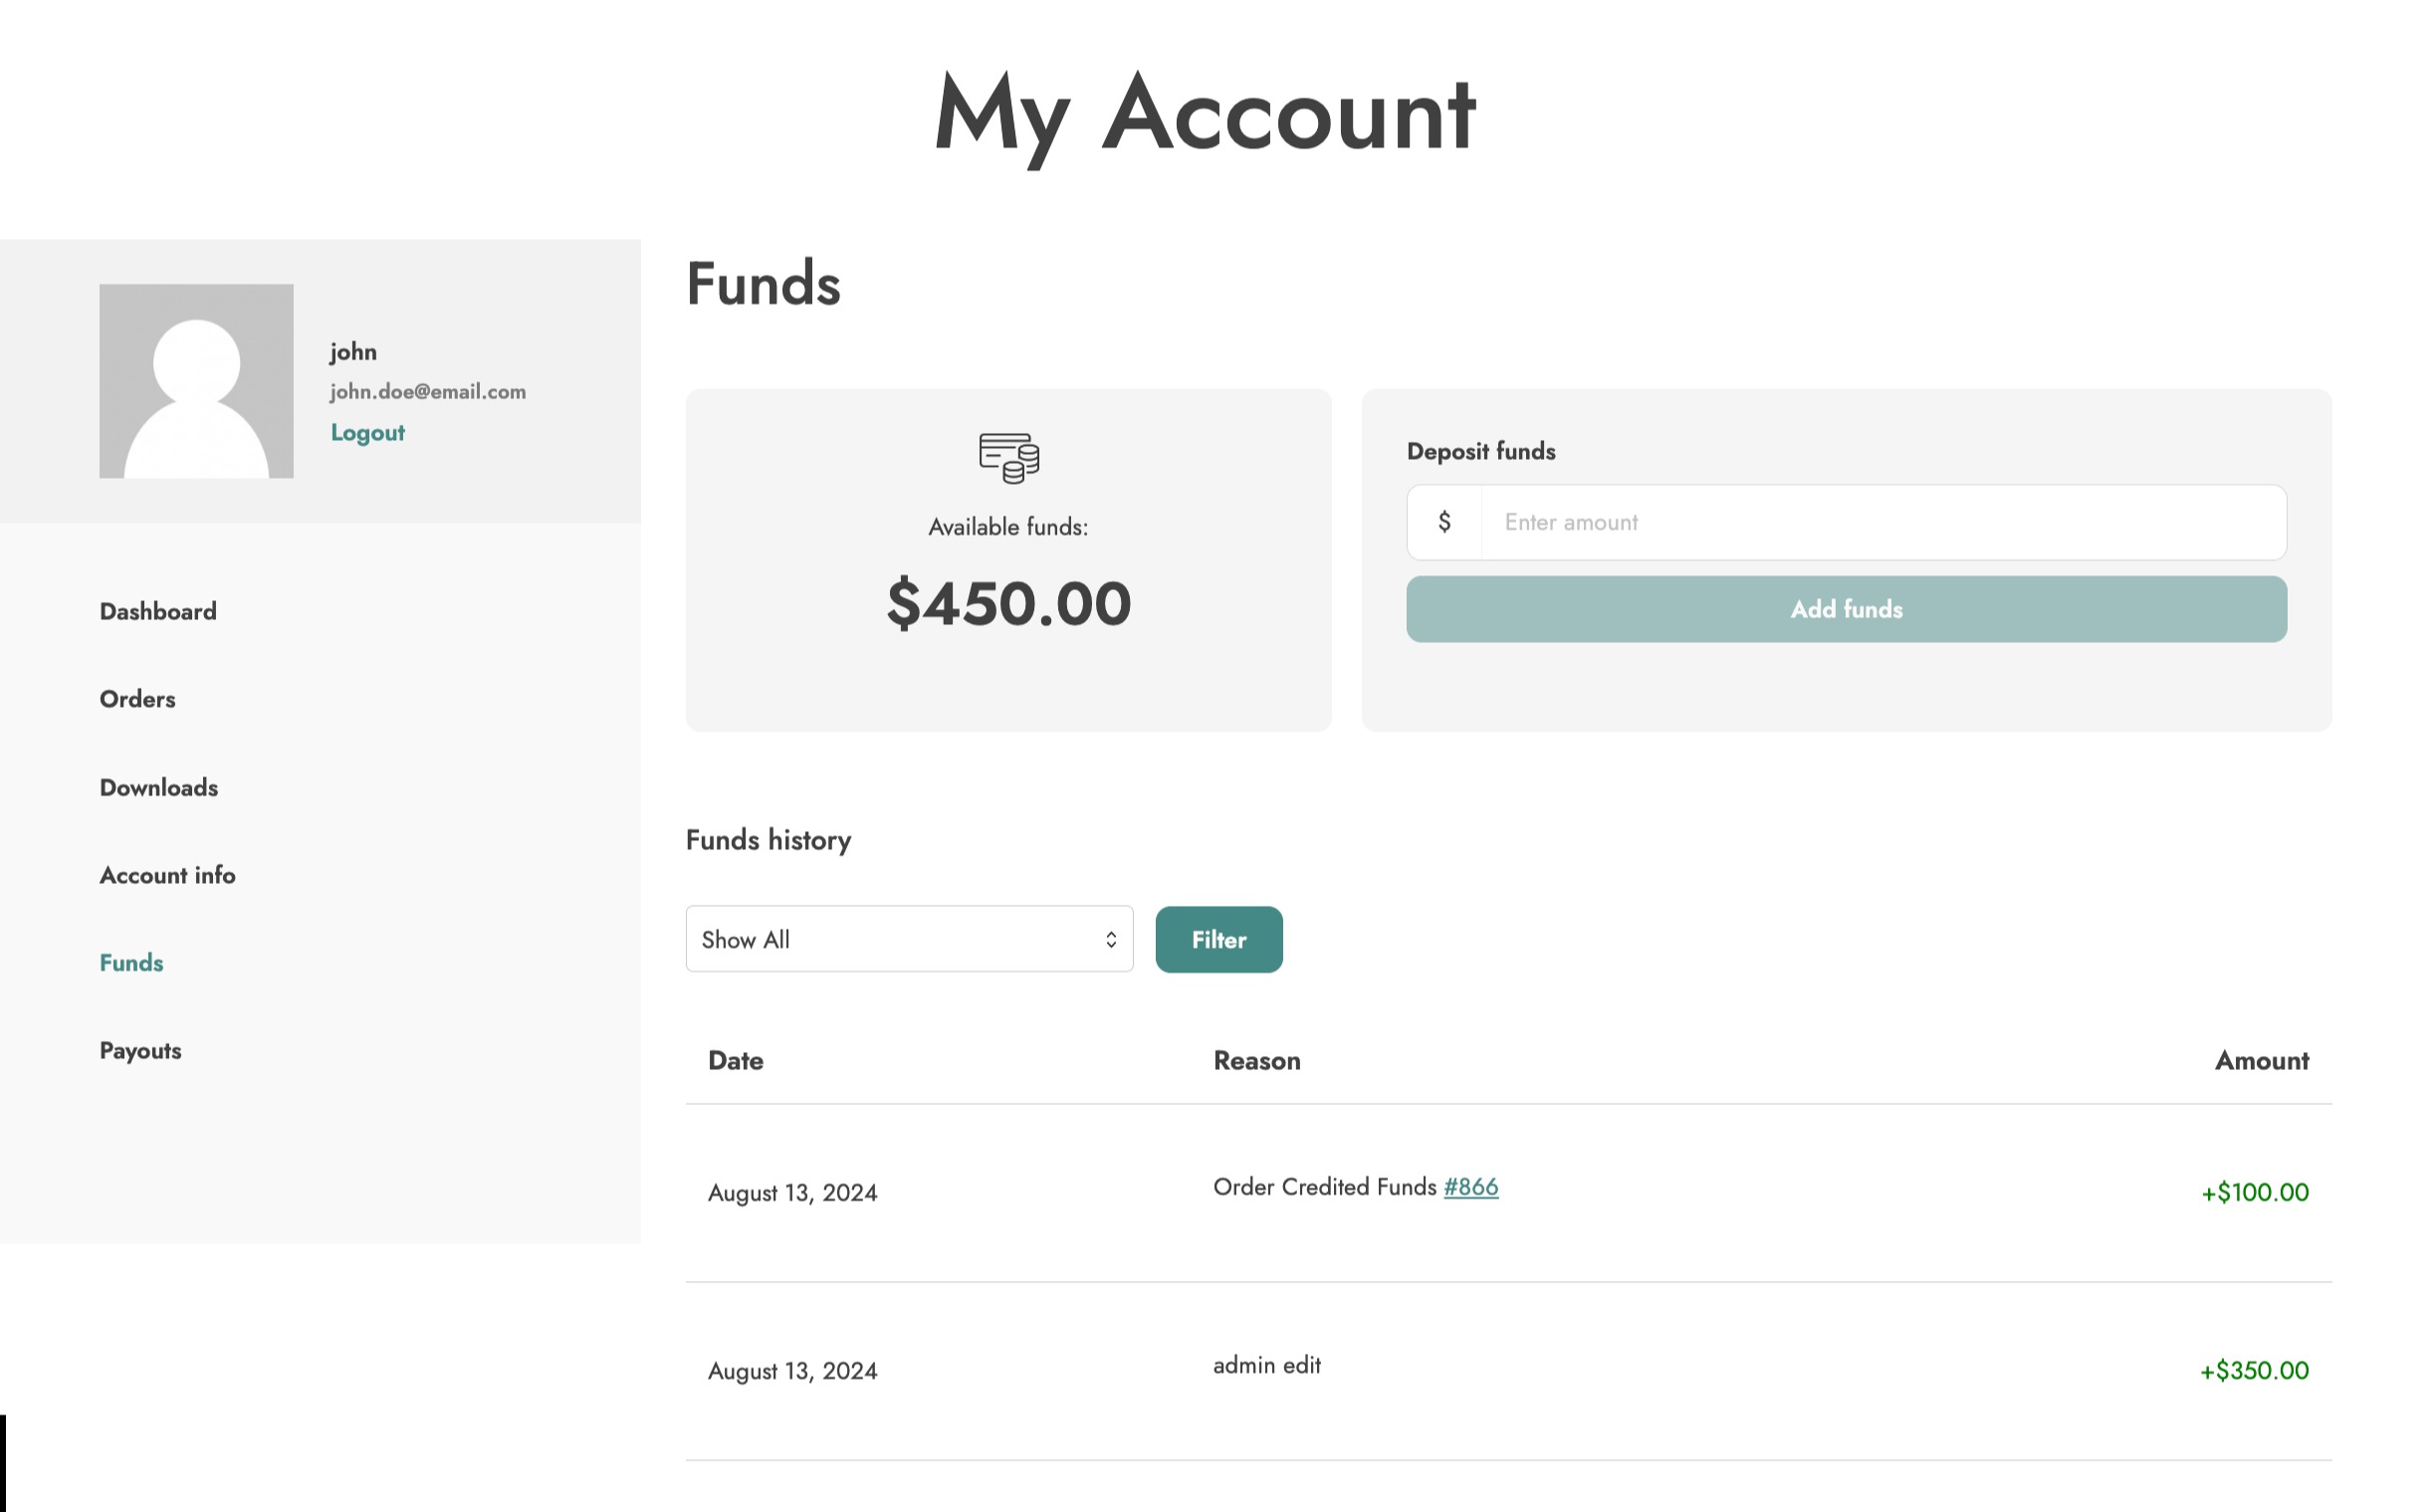
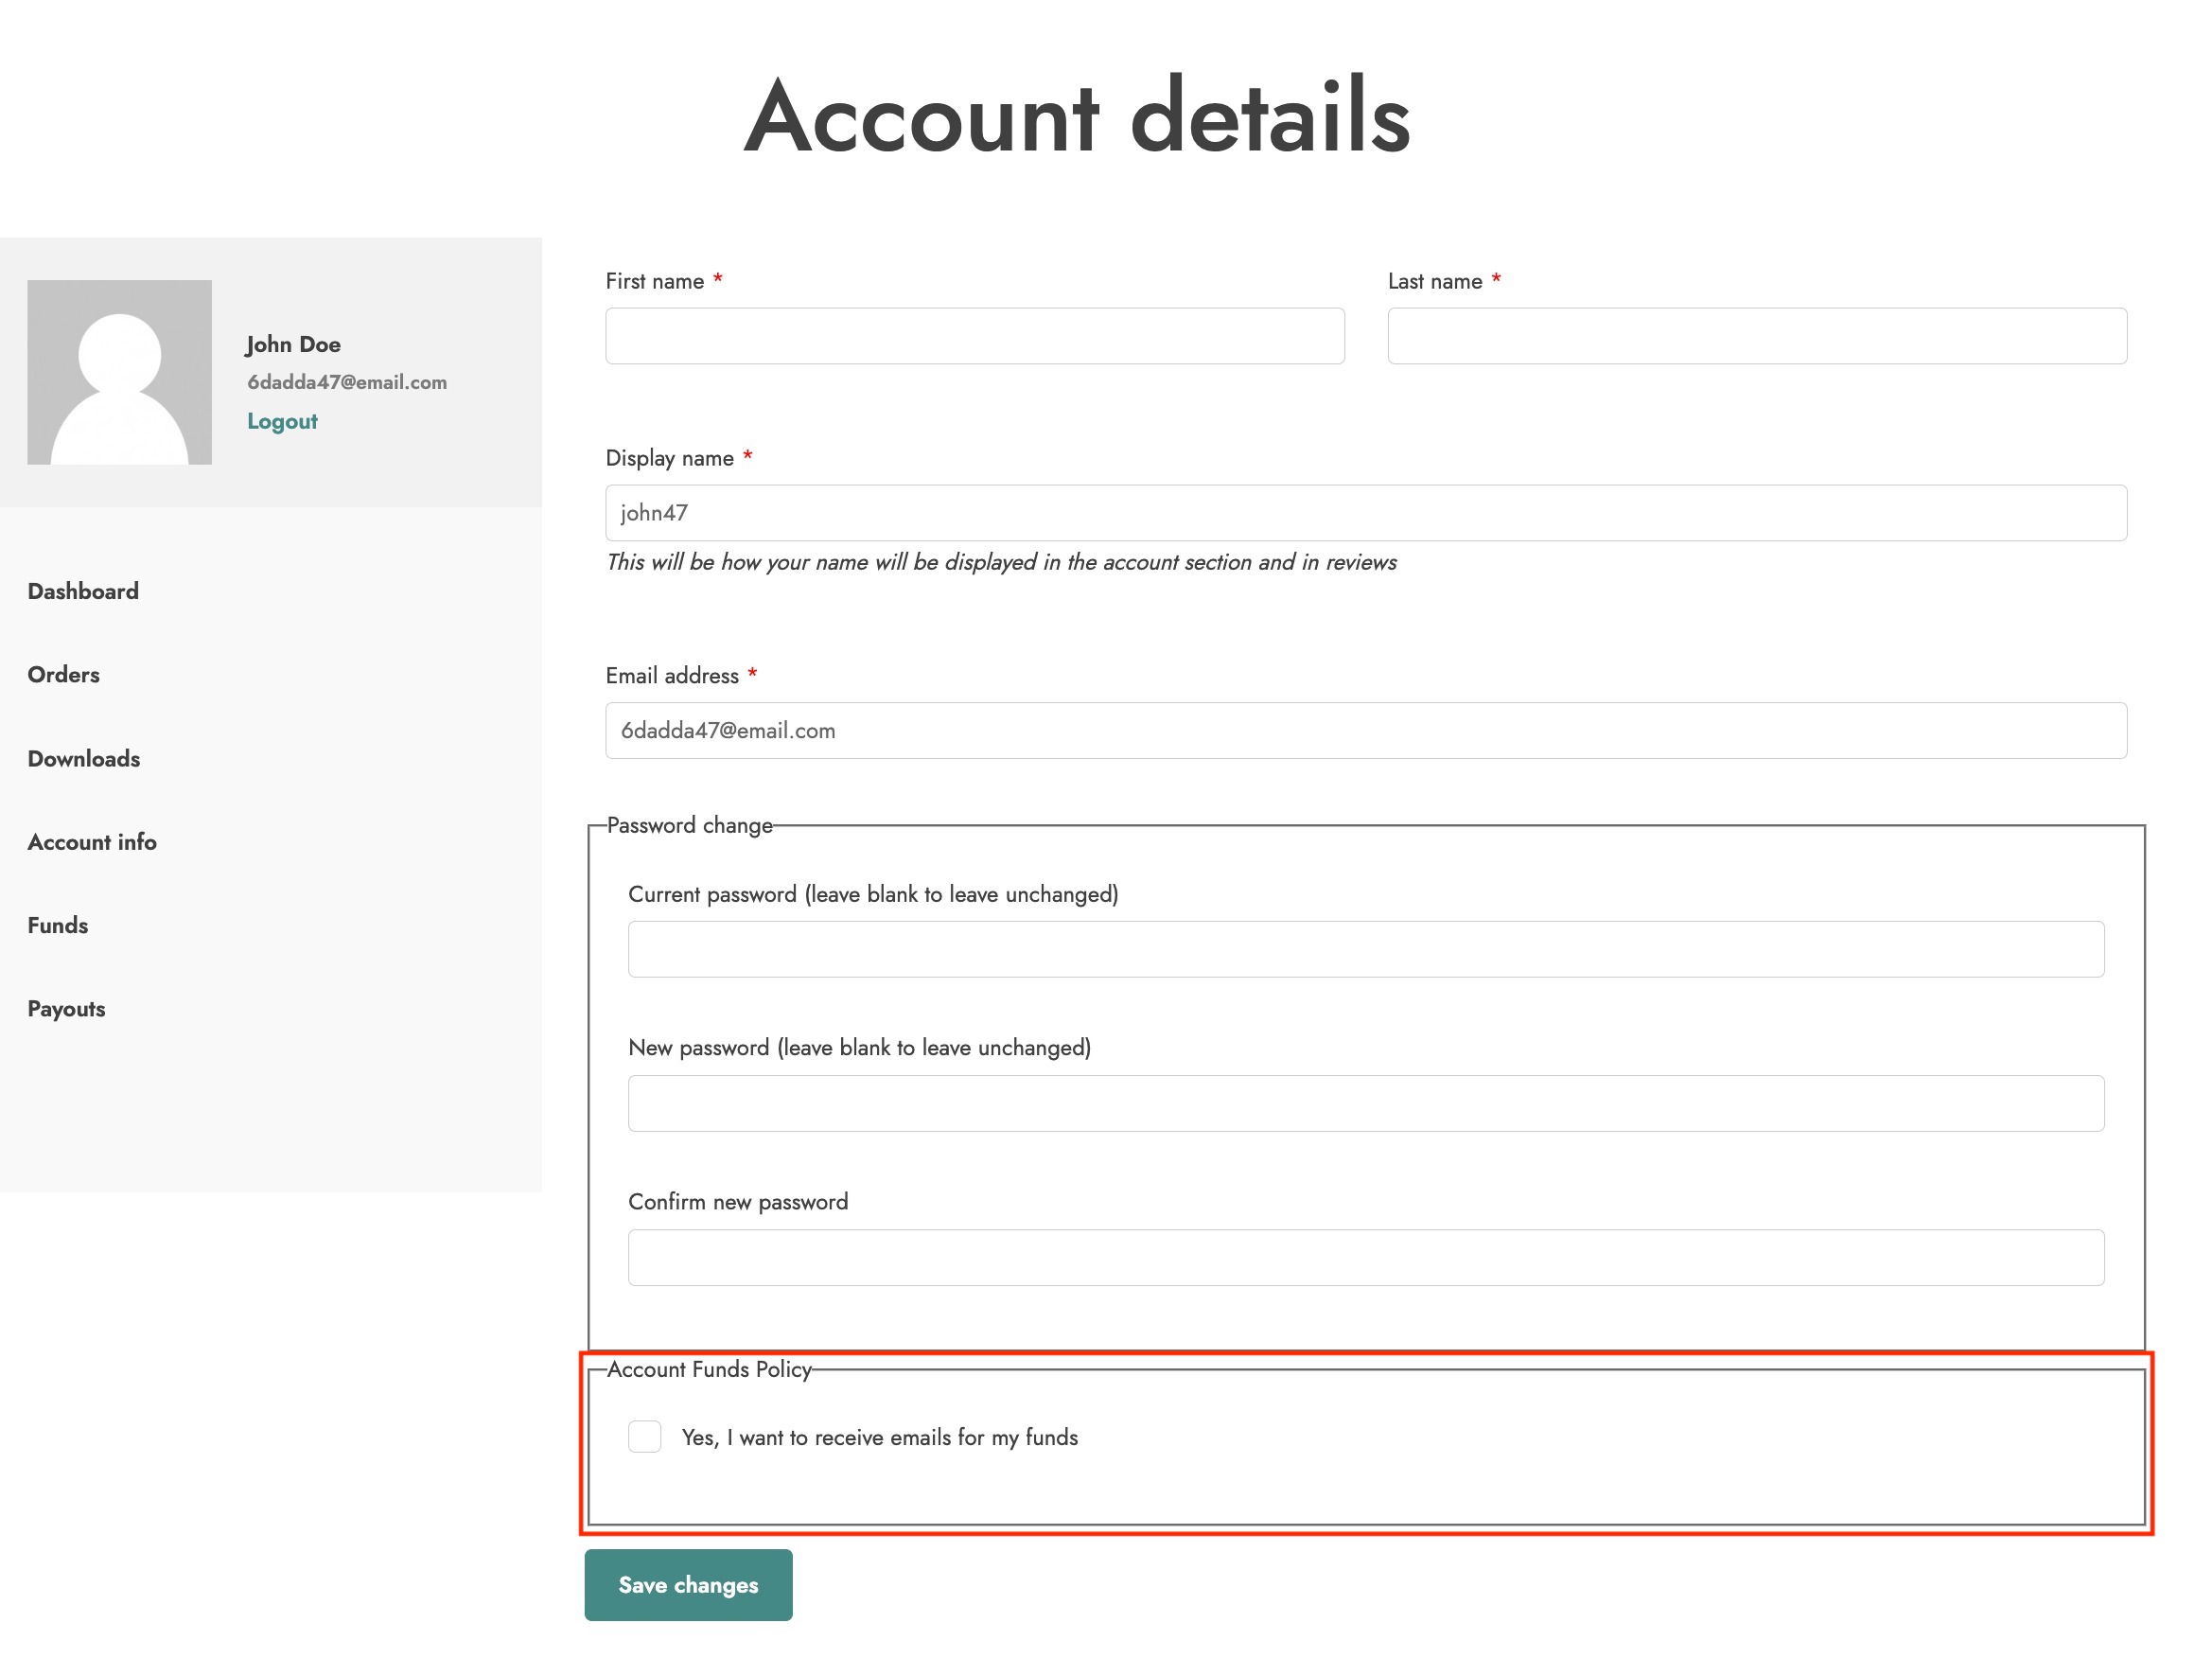
When installed, the plugin adds the endpoint Funds to My Account page where customers can view their funds’ history and a top-up form to add funds.
Endpoint options
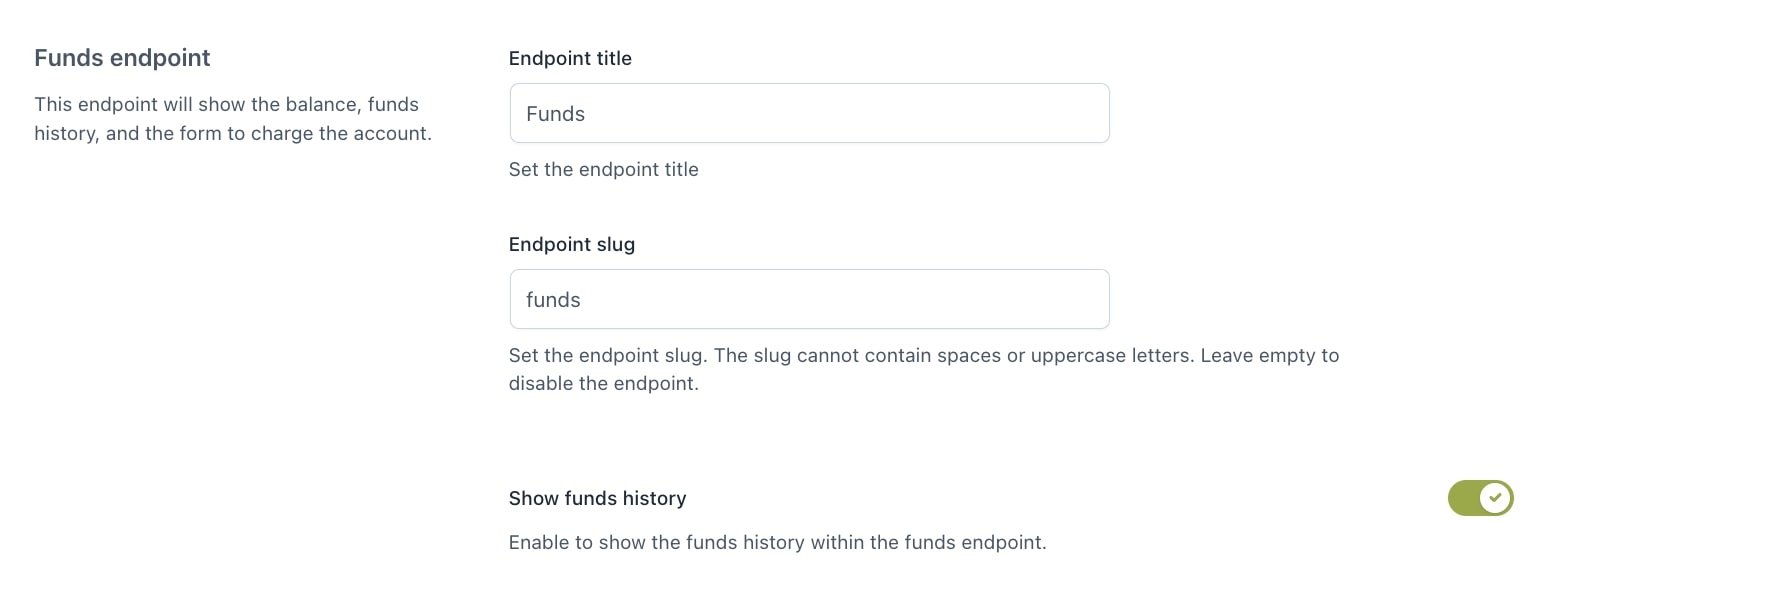
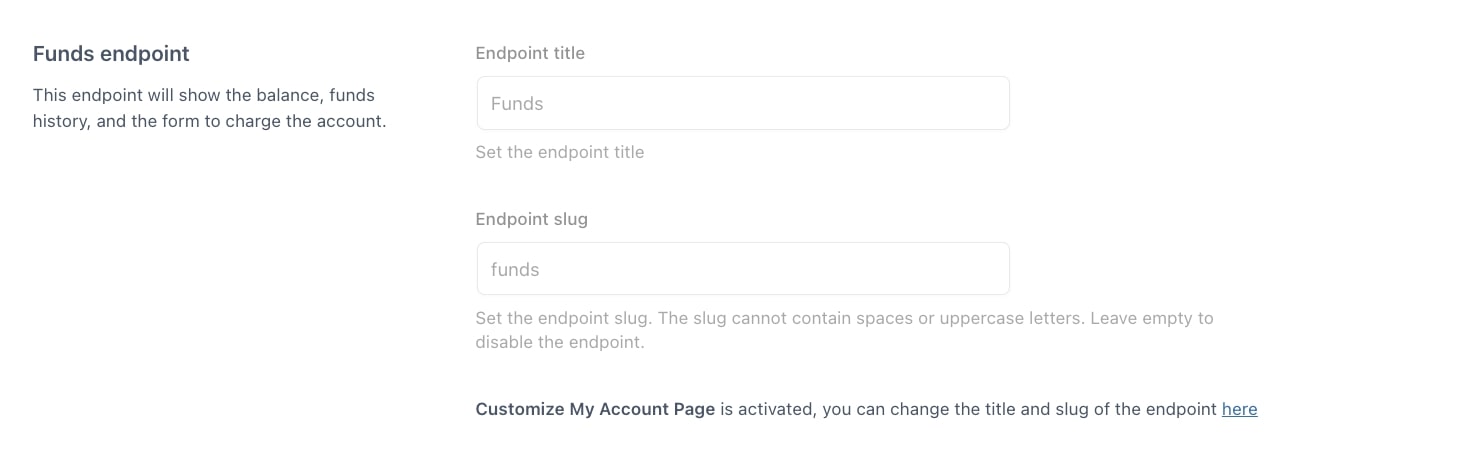
In Settings > Funds endpoint, you can set the title and slug of the endpoint and choose whether to show or not the user’s funds history.
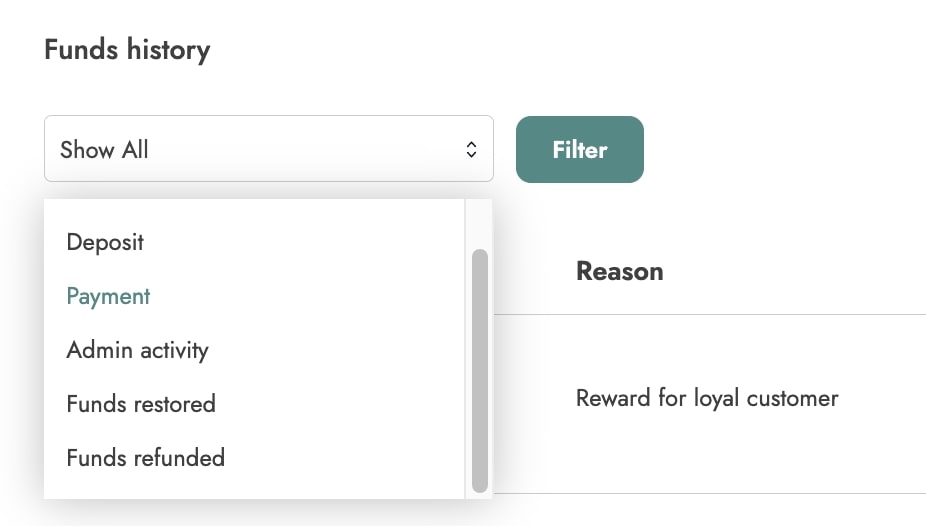
If you enable the option Show funds history, users can use the available filter to view funds based on the following criteria:
Show all
Deposit
Payment
Admin activity
Funds restored
Funds refunded
My Account dashboard
In Settings > My Account dashboard, you can choose what to show on the page by selecting the following options:
User balance
Add funds form
Latest funds history
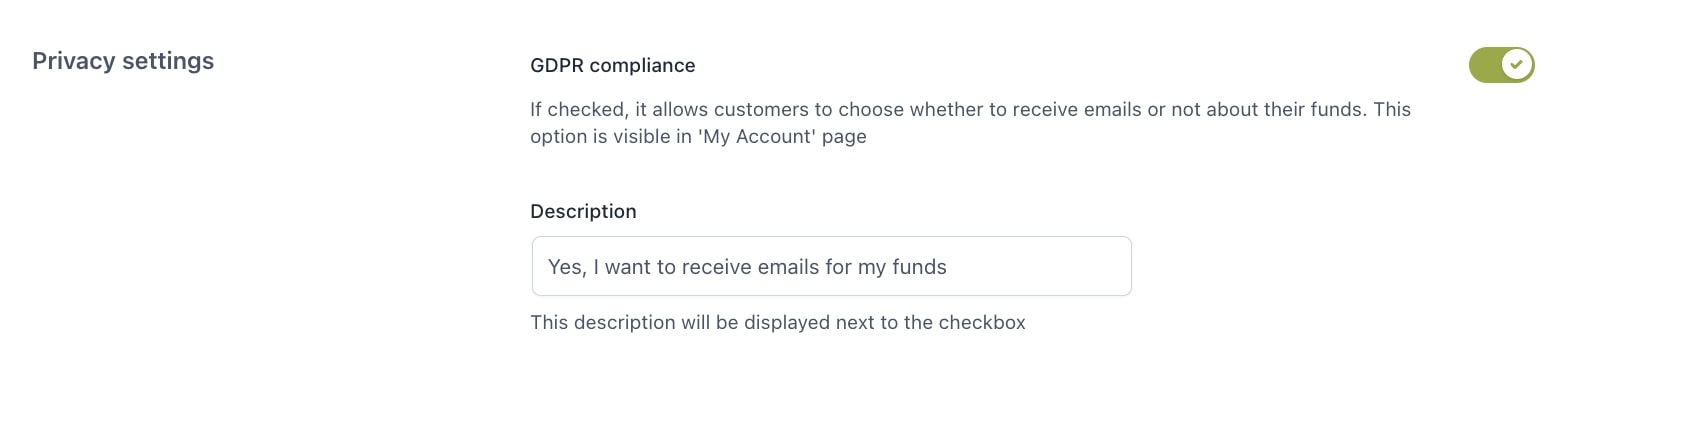
Privacy settings
In Settings >Privacy settings, you can make the plugin fully compliant with GDPR. In fact, by enabling the option GDPR compliance, your users will be able to choose whether to receive funds-related emails or not. The option is available. in ‘My Account’ page.
Use the shortcode [yith_ywf_make_a_deposit_form] in your pages to show the form that allows users to add funds to their wallet.
No attributes.
Make a deposit small
Use the shortcode [yith_ywf_make_a_deposit_small] to print a button on the page that users can use to make a deposit for the pre-set amount.
Available attributes:
text: text to insert in button
amount: deposit amount
type: defines the type of item, such as “button”,”link”, or “URL”
Example: [yith_ywf_make_a_deposit_small text=”Deposits $50 on your account!” amount=”50″ type=”button”]
Show discount message
Use the shortcode [yith_ywf_show_discount_message] to print the message that informs your customers about a discount in the cart if they choose to pay with their funds.
YITH WooCoomerce Customize My Account Page helps you customize your “My Account” page on your website in a few simple steps, adding new sections and editing the default WooCommerce ones.
The plugin adds two sections to the “My Account” page:
Make a Deposit
Income/Expenditure History
After activating both plugins, you will see the Funds endpoints options disabled and the notice which redirects you to the endpoint settings.
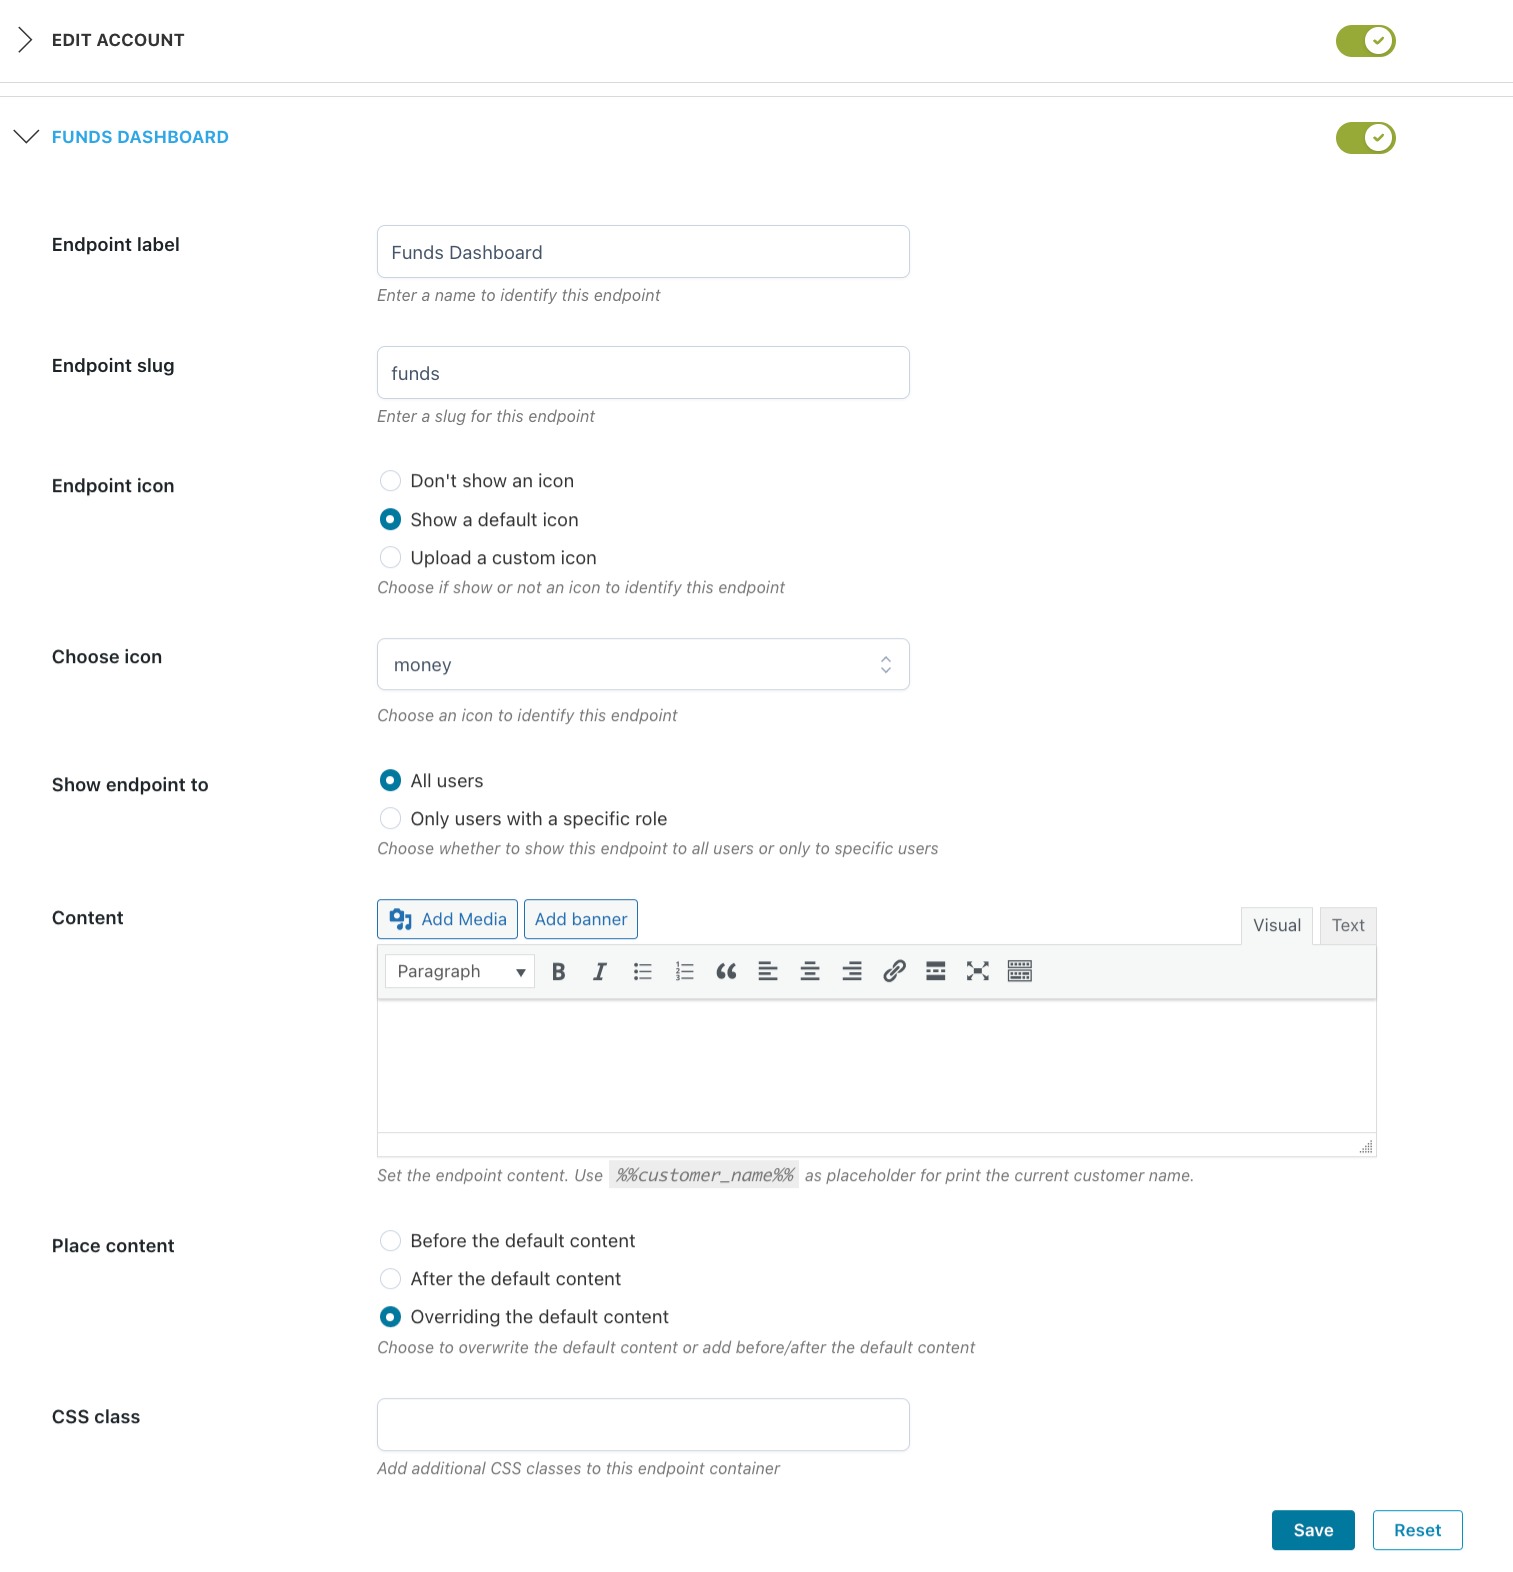
By using the two plugins, you can edit the details of the funds dashboard (label, slug, icon, and content) from the YITH WooCommerce Customize My Account Page admin panel without having to edit the code.


