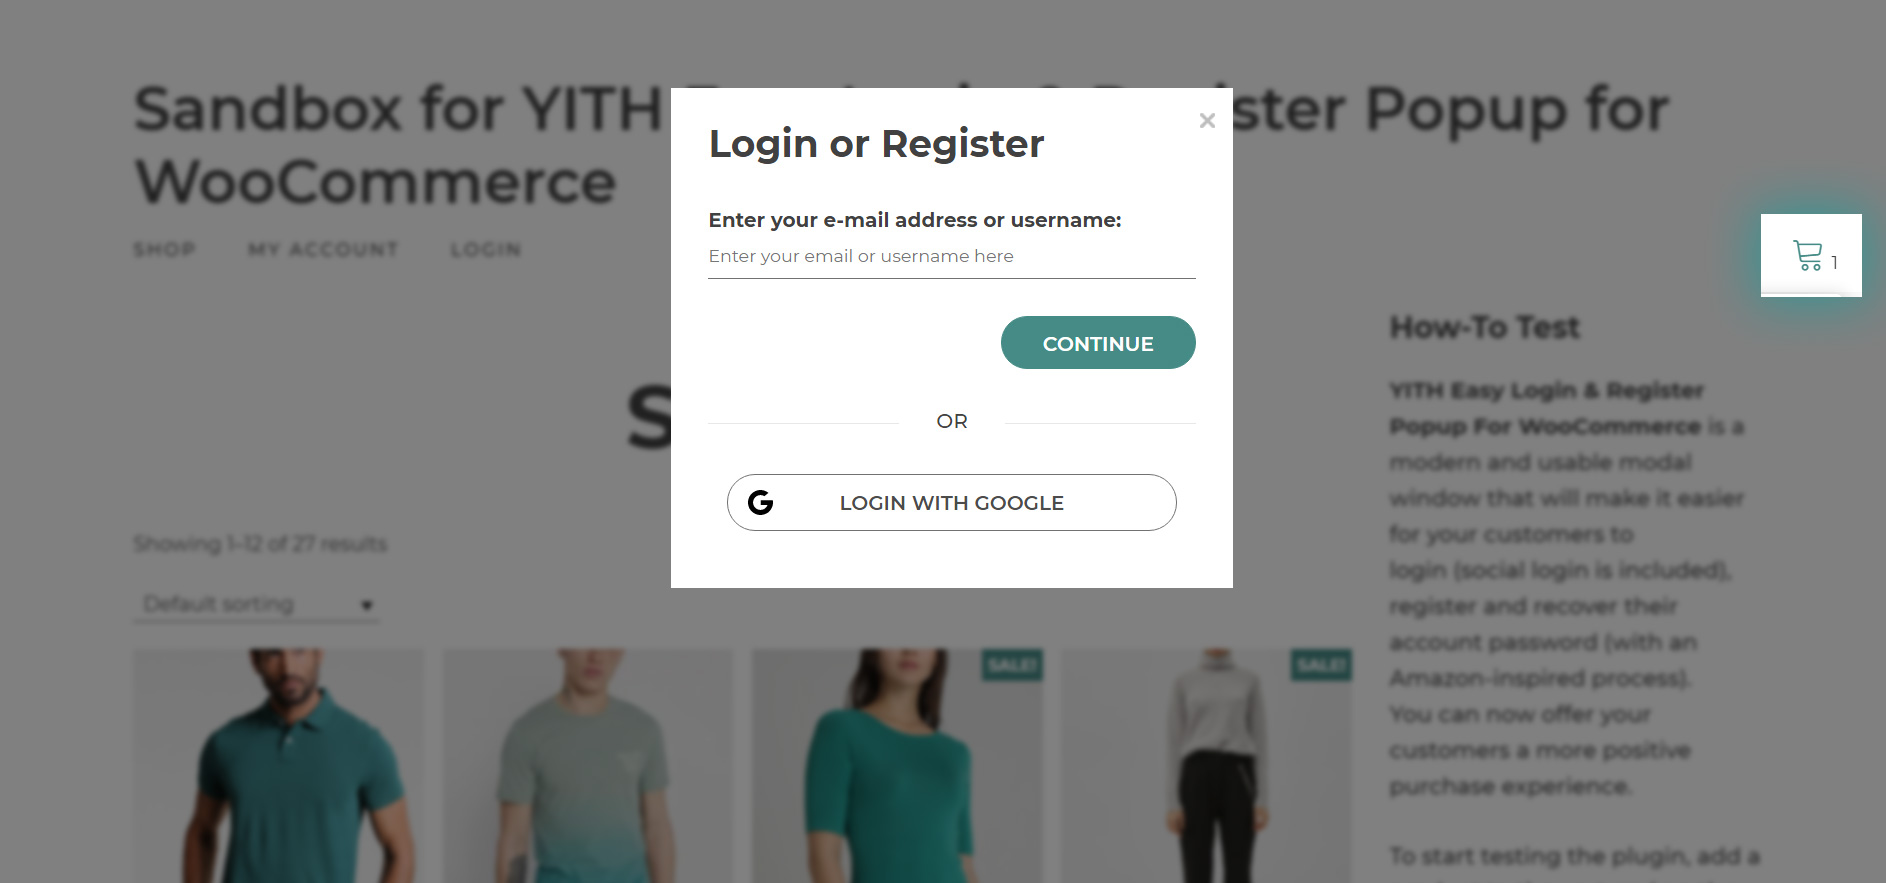
If you don’t want the popup to open only when clicking on the Proceed to checkout button, but also if clicking on another specific CSS selector of your choice, you can do it from the section Additional Popup.
As a selector, you can use the ID or the CLASS of the element that will allow the popup to open (a link in the menu, widget, or similar).
The available options are:
- Enter the ID or CLASS of the element that will open the popup: enter the CSS selector that will open the popup. As a selector, you can either use the ID or the class of the element that will trigger the popup opening. Make sure that the ID is preceded by a hashtag # (e.g. #elementID) and the class by a dot . (e.g. .elementClass). You can also specify more elements and separate them with a comma (e.g. #element1, #element2).
- Popup title: enter the title for the popup.
- Register button text: this is a custom text for the button that will let users register in the additional popup. All the other settings will be the same as for the checkout popup.
- Save password button in Recover password step: this is a custom text for the button that will let users recover the password through the additional popup. All the other settings will be the same as for the checkout popup.
Example
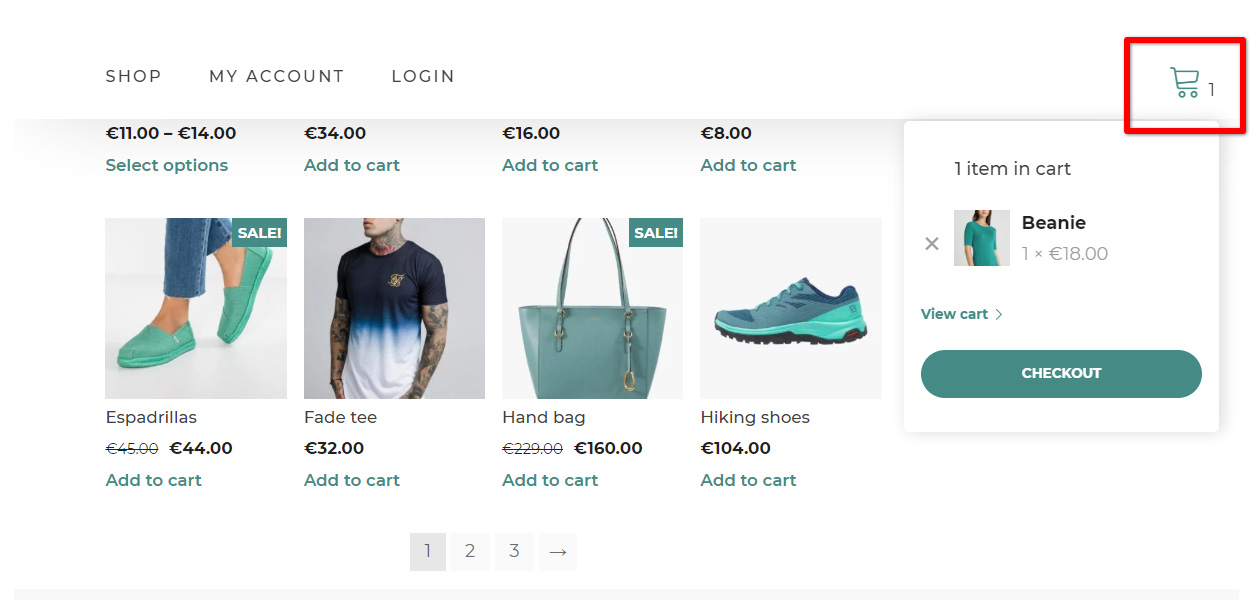
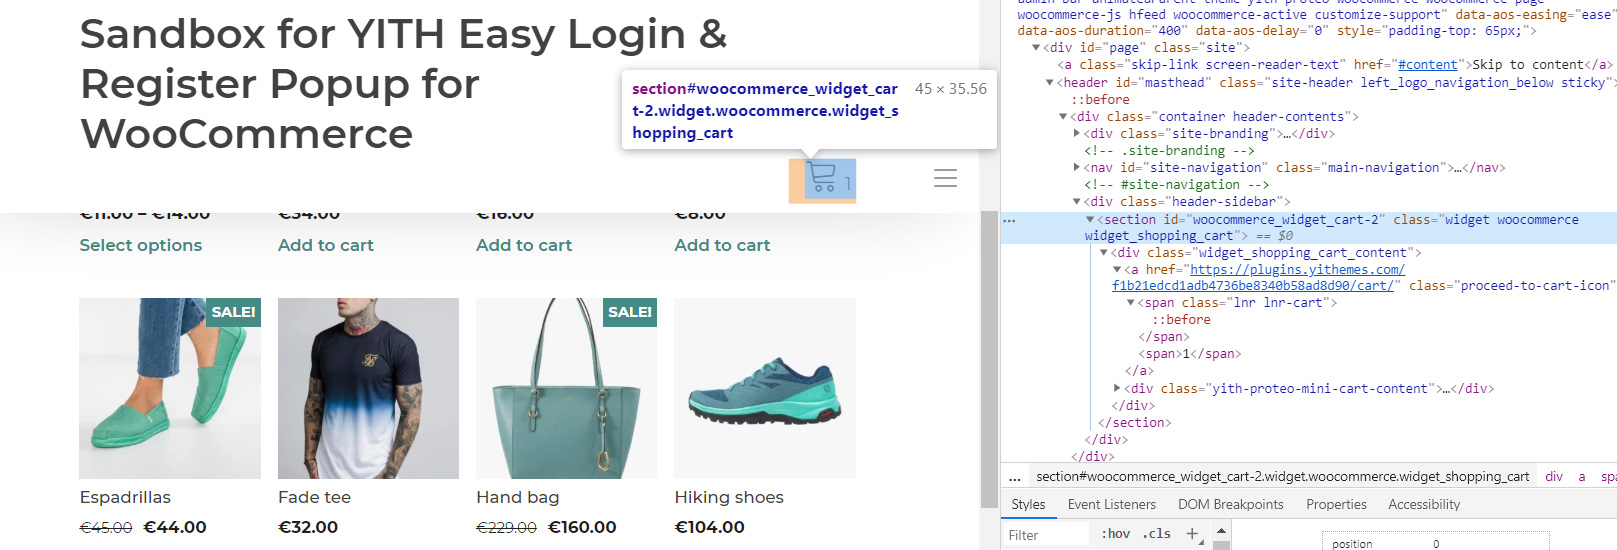
Let’s take as an example that we want to open the popup whenever a guest user clicks on the Cart icon on the top bar of my website.
This element has both an ID and a CLASS, but we will select the ID and use it as a CSS selector for the plugin’s additional popup.

This is the ID, preceded by a #, that we will enter in the plugin settings: #woocommerce_widget_cart-2


