In the General section of the template builder, you can configure template, page and logo options.
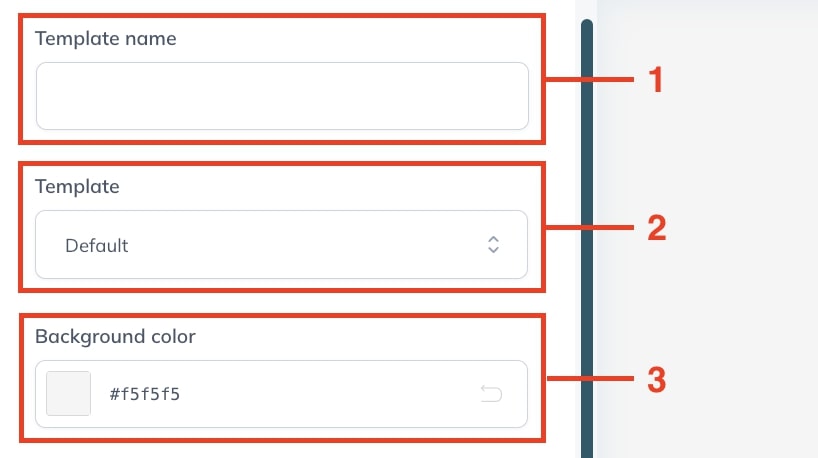
Step 1 – Template options
Start by giving a name (1) to the template you are creating to easily identify it. Choose the template (2) from the ones included in the plugin (Default, Informal, Elegant, or Casual) and set the background color (3).
Step 2 – Page options
To further customize the template, you can set the pixels for page width (4), the page padding (5) and border radius (6).
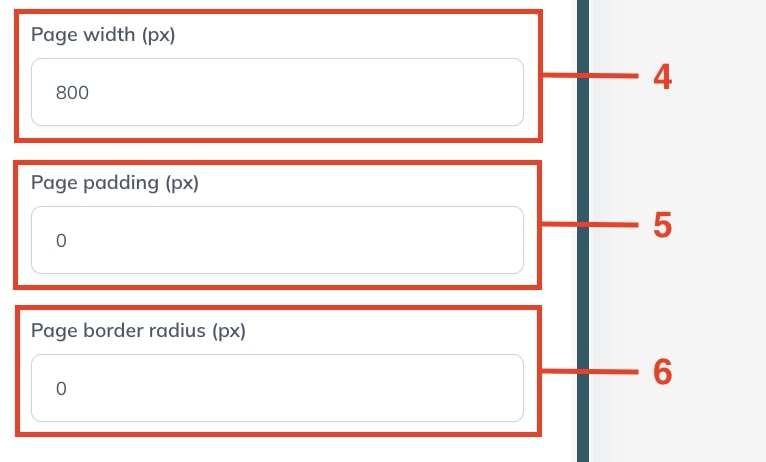
NOTE: Although provided by the plugin, not all email clients have support for the border radius, such as Outlook. In such cases, the border radius won’t be applied.
Step 3 – Logo options
You can now move the option where you can choose to hide or show the default or custom logo (7) and upload it (if you select the custom logo) to the dedicated box (8). Optionally, you can set the logo height (9) and position – center, left, or right (10).
Let’s now move to the header options.