View Product Page

Add new stores

Let’s start creating the stores that will be listed on your store locator page. Go to YITH -> Store Locator -> Stores -> All stores and click on Add new.

Add new store

After setting a name and a description (optional), you can complete all the following information related to the store. Please note – by entering the address in the Search address field, part of the Address details fields will be completed automatically. It is recommended to choose from Google suggestions.

Add new store - Search address

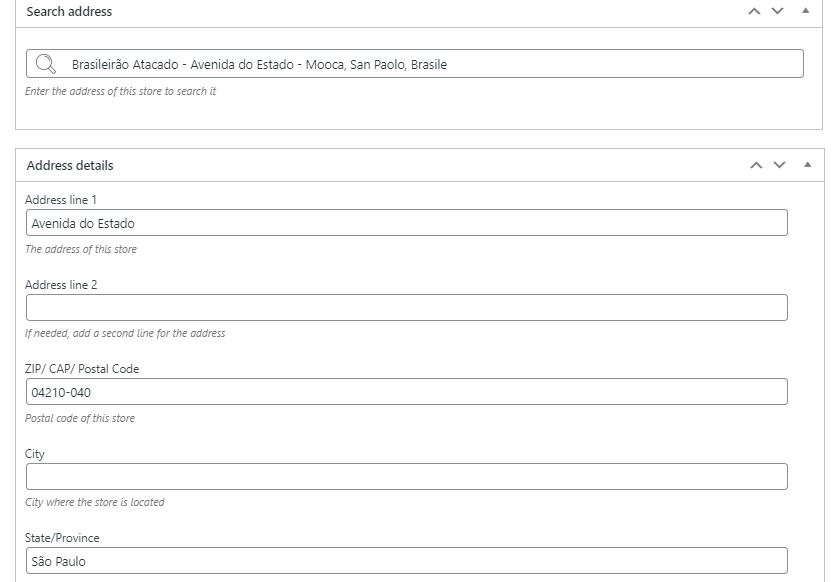
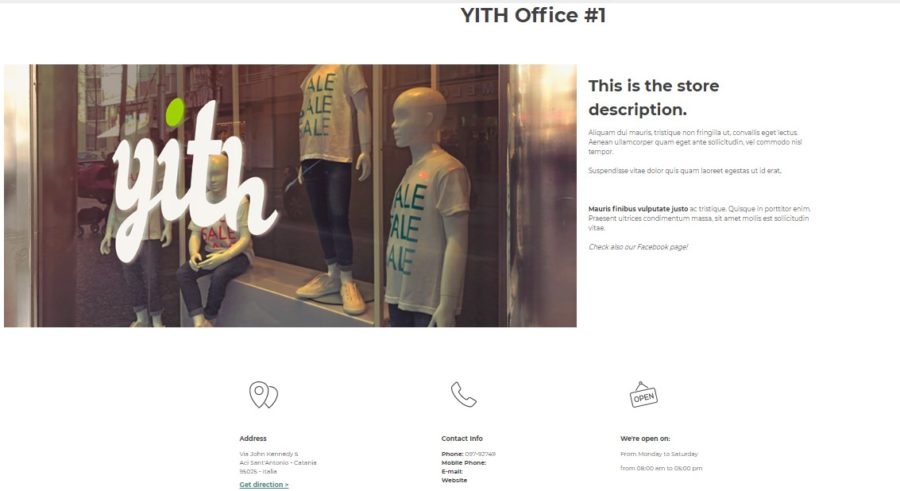
According to the address, city, country, and the completed fields, the plugin will show you the map that will appear on the store locator page.

Store map

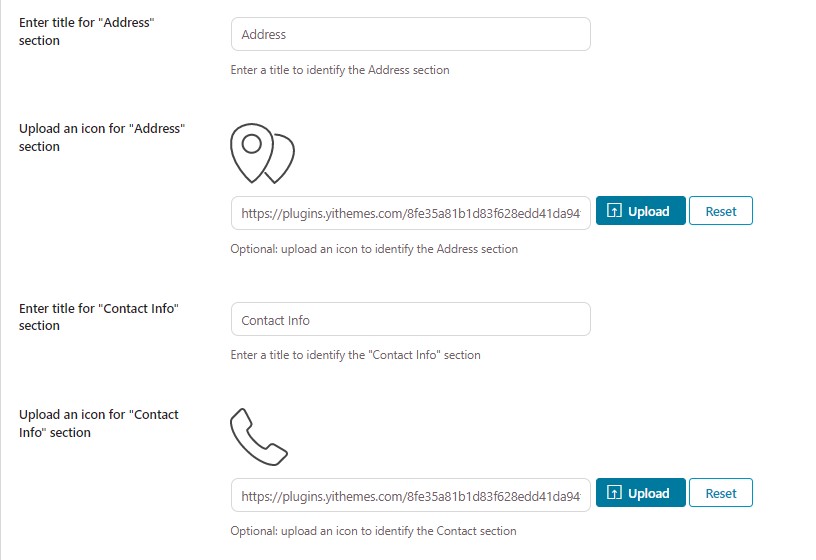
If you want to show the contact info of the store you are creating, such as phone number, fax, email, website, and/or a custom URL button,  you can complete the fields you will find in the Contact info section.

Store contact info

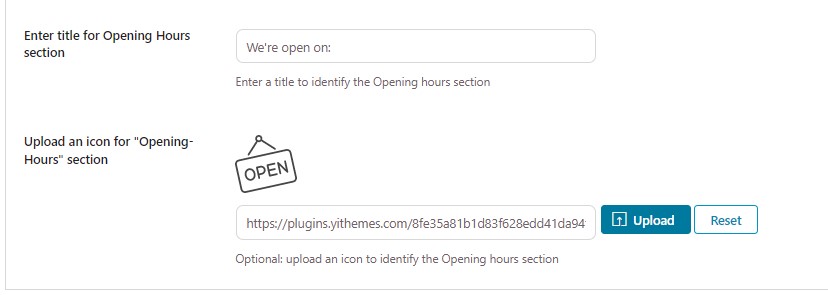
The plugin also allows setting advanced options. Here, you can add opening hours through the related editor if you want to give users more detailed information about your store.

Advanced settings - Opening hours

Other options are:

  • Make featured store: this option, if enabled, will add the store at the top of the search results. Useful if you want to highlight specific stores.
  • Store name link option: here, you can choose the behavior of the store name when clicking on it:
  1. you can associate it to no link (no redirect will apply);
  2. you can associate it to the store link (the user will be redirected to the store page);
  3. you can associate it to a custom URL (the user will be redirected to the URL you have entered in the field Custom URL for store name).
  • Default map icon for this store: this allows using the default icon or a custom one to identify the store on the map.
Show stores on Store locatr page

Store filters

From the tab Store filters available in the Stores section, you can create all the filters to show on your Store Locator page to make the search easier for your users. For each filter that you create, insert the label, slug, type (choosing from checkbox or dropdown), upload a custom icon, and choose whether to show the filter name or not.

How to create store filters

For each filter created, you can configure its terms and set the default one. The Count column will show the number of stores to which you have added the filters.

Configure terms for the filters

This is how they’ll show on the frontend.

Dropdown 

Filters with dropdown

Checkbox 

Filters with checkboxes


Store pages

In the tab Store pages, you will find all the settings for the layout of the store detail page.

First of all, choose the style to use from the classic layout (with the image on the left) or alternative layout (with a big image).

Store pages layout

Through the following options, you will be able to customize the title and the icon of Address and Contact sections of your store page.

Store page address and contact

With the last two options,  you have the possibility to enter a custom title and upload an icon for the section Opening hours of your store.

Store opening hours
Store detail page

All stores list and how to import/export stores

From the tab All stores, you will have an overview of all the stores you have created. For each store, you will be able to see the related services, address, contact info, and facilities.

You can view, edit, remove and reorder each store through the actions showing on hover for each store.

All stores table

Import stores

If you have stores you want to show on the Store Locator page, you can import them from a CSV file through the option available.

Import stores

By clicking on Import, the import procedure will start and you will be asked to upload your CSV file. You can define both CSV delimiters (e.g. a comma) and enclosure (e.g. a semicolon) in the dedicated fields. You can then click on Continue.

Import stores through CSV file

To import the data correctly, it is important to associate the information to retrieve from the CSV file columns by selecting it from the field dropdown.

Map the ID field only if you are sure this won’t overlap IDs. By not assigning any column, the plugin will automatically generate the ID field.
Column mapping

Now click on Run the importer and wait for the message confirming the import is completed.

Export stores

To export the stores you have created into a CSV file, just click on the Export button.

Export stores into CSV