
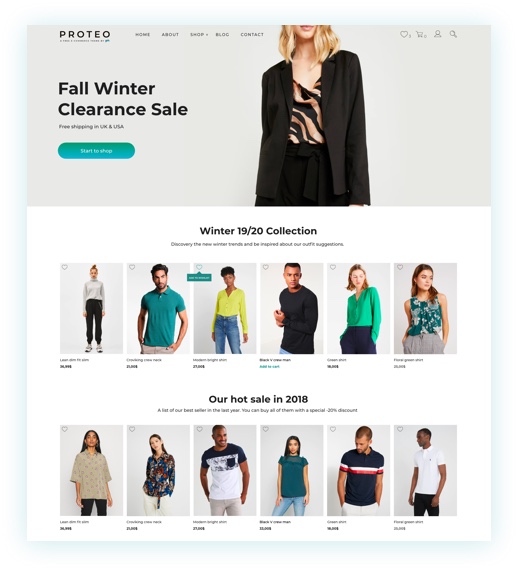
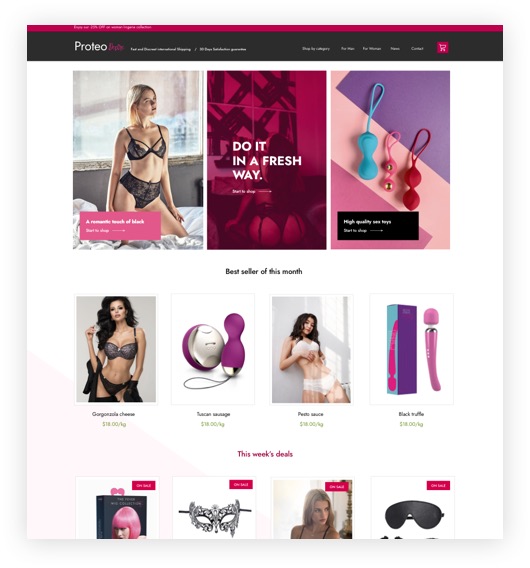
A minimal E-Commerce theme
to sell every kind of item
Thanks to his sleek and modern style, Proteo is suitable to sell each kind of product. And the demo skin that we will release soon will help you to build a beautiful and original e-commerce in few minutes.

Customize without code
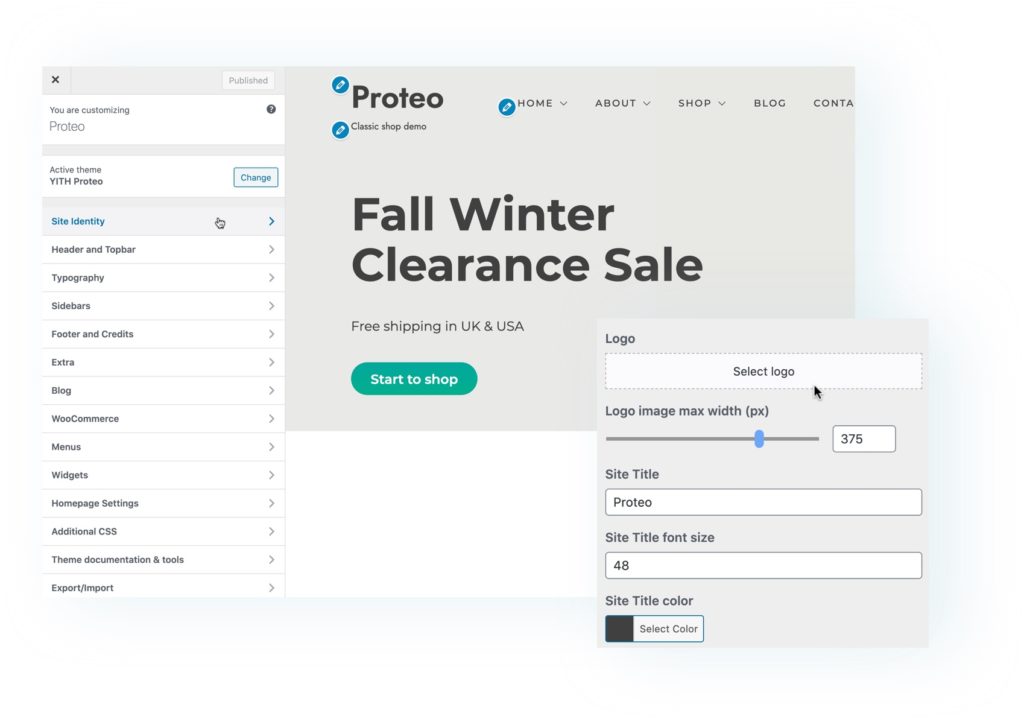
Customize the theme through several options availables in the frontend WordPress Customizer.
No coding knowledge necessary!

 SEE PROTEO IN ACTION
Made for Page Builders
Proteo is made to work with the most popular page builders like Elementor, WP Bakery Visual Composer and Divi.

Powerful performance
Proteo is built for speed and fully optimized for performance. The theme loads in 2 wonderful seconds.
Proteo is a sleek, modern and “Gutenberg-friendly”
WooCommerce theme.
Theme features
Advanced frontend customizer
Thanks to the YITH Theme Options you’ll be able to customize many parts of the theme: header, topbar, sidebar, footer… right from the frontend and without changing any line in the code.
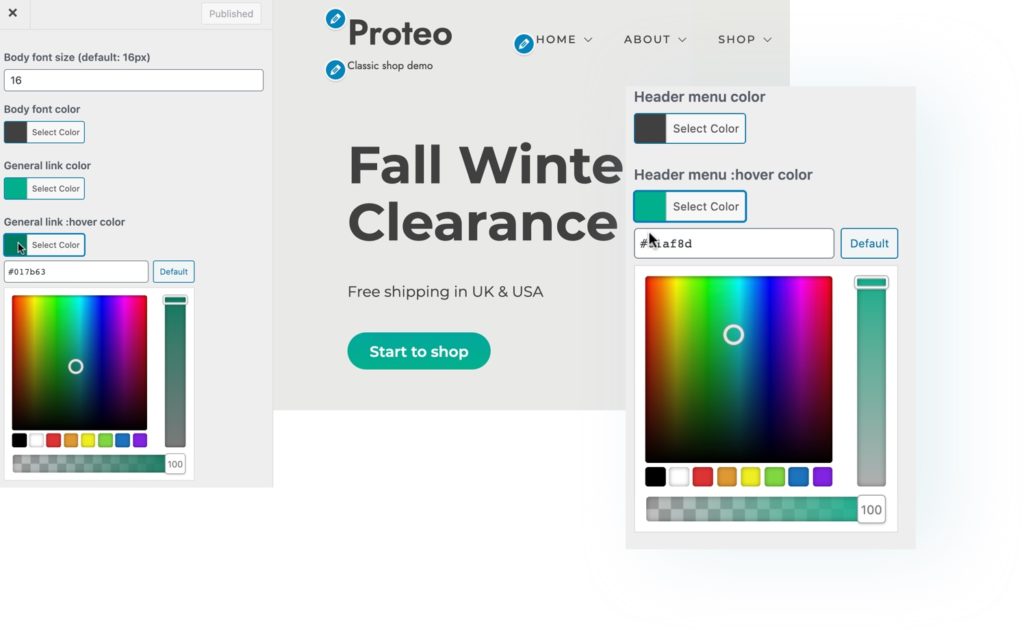
Colors and typography customizer
Customize the typography of your entire theme, setting up the size and colors of titles and paragraphs. You can also choose from 150+ Google font for your layout
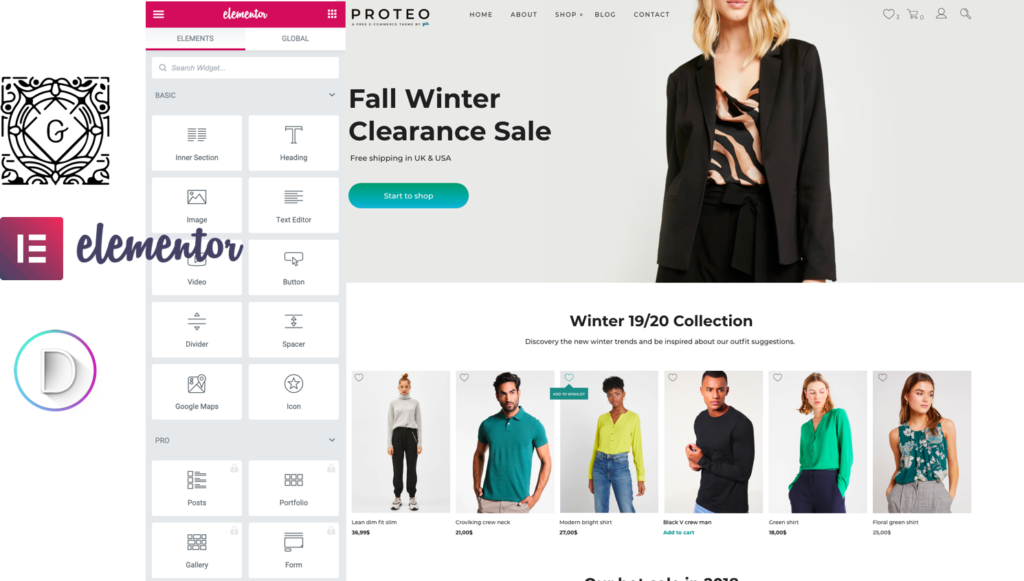
Compatible with Gutenberg, Divi and Elementor
Enhance your Proteo theme with the most popular page builders like Gutenberg, Divi and Elementor (both free and premium versions) to easily customize and build your site.
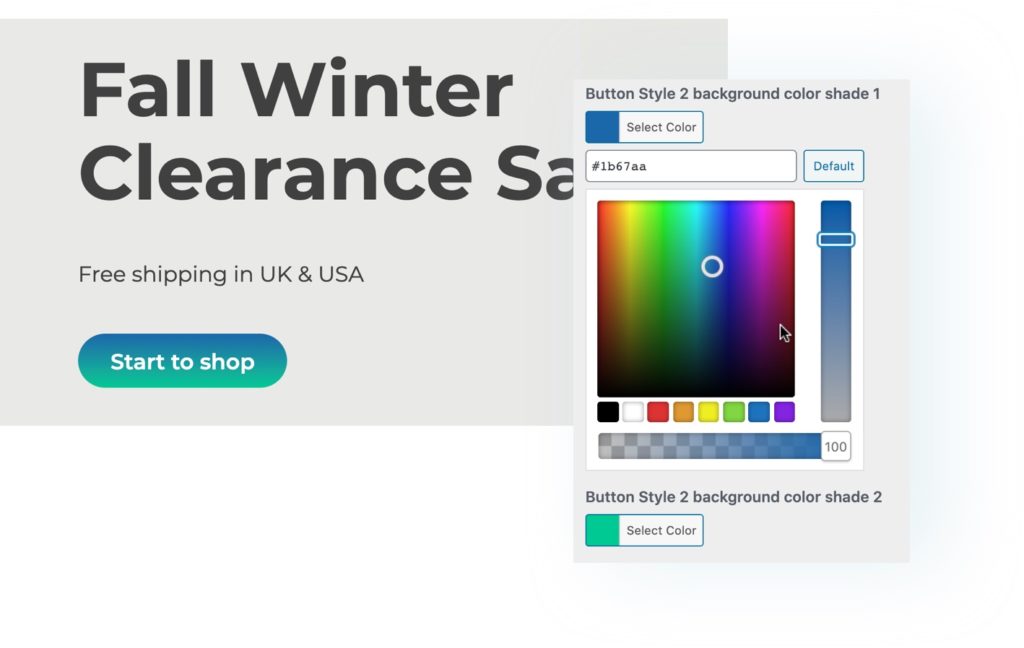
Buttons with gradient support
Create buttons with unique gradients and customize your theme with the latest design trends. You just have to set up two colors and a gradient will be automatically applied to your website buttons.
Page Title icons
For any page of your website, you can choose one of the many icons available in the theme and represent the title and concept of the page with a modern and elegant style.
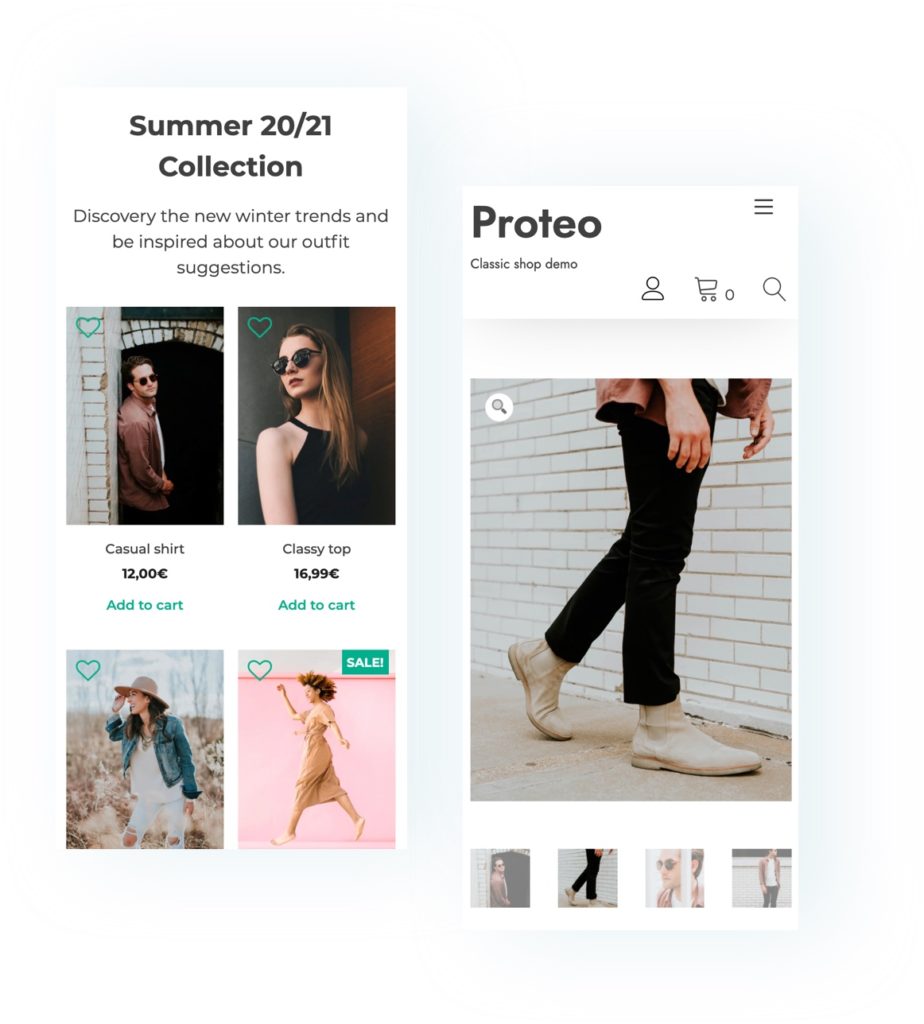
Mobile design
Proteo’s layout has been built with the Bootstrap framework and is fully responsive. It will easily adapt to any screen resolution and device and will make your website easy to browse from a smartphone or tablet too.
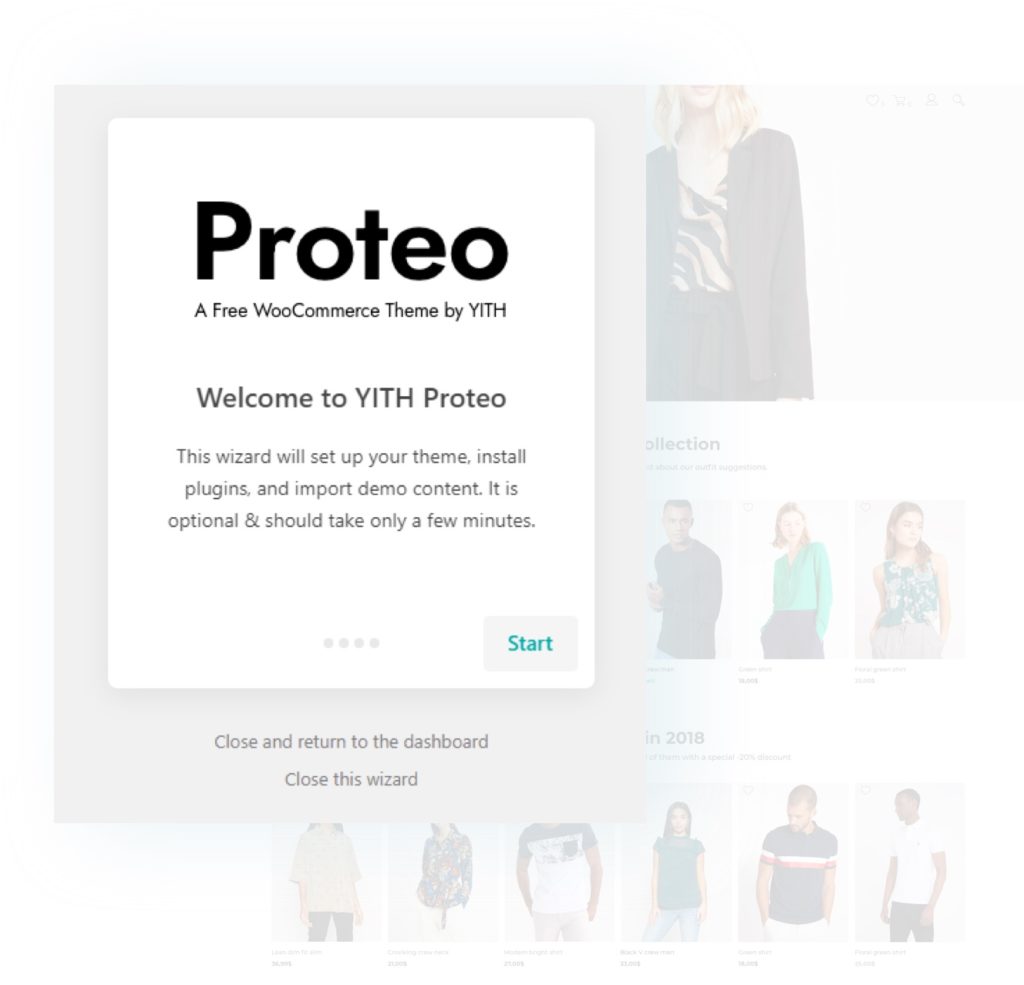
A quick importer to easily recreate our live content and design
Use our easy-to-use and powerful wizard to import one of our demo and recreate the same options and content (images included!) of our live demo in your site. In less of 3 minutes, we promise.
And so much more to love:
- Logo customization
- Advanced customizer theme options
- Sidebar Management
- Sidebar Chooser on each page and product
- Top Bar Management
- Easy main color shade chooser
- WooCommerce Support
- Shop Theme Options
- Custom WooCommerce messages and animated WooCommerce alert notices
- Bootstrap grid system
- CSS animations
- Multilevel menus
- Support to all YITH plugins
- SVG icons for HiDPI screens
- Translation Ready
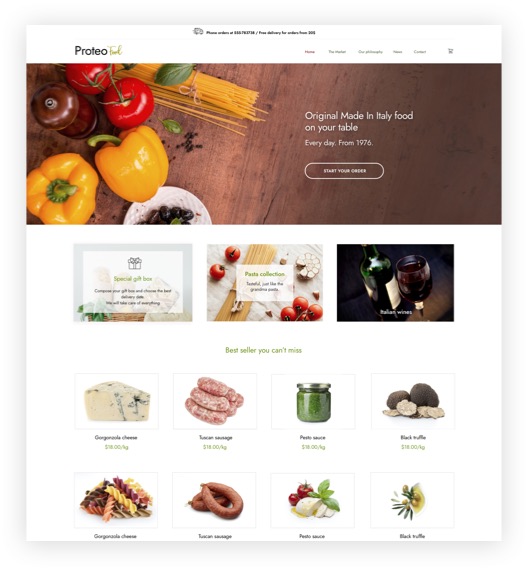
Proteo demos
We are working to release soon new demos to show how Proteo works with different types of sites and shops.
Stay updated!
Miscellaneous
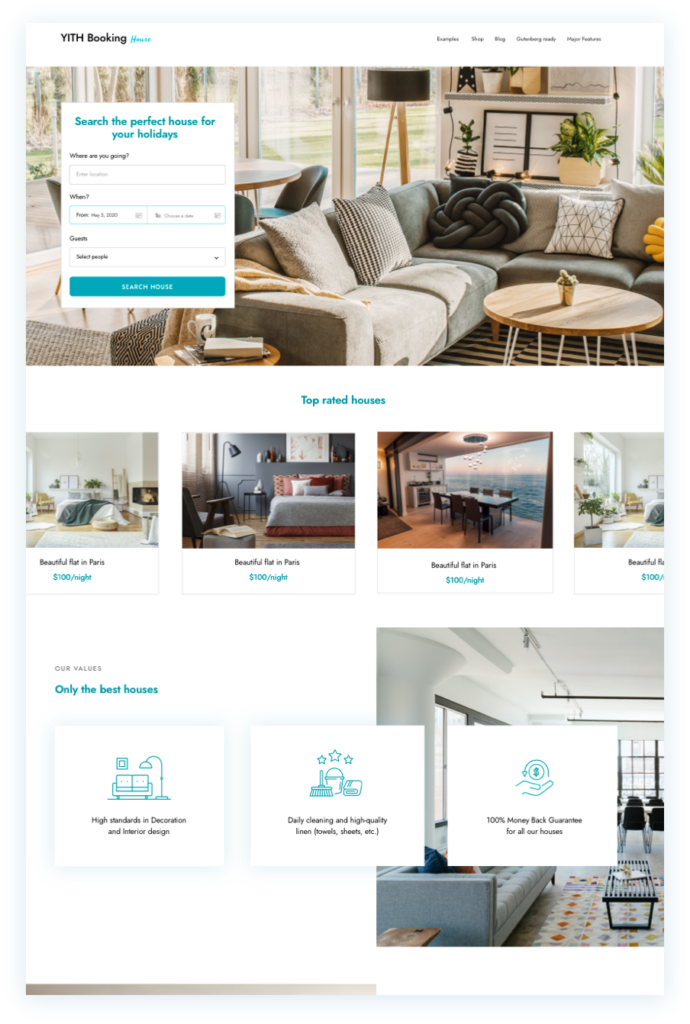
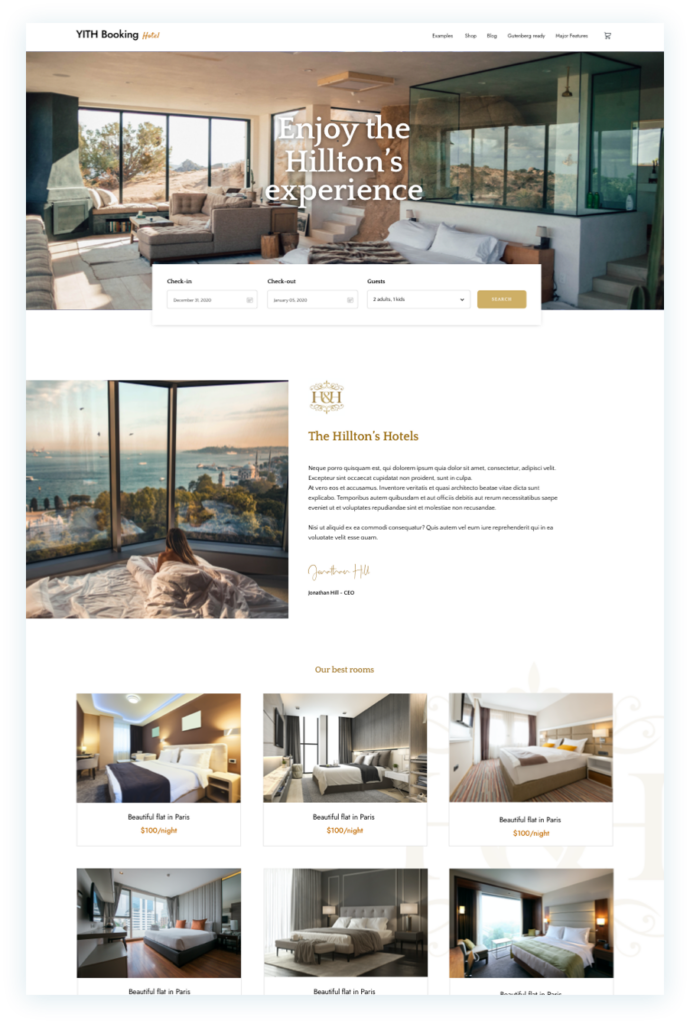
Booking
Enjoy the integration between Proteo & YITH Booking and Appointments for WooCommerce with this amazing demos
Technical info
- Version: 1.9.3
- Released: 21 June 2023
- Minimum PHP version: 5.6
- Requires: WordPress 5.9 or higher and WooCommerce 6 or higher
- Compatible up to: WordPress 6.2 and WooCommerce 7.8
- Translation ready: Yes
- Support to: all YITH plugins, Gutenberg, Elementor.
Documentation
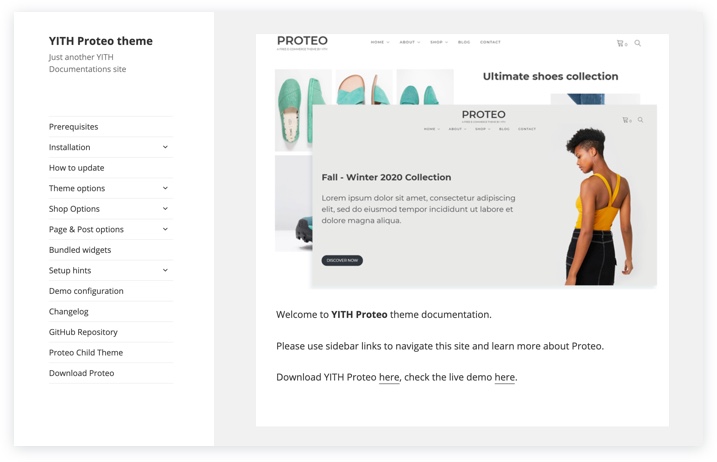
Read our documentation
We provide an extensive documentation to help you
to learn how to work with Proteo.
Please read it to understand how to setup your site
according your needs.